


Introduction: The Strategic Utility of the Incantation DPS
In the current meta-landscape of Neverness to Everness (NTE), ![]() Baicang stands as the solitary Damage Over Time (DoT) specialist, occupying a tier of operational complexity that far exceeds burst-oriented Esper counterparts. Mastering Baicang requires more than just high-level investment; it demands an analytical understanding of health-for-damage trade-offs and precise internal cooldown (ICD) management. As the Captain of ETD-4, Baicang's "relaxed" demeanor belies a technical "workaholic" combat style that rewards players who can navigate his punishing HP-drain economy to achieve a damage ceiling that potentially eclipses even top-tier burst dealers.
Baicang stands as the solitary Damage Over Time (DoT) specialist, occupying a tier of operational complexity that far exceeds burst-oriented Esper counterparts. Mastering Baicang requires more than just high-level investment; it demands an analytical understanding of health-for-damage trade-offs and precise internal cooldown (ICD) management. As the Captain of ETD-4, Baicang's "relaxed" demeanor belies a technical "workaholic" combat style that rewards players who can navigate his punishing HP-drain economy to achieve a damage ceiling that potentially eclipses even top-tier burst dealers.
Core Identity and Operational Characteristics
- Element: Incantation
- Arc Type: Bose (Critical Rate priority)
- Role: Main DPS / DoT Sustainer
- Core Mechanic: Power Word System (Bless, Silence, Objurgate)
- Combat Profile: High multi-hit frequency with execution thresholds
While casual observation might suggest a simple martial arts kit, Baicang's effectiveness is mathematically tethered to the "Power Word" cycle. Failure to maintain these debuffs results in a catastrophic drop in DPS uptime, making him a premier choice only for those willing to master a high-skill floor.
Comprehensive Ability Analysis and Investment Hierarchy
Baicang's kit operates on a high-stakes economy: generating a Power Word consumes 3% of his current HP (halved when below 50% HP). This self-sacrifice is the engine of his scaling.
The Skillset Breakdown
Baicang utilizes the "Walk the Talk" basic sequence, which branches into two critical tactical routes:
- Formless Words (Horizontal AoE): Holding basic attack after the 1st or 2nd hit fires three commands horizontally. Use this for wide-spread field suppression.
- Unrestrained Words (Lane Focus): Holding basic attack after the 3rd hit fires commands vertically, concentrating damage into a focused lane.
- Critical Riposte — Truth Exposed: A vital high-skill ceiling mechanic. Executing "Walk the Talk" immediately after a Critical Dodge triggers a knee strike that reduces Break and generates a Bless word instantly, bypassing the standard 3-hit requirement.
- Positioning — In the Wind: His plunge attack scales up to 200% based on height. While secondary, it is a viable engagement tool or repositioning tactic during verticality-heavy encounters.
Investment Priority and Scaling Evaluation
Level 6 serves as the baseline for endgame viability. The hierarchy is determined by the raw multipliers:
- Ultimate (Judgment of Autumn): Non-negotiable priority. The expansion DMG alone starts at a massive 400%, far outstripping the base Skill's 120%. This is your primary detonation tool.
- Passives (Moderate Working & Moderate Mischief): Fundamental for the 20% ATK boost and the Scorch doubling mechanic that defines his damage ceiling.
- Skill (Generous Guidance): Necessary for scaling the Silence (300%) and Objurgate (200%) procs.
- Basic Attack (Walk the Talk): Primary for Bless generation but relies on high hit-frequency rather than raw multipliers.
- Support Skill: Lowest priority; Baicang is designed for maximum on-field uptime.
The Power Word System: Mechanics of Bless, Silence, and Objurgate
The Power Word state transforms Baicang into a technical carry. Inside the "Judgment of Autumn" domain, these words reach their maximum multipliers.

| Power Word | Trigger Method | DMG Type / Scaling (Lvl 1) | Strategic Utility |
|---|---|---|---|
| Bless | 3 Basic Hits / QTE / Truth Exposed | Single-Target (30%) | Restores 5% Max HP; offsets self-drain and bleed-out |
| Silence | Dodge + Skill (Silenced Thought) / QTE | Single-Target (300%) | Elite/Boss killer; highest single-instance multiplier |
| Objurgate | Basic Route + Skill (Such Crime) | AoE (200%) | Mob suppression; creates persistent ground-based pressure |
Technical Domain Mechanics: Recorded Damage vs. Survival
The "Judgment of Autumn" domain includes a 10% (mobs) and 5% (bosses) execution threshold. Critically, it provides a one-time fatal hit immunity. However, this is a "delayed" death; the damage is recorded and taken slowly over 10 seconds after the domain ends.
Pro-Tip: You must aggressively generate and trigger Bless words (5% Max HP restore each) during this 10-second window to out-heal the recorded bleed-out.
Arc Optimization: Bose Type Selection
Due to the high hit-frequency of Baicang's DoTs, Crit Rate is the mandatory stat to ensure every tick scales.

Primary: Camellia Society (S-Rank)
Farmable via the Flower Boss in Baicang's side story. The "Silent Garden" refinement is tailor-made for his kit, stacking a 12% Crit DMG bonus (up to 48%) whenever Baicang drains his own HP. Since word generation triggers this drain constantly, he maintains 100% uptime on maximum stacks.
Alternative: A Time Will Come (A-Rank)
A transitional option for the Crit Rate main stat. Requires three distinct Esper types to trigger the 10% ATK boost — a condition easily met in his optimal team comps.
Console Configuration: Cartridges and Stat Benchmarks
To maximize elemental efficiency, the console must focus on Incantation-specific modules.

Cartridge Strategy: Crimson: Twin Butterflies
- 2-Piece: +10% Incantation DMG
- 4-Piece: +6% ATK per Incantation instance (up to 36%). Baicang's multi-hits cap this stack nearly instantly.
- Main Stat: Incantation DMG Bonus. (Never use a Crit Rate main stat here if you have Camellia Society).
- Specialization: Focus on Type III Modules to align with his console grid efficiency.
Target Benchmarks
| Stat | Target |
|---|---|
| Crit Rate | 60% (Base) |
| Crit DMG | 90% |
| ATK | 2,300 |
Note: This ATK target is lower than other DPS characters because the Moderate Mischief passive doubles Scorch damage, effectively doubling his offensive efficiency in the correct team.
Awakening (Dupe) Progression
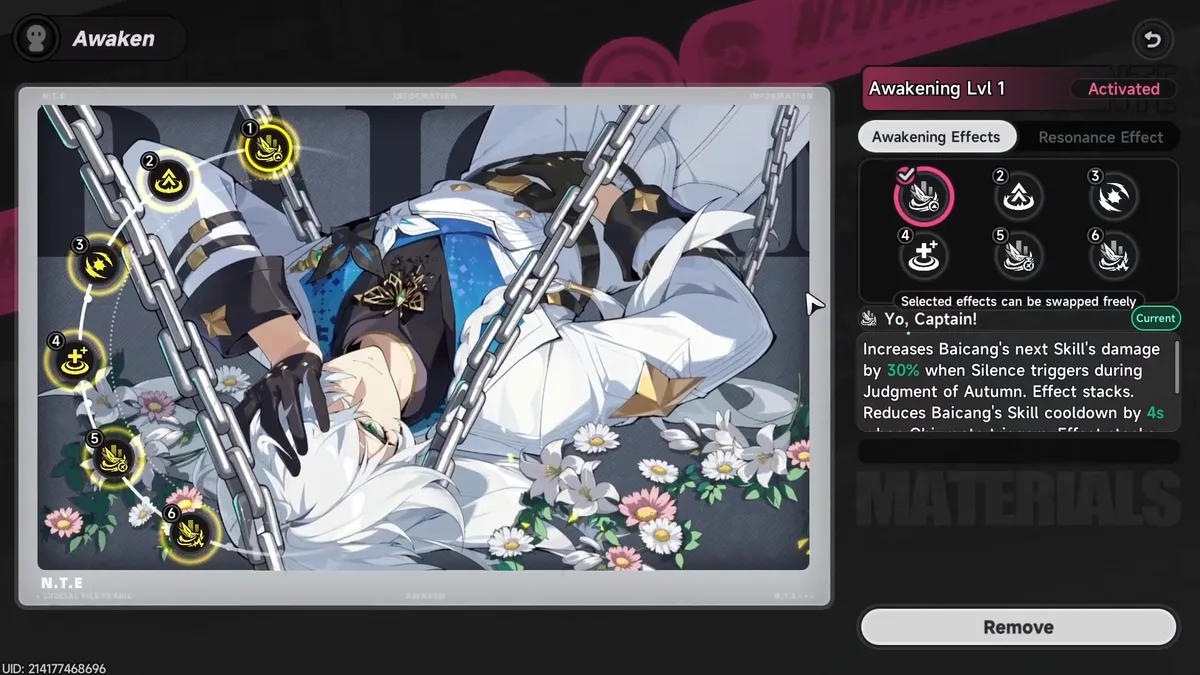
| Awakening | Effect |
|---|---|
| A1 | The "Workaholic" upgrade. Triggers a 4s cooldown reduction on skills when Objurgate procs. Required for maintaining 100% DoT uptime. |
| A2 - A5 | Incremental ATK scaling and duration increases, specifically extending the Ultimate to 16 seconds. |
| A6 | A massive spike, granting 30% Crit Rate during the Ultimate phase, effectively allowing you to build pure Crit DMG on substats. |
Strategic Team Compositions and Operational Rotations
The Scorch reaction is the lynchpin of Baicang's damage. You must utilize a Chaos element teammate to facilitate this.
The Elite Build: "The Scorch Domain"


Rotational Logic — Technical Requirement: You must wait for the Chaos esper to apply the status before Baicang generates his first word to ensure the Moderate Mischief doubling proc isn't wasted.
Scenario A: Multi-Target Mob Clear
-
 Haniel : Ult → Skill (Set ATK Floor)
 -
 Sakiri : Skill (Hold) → Ult (Group enemies)
 -
 Daffodill : Ult → Skill (Apply Chaos/Scorch)
 - Baicang: Basic Route (Formless) → Skill (Such Crime/Objurgate) → Ult (Detonate)
Scenario B: Single-Target Boss Encounter
- Setup Buffs/Grouping (Haniel/Sakiri)
- Daffodill: Apply Chaos status
- Baicang: Dodge → Skill (Silenced Thought/Silence) → Ult (High-multiplier focus)
F2P Note
![]() Skia and
Skia and ![]() Fadia can trigger Silence words passively via the "Moderate Working" passive, though this is less efficient than active rotation.
Fadia can trigger Silence words passively via the "Moderate Working" passive, though this is less efficient than active rotation.
Final Technical Summary
To ensure your Baicang is "Workaholic" ready for endgame content, verify these thresholds:
- Level 6 minimum on all core skills (Ult priority)
- Truth Exposed utilized for rapid Bless generation during HP crises
- Camellia Society equipped with stacks active
- 2,300 ATK / 60% Crit Rate achieved before buffs
- Daffodill included for Scorch doubling
Final Pro-Tip: Unlike the straightforward burst of ![]() Nanally , Baicang's performance is a rhythm game. Success is defined by keeping word generation high enough to maintain the A1 cooldown reduction loop while using Bless to stay above the 50% HP threshold for maximum drain efficiency. Watch for the 1.1
Nanally , Baicang's performance is a rhythm game. Success is defined by keeping word generation high enough to maintain the A1 cooldown reduction loop while using Bless to stay above the 50% HP threshold for maximum drain efficiency. Watch for the 1.1 ![]() Lacrimosa patch, as her "bat form" super-jump interaction is expected to add a new vertical layer to his "In the Wind" plunge rotations.
Lacrimosa patch, as her "bat form" super-jump interaction is expected to add a new vertical layer to his "In the Wind" plunge rotations.
Video Guide
Related Neverness to Everness Resources
Guide
Nanally Strategic Guide
Master Nanally's follow-up mechanics, Ichi-daime's Authority state, and optimal team rotations in this comprehensive guide for NTE's DPS apex.
Guide
Reroll Guide
How to reroll efficiently in NTE using the salting method, how many pulls you can expect per run, and who to target.

Guide
Esper Cycles & Reactions
A complete guide to NTE's Esper system — how to fill the Esper Meter, trigger elemental reactions, chain Trio effects, and unlock resonance bonuses for every character.

News
NTE May 1 Hotfix: Schedule and Full Fix List
NTE's May 1 hotfix runs from 10:00 to 14:00 UTC+8, with fixes for quests, crashes, UI, PS5 camera jitter, and more.

News
NTE Launch Drift Discord Quest: How to Get 700 Discord Orbs
NTE's Launch Drift Discord Quest asks PC players to play for 15 minutes with Discord open to earn 700 Discord Orbs.