


Character Identity and The “Support-DPS” Paradox
In the current high-level meta,
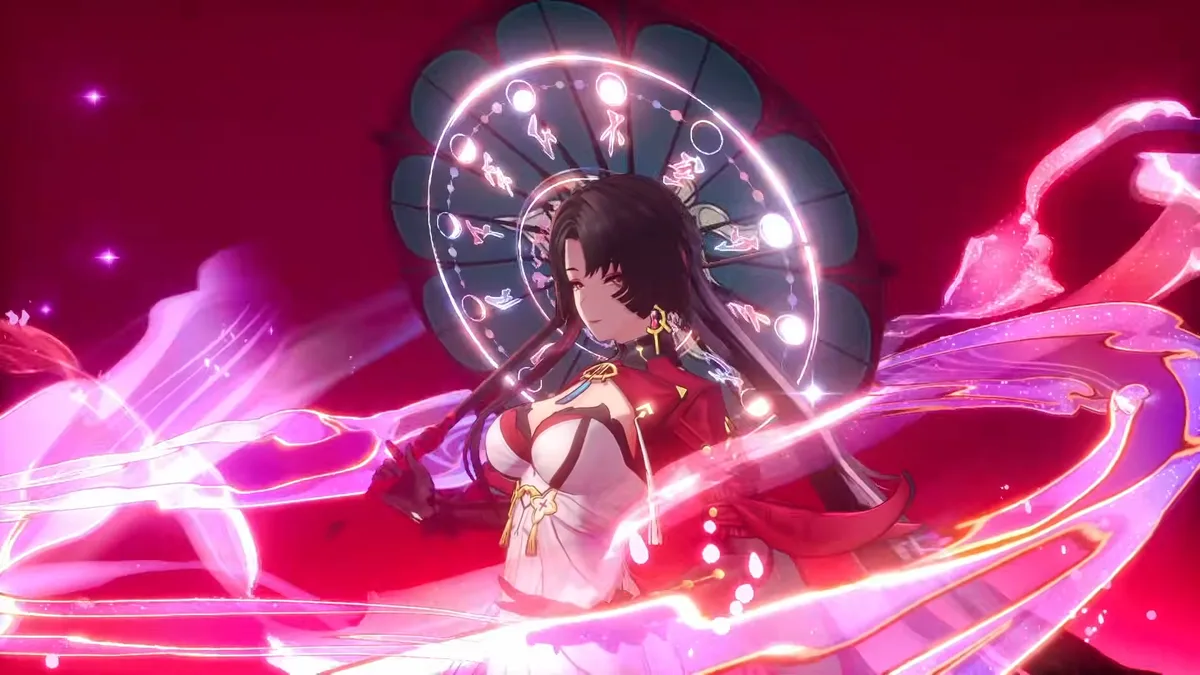
![]() Hotori
represents a fascinating deviation from traditional role archetypes. While her internal classification is “Support,” she possesses the highest damage ceiling of any character currently in the game. This “Support-DPS” paradox is driven by her ability to compress the offensive output of an entire team into a singular, frozen window of time. Strategic mastery of Hotori centers on her “Non-Closed Time Piece” energy — a mechanic that requires a paradigm shift in field-time management.
Hotori
represents a fascinating deviation from traditional role archetypes. While her internal classification is “Support,” she possesses the highest damage ceiling of any character currently in the game. This “Support-DPS” paradox is driven by her ability to compress the offensive output of an entire team into a singular, frozen window of time. Strategic mastery of Hotori centers on her “Non-Closed Time Piece” energy — a mechanic that requires a paradigm shift in field-time management.
| Attribute | Specification |
|---|---|
| Element | Cosmos |
| Role | Support / Main DPS (Meta) |
| Unique Energy | Non-Closed Time Piece |
| Energy Cap | 120 Units |
| Replenishment Rate | 6 units per second (Active or Off-field) |
This 6-unit-per-second fixed replenishment rate dictates a rigorous 20-second recharge cycle to reach full capacity from zero. This 20-second window is the heartbeat of your team’s rotation; it defines exactly how much field time your sub-DPS and buffers have to set up before Hotori must take the stage. If your sub-rotations exceed or fall short of this cycle, you are either wasting DPS uptime or entering her “Execution” phase with an unprimed meter.
Temporal Mechanics: Skill Kit and Skill Priority
Hotori’s kit rewards “Recording Efficiency,” a playstyle that demands high-intensity quick-swapping. The objective is to maximize the value of the 5-second recording window before committing to her ultimate’s high-risk window.
Core Skill Kit Breakdown
Misty Moon Style (Basic): A 5-hit Cosmos combo. Note the state-logic for the hold-basic: in combat, it executes a tactical dash; out of combat, it triggers a “time-stop” for exploration. This out-of-combat stop can be manually canceled by holding basic again to preserve energy.
Present Replay (Redirect): Consumes 60 Time Energy to enter a 5-second “Recording” phase. During this window, any Redirect or Support skills used by teammates are stored. The HUD displays three “flower stacks” to track these; you are limited to one recorded skill per teammate, for a maximum of three.
World’s Tide (Ultimate): A two-stage process with zero cooldown, requiring 120 energy.
- Stage 1 (Frozen Replay): A “high-risk commitment window” where character switching is disabled. Hotori freezes time and re-executes all recorded skills simultaneously. - Stage 2 (Basics for Finisher): Hotori builds up to 10 stacks via basic attacks to unleash a final nuke.
Passives:
- Blossom Enhancement: Her most potent interaction. It allows external deployables to continue attacking during frozen time, making Blossom reactions the key to her maximum damage potential.
- Temporal Finisher: Grants a flat 100% boost to the Ultimate’s finisher damage.
Investment Priority
| Priority | Skill | Reasoning |
|---|---|---|
| 1 | Passives | Essential for raw scaling and enabling Blossom interactions |
| 2 | Ultimate (World’s Tide) | Primary source of nuke damage |
| 3 | Skill (Present Replay) | Improves the recording damage ratio |
| 4 | Basic (Misty Moon Style) | Relevant only for stack-building in Stage 2 |
| 5 | Support | Low priority; rarely the focus of her kit |
The Arc Arsenal: Signature and Alternatives
Hotori’s damage profile is exceptionally sensitive to Defense Penetration. Without high-tier Arcs, her damage will fall off significantly against high-level endgame bosses.
1. Marching Beyond Time (Signature) — Best in Slot

Mathematically undisputed BiS. It provides Crit Rate and massive Attack %. The “Wastelab” mechanic allows allies to build “Waste Time” stacks. When Hotori uses her Ultimate, consuming three stacks simultaneously grants 24% Defense Ignore with a 70-second duration, providing near-permanent uptime in optimized rotations.
2. The Rain That Shook the World (Paid Alternative)
Focuses on Crit Rate and Ultimate damage boosts. A solid secondary option if the signature is unavailable.
3. Fluff of Fearlessness (Battle Pass)
The Battle Pass option. Offers Crit Rate and Attack % buffs, though it lacks the specialized Ultimate scaling of the top two arcs.
4. Hethereau’s Keeper (Free-to-Play)
Dropped by the Level 99 Boss. This is the only viable F2P option that provides competitive stats.
Warning: Avoid “The Forgotten.” Despite being a Solid-type Arc, its HP% main stat offers zero benefit to Hotori’s Attack/Cosmos scaling.
Console Architecture: The Lost Radiance Build
At the endgame level, prioritize multiplicative stacking of Defense Ignore and Cosmos Damage to bypass enemy resistances.
Optimal Build Specifications

Set Bonus: Lost Radiance (4-Piece). Grants 10% Cosmos DMG and ignores 25% of enemy defense for 20 seconds after using her Ultimate.
Cartridge Slot Priority:
- Cosmos DMG Bonus — Standard for Signature Arc users
- Crit Rate — Required if your Arc lacks a Crit Rate main stat
Substat Hierarchy: Crit Rate > Crit DMG > ATK% > Universal DMG > Flat ATK
Final Build Benchmarks
| Stat | Target (Unbuffed) |
|---|---|
| Crit Rate | 60% |
| Crit Damage | 100% |
| Attack | 2,300 |
Awakening Progression: Peak Damage Thresholds
Awakenings transform Hotori into a defense-shredding monster. The progression focuses on reducing energy friction and maximizing nuke potential.
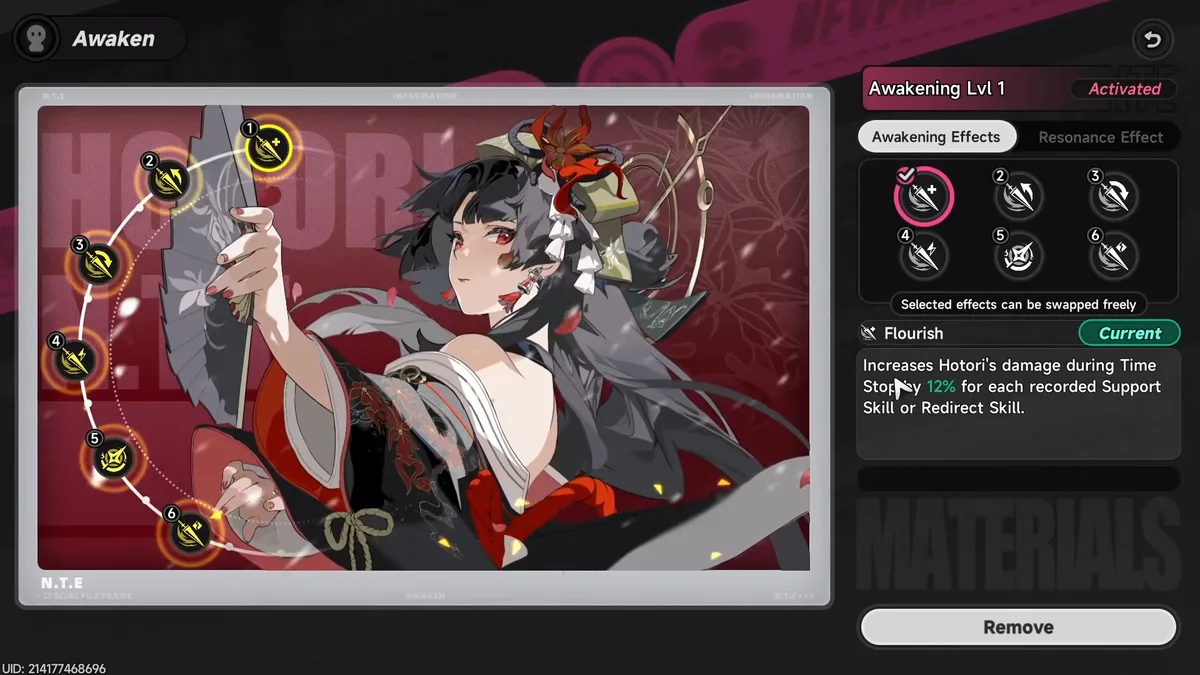
| Awakening | Effect | | ——— | —————————————————————————– | | A1 & A2 | 12% damage boost per recorded skill and a 20% flat increase during time-stop | | A3 & A4 | Energy sustain nodes. A3 recovers skill energy; A4 rewards multi-target kills | | A5 | 15% team damage boost against solo targets (Boss-killer node) | | A6 | 30% Defense Ignore during the Ultimate — the ultimate milestone |
Priority Path: A1 > A2 > A6 > A3 > A4 > A5
The 79% Defense Shred Calculation
By reaching A6 and combining it with the Signature Arc and Lost Radiance set, Hotori achieves 79% cumulative Defense Shred (24% + 25% + 30%). This makes A6 mathematically superior to the energy sustain of A3–A5 in endgame scenarios.
Strategic Synergies: Team Compositions and Rotations
![]() Zero
is Hotori’s most essential partner.
Zero’s ability to provide instant restoration to the Esper Cycle meter is what
allows for ultra-fast recording cycles.
Zero
is Hotori’s most essential partner.
Zero’s ability to provide instant restoration to the Esper Cycle meter is what
allows for ultra-fast recording cycles.
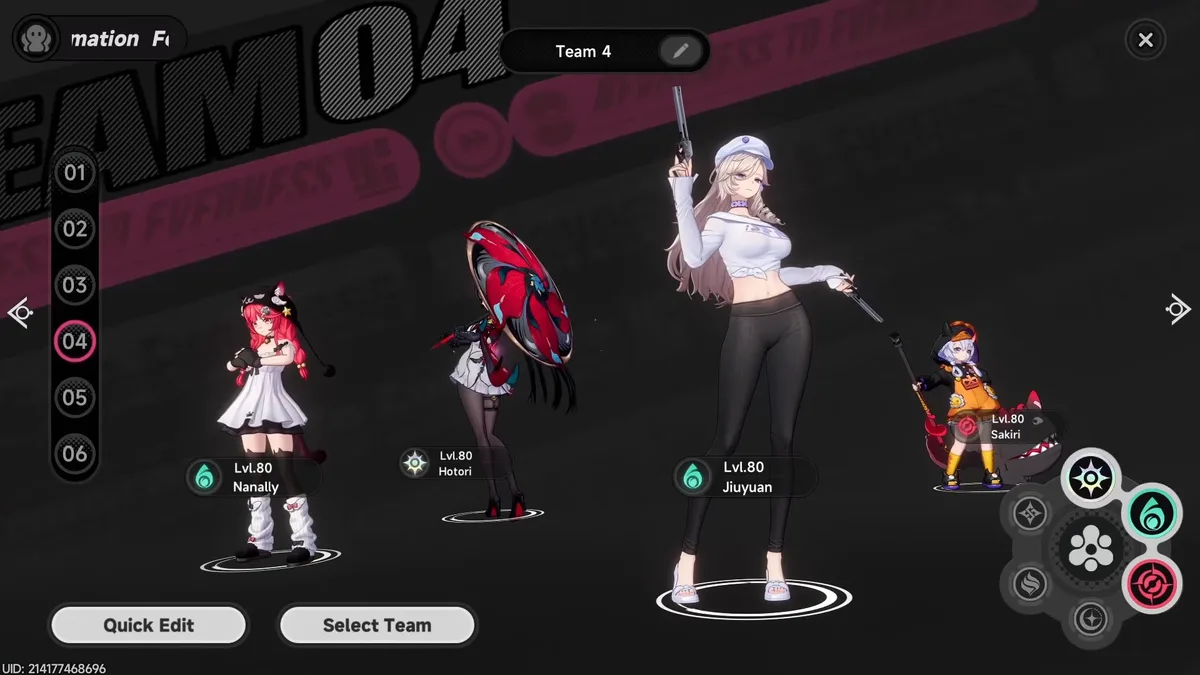
General Purpose / Max Damage Team


Rotation:
- Hotori: Skill (Enter Recording)
-
 Sakiri
: Skill > Ultimate
Sakiri
: Skill > Ultimate - Zero: Skill
-
 Jiuyuan
: Support Skill (Triggers Blossom) > Hold Skill > Ultimate
Jiuyuan
: Support Skill (Triggers Blossom) > Hold Skill > Ultimate - Zero: Ultimate (Restores Esper Cycle meter)
- Hotori: Ultimate (Stage 1 Frozen Replay > Stage 2 Basics)
High-Risk Commission / Boss Variant
Use
![]() Nanally
Nanally
’s sustain to chip bosses, utilizing Hotori as a sub-DPS nuke.
Rotation:
- Hotori: Skill
- Jiuyuan: Support Skill > Ultimate
- Sakiri: Support Skill > Ultimate
- Nanally: Support Skill > Skill > Ultimate > Basic Spam
- Hotori: Support Skill > Ultimate
Flex Roles
Characters like
![]() Daffodill
,
Daffodill
,
![]() Hathor
,
Hathor
,
![]() Skia
, or
Skia
, or
![]() Fadia
can fill slots 3 and 4. The requirement is simple: they must have high-impact Redirect or Support skills that can be recorded instantly.
Fadia
can fill slots 3 and 4. The requirement is simple: they must have high-impact Redirect or Support skills that can be recorded instantly.
Mastering Hotori is about managing the off-field clock. You have exactly 20 seconds to cycle your supports and prime the Esper Cycle meter. When that Time Energy meter hits 120, the field must be ready for her temporal sovereign execution. Maximize the Blossom deployment windows, and you will effectively break the NTE damage curve.
Video Guide
Related Neverness to Everness Resources
Guide
Pixel Search Double Drops: Best Dungeon to Farm
Which anomaly zone is actually worth spending your Character Pixels on during the Pixel Search double drop event? A quick breakdown of all four dungeons.
Guide
Fight Championship: Complete Fight Club & Challenge Mode Guide
A full walkthrough of the Fight Championship event in NTE v1.1 — covering PvP mechanics, how to unlock Challenge Mode, defeating Tornado, and all three prison escape methods.
Guide
The Long Dream: All 8 Lacrimosa Locations
Find all eight Lacrimosa locations for The Long Dream event in NTE v1.1. All spots are accessible immediately — no need to wait for the time-gated hints.
News
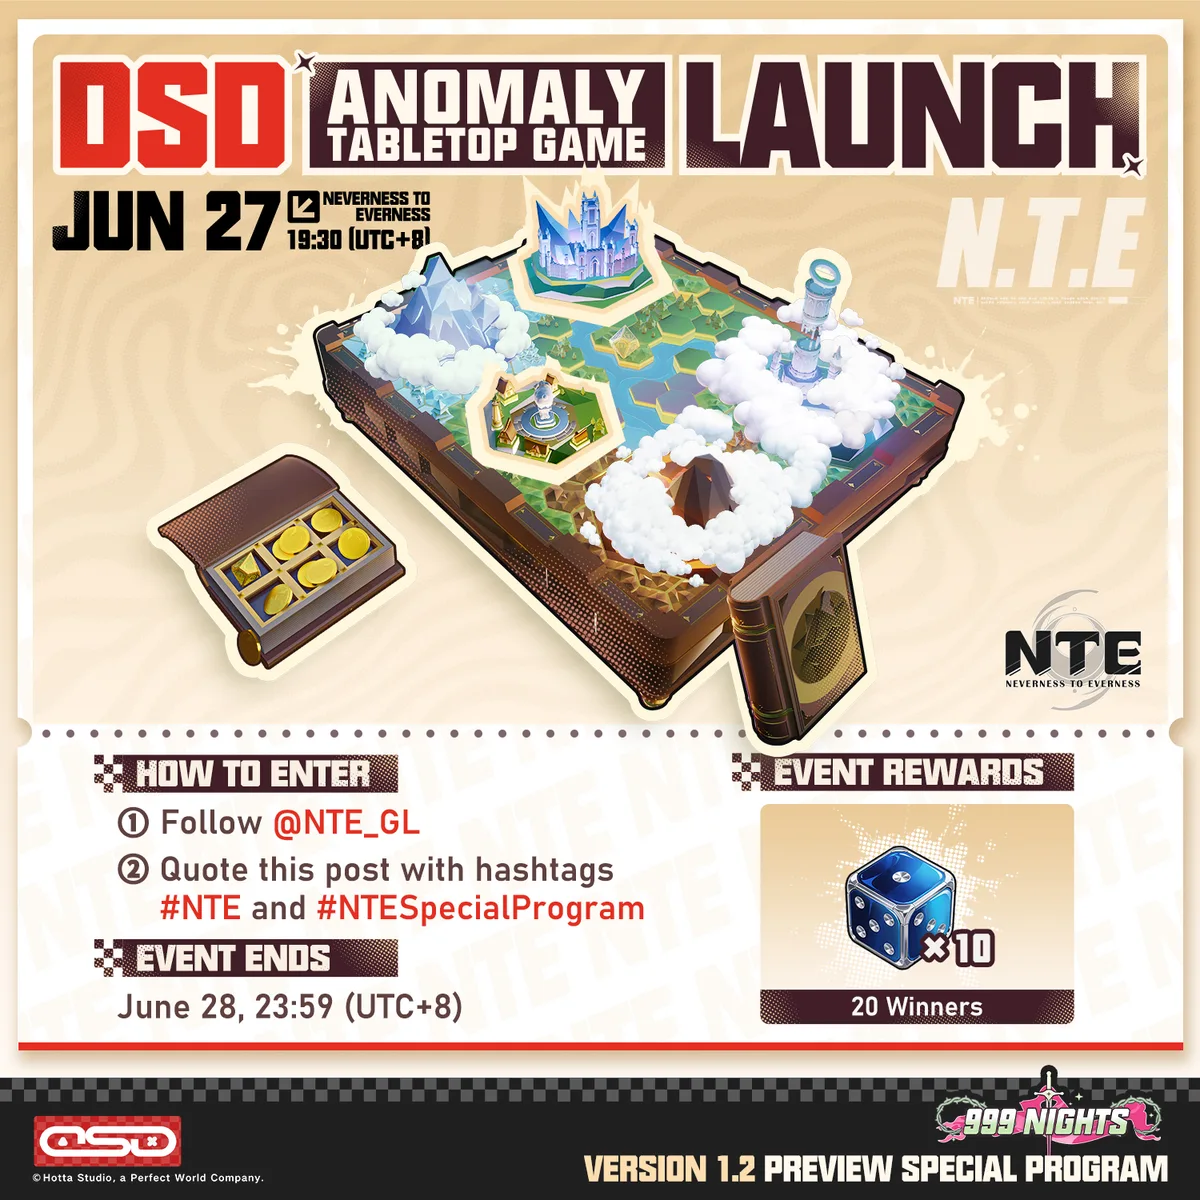
NTE Version 1.2 "999 Nights" Preview Special Program — Watch Live June 27
The NTE Version 1.2 '999 Nights' Preview Special Program streams June 27 at 19:30 UTC+8 on YouTube and Twitch. Follow and quote with #NTESpecialProgram for a chance to win Fabricated Dice ×10.
News
NTE June 24 Server Maintenance: S-Class Chaos, New Arc, and Fight Club
NTE undergoes server maintenance on June 24, 06:00 – 11:00 UTC+8. The update introduces S-class character Chaos, the new S-class Arc 'What's Desired', liveries, and a new minigame.