


Strategic Overview
The version 1.0 launch of Neverness to Everness establishes a technical landscape where the opportunity cost of initial resource allocation dictates long-term account health. Differentiating between “favorite-based” pulling and “meta-based” pulling is the primary lever for bypassing artificial progression walls.
The NTE hierarchy is divided into tiers T0 through T3:
- T0 — Meta-defining units that trivialize endgame friction. Essential for optimized play.
- T1 — The professional standard. Flexible core units that solve specific account problems.
- T2 — Early-game builders. Functional now but risk becoming resource sinks.
- T3 — Situational picks. Investing here is almost always a “waifu over meta” decision.
1.0 Tier Overview
| Tier | Character | Primary Role | Investment Value |
|---|---|---|---|
| T0 |
|
Off-Field DPS / Hyper-Carry | High |
| T0 |
|
Rhythm-Based Main DPS | High |
| T0 |
|
Sub DPS / Insta-Cycler | Medium |
| T0 |
|
Damage Buffer / AoE CC | High |
| T0.5 |
|
Break Specialist | High |
| T0.5 |
|
High-Ceiling Main DPS | High |
| T0.5 |
|
AoE DPS / Healer | High |
| T0.5 |
|
S-Level Sustain Specialist | Medium |
| T1 |
|
Foundational DPS | Low |
| T1 |
|
Defensive Support / Shield | High |
| T1 |
|
Buffer / Support | Low |
| T1 |
|
Burst DPS | Medium |
| T2 |
|
Lakshana Burst / Stealth | Low |
| T2 |
|
Psyche DPS | Low |
| T2 |
|
Zone-Based Healer | Low |
T0: The Meta-Defining Units
T0 status is reserved for units that are not merely “strong” — they are hyper-carries and irreplaceable pillars that define the 1.0 endgame by eliminating mechanical friction.
Nanally
The gold standard for 1.0 hyper-carries.
![]() Nanally
combines massive single-target and AoE damage with unprecedented ease of use. Her anti-gravity and wall-walking mechanics provide immense value in open-world traversal, making her a “comfort pick” that scales into high-level content.
Nanally
combines massive single-target and AoE damage with unprecedented ease of use. Her anti-gravity and wall-walking mechanics provide immense value in open-world traversal, making her a “comfort pick” that scales into high-level content.
Pros
- Off-field follow-up mechanics ensure consistent DPS even during support rotations
- Low mechanical skill floor with a high damage ceiling — reduces player error in high-stress encounters
Cons
- As a primary DPS, she is the most susceptible to future power creep as newer units are released
Chiz — see Technical Deep Dive
A high-complexity, rhythm-based Main DPS with a unique Grain and Profit/Debt economy. Fully free to max via City Tycoon — the ultimate F2P carry.
Pros
- Ascensions can be maxed for free through the City Tycoon system
- Full independence makes her the perfect Plug-and-Play unit for secondary teams
Cons
- Hoarding passive requires a specialized “Protect the President” team structure
Zero (Main Character)
The game’s only insta-cycler. Fully F2P and irreplaceable for bridging Anima and Cosmos teams.
Pros
- Fully F2P to max out via story quests
- Swiss Army knife kit: AoE, healing, and team buffs in one slot
Cons
- Jack of all trades, master of none — may eventually be outclassed by specialized S-level insta-cyclers
Sakiri
The gold-standard damage buffer. Her Devour mechanic instantly deletes minions and her ultimate provides total enemy suppression.
Pros
- Devour instantly deletes minion-level threats in Beyond the Rails
- Premier partner for Nanally — fixes AoE range issues and amplifies burst windows
Cons
- Devour is ineffective against boss-level enemies
T0.5: Near-Meta
T0.5 units are one step below the absolute meta — exceptional specialists that fill critical gaps no T0 unit covers.
Daffodill
The undisputed peak of breaking stagger bars.
![]() Daffodill
is essential for any bossing roster where the Break window is the only viable time for high-multiplier damage.
Daffodill
is essential for any bossing roster where the Break window is the only viable time for high-multiplier damage.
Pros
- Unrivaled stagger bar depletion — clears high-difficulty bosses even with under-geared teams
- High utility in general mob clearing due to wide skill range
Cons
- High dependency on a secondary hyper-carry — she opens the door, but needs a finisher to close the fight
Baicang — see Technical Deep Dive
A high-ceiling boss killer whose damage can rival T0 banners when piloted by a skilled player. Operates on a complex Power Word system.
Pros
- High potential for boss execution — instantly kills standard targets under 10% HP, bosses under 5%
- Strong passive synergy with ETD-4 members (
 Skia
,
Skia
,
 Fadia
,
Fadia
,
 Lacrimosa
)
Lacrimosa
)
Cons
- High mechanical friction — poor HP management (3% per Power Word) can lead to unintended unit loss in long fights
Jiuyuan
A vital hybrid DPS/Healer who consolidates two roles into a single slot. Ranged attacks and team sustain make her a reliable early-game investment.
Pros
- High role compression: Healer + DPS in one slot
- Safest early-game investment for players who need sustain without sacrificing offensive momentum
Cons
- Damage ceiling is lower than pure hyper-carries
Fadia
A dedicated healing and support specialist. Offers consistent team sustain where other supports are unavailable.
Pros
- Reliable healing for high-friction content
Cons
- Provides less offensive utility than
 Jiuyuan
or
Jiuyuan
or
 Adler
Adler
- A “safety net” unit: prevents wipes but doesn’t speed up clears
T1: The Professional Standard
T1 units represent the flexible core of the meta — balancing utility with strong damage output.
Adler
An A-Rank unit that punches significantly above his base rarity. Provides massive shielding and consistent DoT, making him a versatile slot-in for almost any team.
Pros
- High accessibility as an A-Rank unit
- Shielding and DoT provide both a sustenance floor and offensive pressure
Cons
- Lacks the pure damage multipliers of S-Rank main carries
- A mandatory build for F2P players — his value is in enabling survival, not in being optional
Hathor
The premier energy battery and AoE DPS specialist. Her primary value lies in accelerating the team’s Ultimate frequency.
Pros
- Exceptional team energy generation
- Reduces Energy Recharge requirements on your Main DPS — freeing stats for Crit Damage
Cons
- Outclassed in raw damage by units like
 Baicang
Haniel
An accessible, low-barrier buffer with a simple switch-in/switch-out loop.
Pros
- Easy to obtain and max out
- Simple switch-in, buff, switch-out loop with low mechanical friction
Cons
- Buffs are prone to interruption in high-mobility boss encounters
- Lower stat ceilings and buff percentages than Sakiri
Mint
A straightforward Anima attacker. A godsend for F2P players who can max her early, but a resource trap for high-end accounts.
Pros
- As an A-level character, significantly easier and cheaper to max out early
- Strong F2P value for players who need an early carry
Cons
- Damage ceiling pales in comparison to S-level carries
- High-end players should redirect resources to Hotori or Lacrimosa
T2: Situational / Niche
These units serve specific early-game niches but suffer from inevitable fall-off in high-level content.
Aurelia
Newest Psyche-element DPS with moderate AoE. Extremely accessible but a low-priority investment given upcoming power creep.
Pros
- Extremely accessible as a 3-day login reward
Cons
- Lower A-level stat lines and a simplistic kit
- Low-priority investment given the impending arrival of Hotori
Edgar
A zone-based healer with restrictive positioning. His healing requires staying within a small Ultimate field — often impossible in mobile boss fights.
Skia
A mobbing specialist with unique stealth mechanics. His niche is already filled by stronger A-Rank units.
Skia Tech: Switching to
Technical Deep Dive
— The Power Word System
![]() Baicang
generates Power Words via Normal Attacks and Skills:
Baicang
generates Power Words via Normal Attacks and Skills:
| Power Word | Source | Effect |
|---|---|---|
| Silence | Normal Attacks | Single-target |
| Objurgate | AoE Skill | Area damage |
| Bless | HP Skill | HP restore |
Judgment of Autumn (Ultimate)
- Execution: Instantly kills standard targets under 10% HP and bosses under 5% HP.
- Fatal Hit Block: Baicang becomes immune to one fatal hit. He “records” the damage, ends the domain 3 seconds later, and bleeds that recorded damage over 10 seconds.
HP Friction: Summoning any Power Word consumes 3% of Baicang’s current HP (halved when below 50% HP). Poor management in long fights can lead to unintended unit loss.
ETD-4 Synergy
Baicang passively attacks alongside ETD-4 members (
![]() Skia
,
Skia
,
![]() Fadia
,
Fadia
,
![]() Lacrimosa
). The Skia Tech — switching to Baicang while Skia is stealthed — immediately triggers an attack and generates 1 Power Word Silence.
Lacrimosa
). The Skia Tech — switching to Baicang while Skia is stealthed — immediately triggers an attack and generates 1 Power Word Silence.
Priority Investments
- Ascension: Blurred Numeral, Nest Guard Fragment
- Skills: First Expectations, Good Boy Stamp
— The Grain Market
![]() Chiz
’s gameplay is a zero-sum game that dictates the entire team’s rotation.
Chiz
’s gameplay is a zero-sum game that dictates the entire team’s rotation.
The Grain Market: Her Ultimate (Zero-Sum Game) initiates a 7-second Grain Market window. All Grain Loans (Debt) convert to Grain, and she enters a Profit status.
Grain Price Fluctuations: Her Redirect Skill damage is determined by the Grain Price at the moment of activation or phase shift.
The Hoarding Problem: Her passive increases her own Charge Efficiency by 20%, but prevents all other team members from gaining Charge while on-field. When the Market expires or she switches out, all current Grain must be used to repay Grain Loans.
Team Building Requirement: Chiz requires a specialized “Protect the President” team where other units do not need Charge to function, as she will monopolize the team’s energy economy.
Strategic Outlook for 1.0
The launch window favors the Break efficiency of
![]() Daffodill
and the off-field consistency of
Daffodill
and the off-field consistency of
![]() Nanally
. While
Nanally
. While
![]() Baicang
and
Baicang
and
![]() Chiz
offer high damage ceilings, they introduce mechanical risks that can lead to kit friction.
Chiz
offer high damage ceilings, they introduce mechanical risks that can lead to kit friction.
Recommended priority for new accounts:
- First: Secure
 Nanally
or
Nanally
or
 Chiz
as your T0 anchor
Chiz
as your T0 anchor - Second: Add a T0.5 specialist —
 Daffodill
for bossing or
Baicang
for high-ceiling single-target
Daffodill
for bossing or
Baicang
for high-ceiling single-target - Third: Build the Flexible Core —
Adler
and
 Hathor
to support your main DPS
Hathor
to support your main DPS - Fourth: Add a sustain option (
Jiuyuan
or
Fadia
) based on content demand
- Avoid: Heavy investment in T2 units until your T0–T1 core is fully developed
Related Neverness to Everness Resources
Guide
Shinku: Rotation & Team Composition Guide
A practical F2P guide to Shinku's kit, best A0 team, gear, and rotation in Neverness to Everness.
Guide
999 Nights: Mystery Button Farming Guide
Farm Mystery Buttons efficiently in NTE's 999 Nights Nightmare mode with this Eclipseflame team setup, Mythic accessory priorities, and semi-AFK plus manual farming routes.
Guide
Iroi: Deleting Bosses in 999 Nights Nightmare Mode
Build Iroi into a boss-melting machine for NTE's 999 Nights Nightmare mode by stacking White Lightflame with Zero, Mint, and Shinku support.
News
NTE July 16, 2026 Hotfix Patch Notes
NTE deploys a hotfix on July 16, 2026 at 14:00 UTC+8. The patch fixes Shinku bugs, 999 Nights issues, auction house behavior, and more.
News
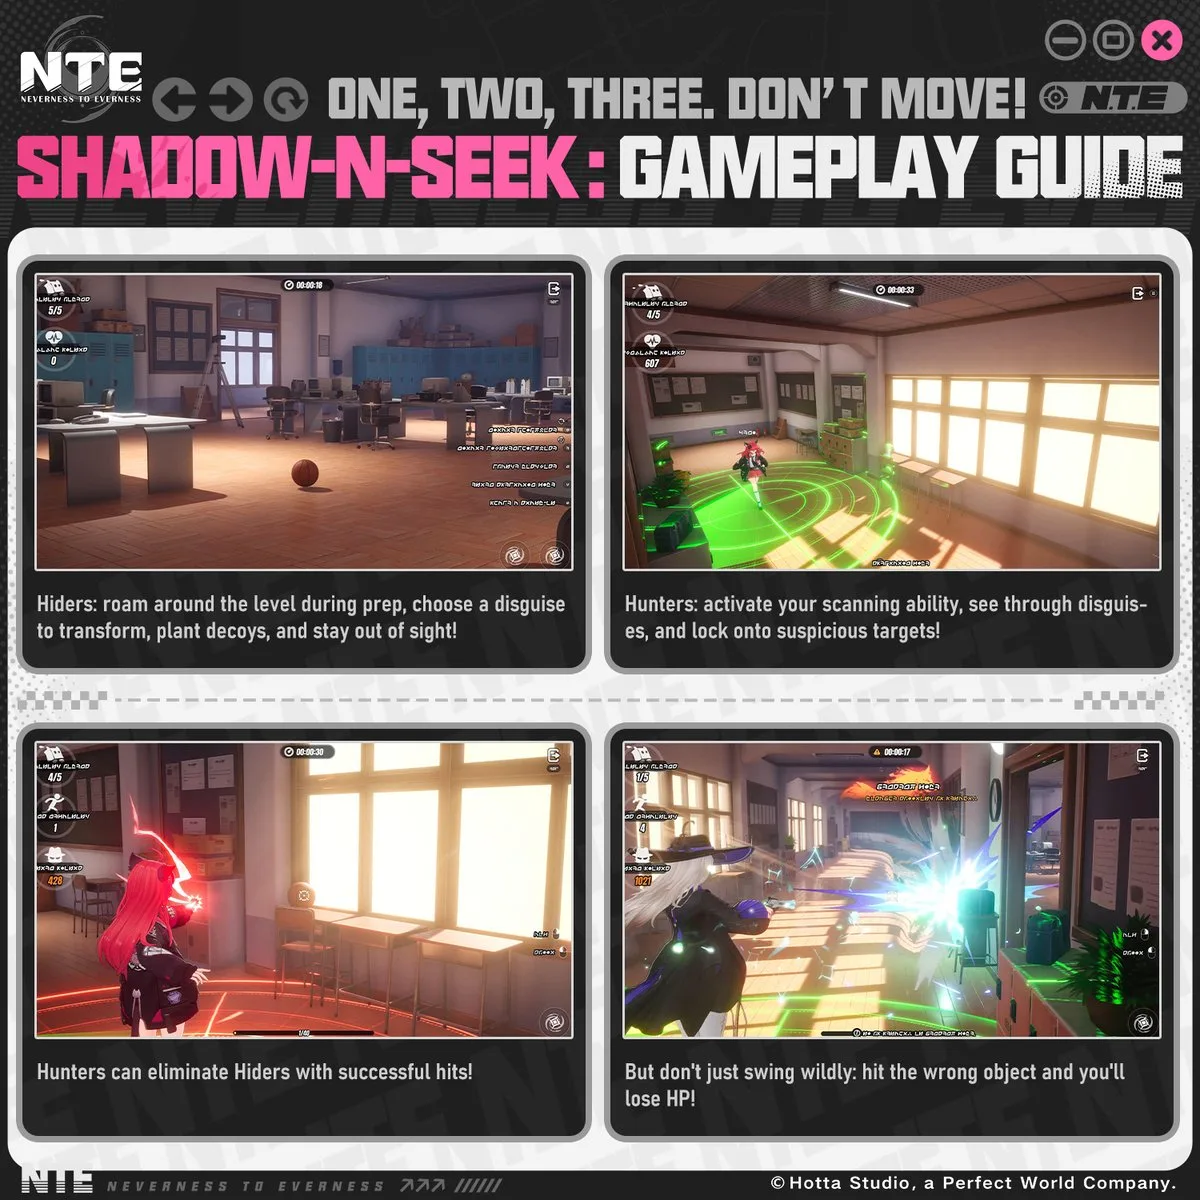
NTE Shadow-n-Seek Event Guide: Dates, Roles, and Rewards
NTE's Shadow-n-Seek asymmetric PvP event runs July 17 to August 19, 2026. Learn the Hider and Hunter rules, win conditions, and Shadebound Shop rewards.