
































Duskmoor is the newest district in Hethereau, and it comes with six Anomaly Commissions of its own. A couple of them are ordinary fights you can walk into and finish on the spot, while the rest need a specific time of day, a vehicle, or an object interaction before the anomalies even show up. This walkthrough covers where each one sits, what triggers it, how to solve it, and what it pays out.
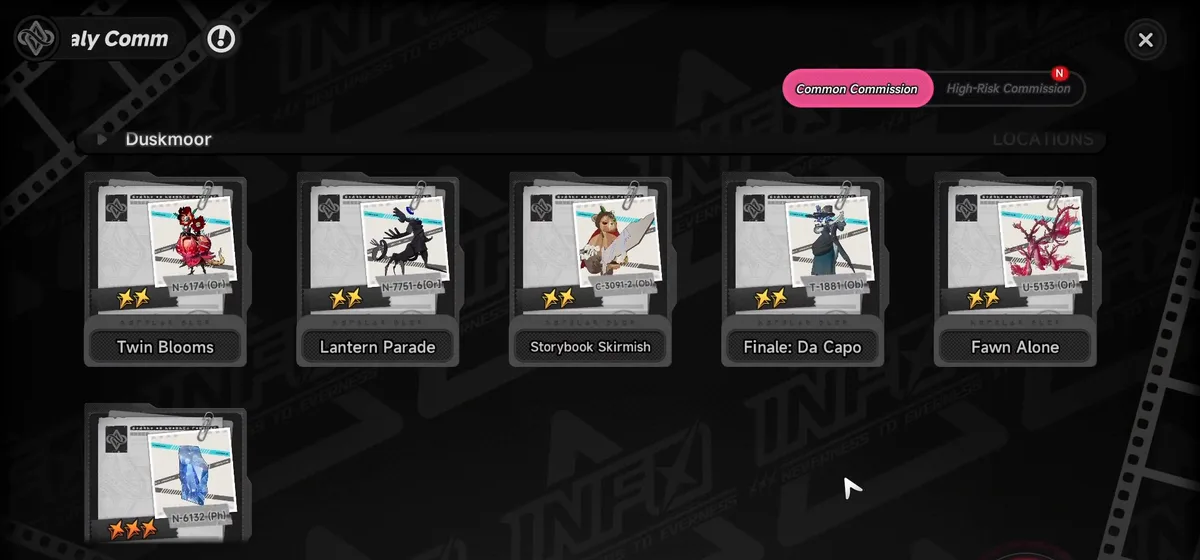
Open the Anomaly Commission menu, expand the Duskmoor group under Common Commission, and track a commission from there to drop its marker on your map. Five of the six are two-star commissions worth 20 Annulith each plus Carrota and Hunter EXP. Sunken Door is the lone three-star, and it pays 30 Annulith, Silver Carrota and Anomaly Material Selection Boxes.
Fawn Alone
Track the commission and ride out to the marker. The anomalies here only appear in the evening, so set the in-game time to around 8:00 PM before you arrive. If the spot is empty when you get there, ride a short distance away and come back — they spawn on approach.
This one is a chase, and you have to be on a vehicle for it to count. Once the anomalies bolt, they leave a trail of red glowing lights marking the path they take. Following those lights exactly as they appear drags you through a string of pointless detours, so read where the trail is heading and cut across toward the next light in the chain while keeping your speed up.
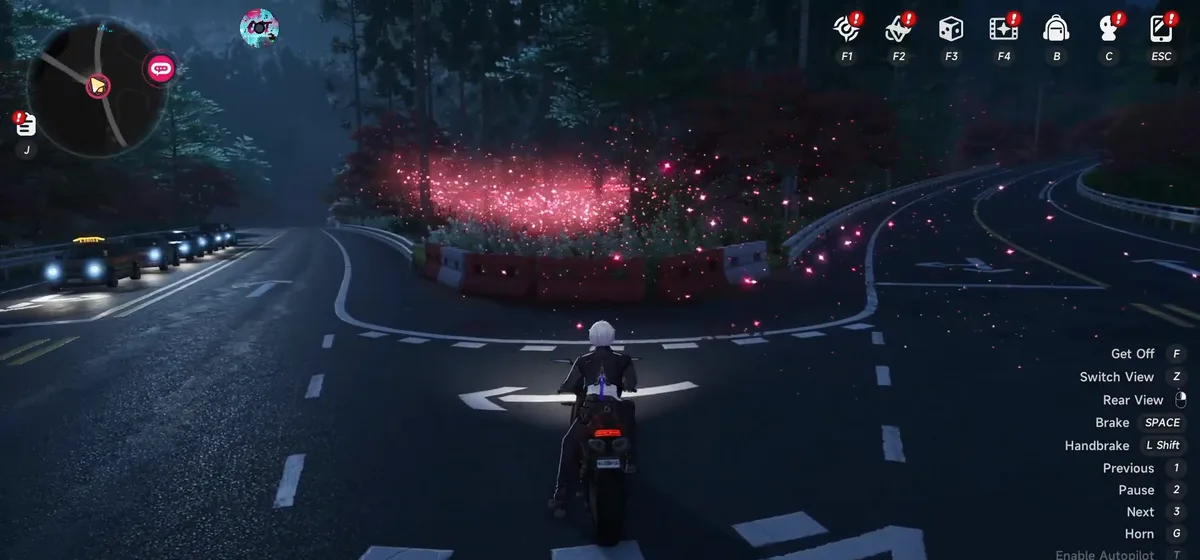
There is a steep hill partway along the route that most bikes struggle with. Dismount and climb it on foot if your vehicle keeps sliding back down, then summon it again and get back on before you reach the anomalies — catching up to them on foot leaves the commission unfinished.
Lantern Parade
Track the commission and head to the marker at the Delta gas station in the north of Duskmoor. The trigger is a two-step interaction:
- Interact with the sheet of paper stuck to the road sign beside the station.
- Move to the pole right next to that sign and interact with it as well.
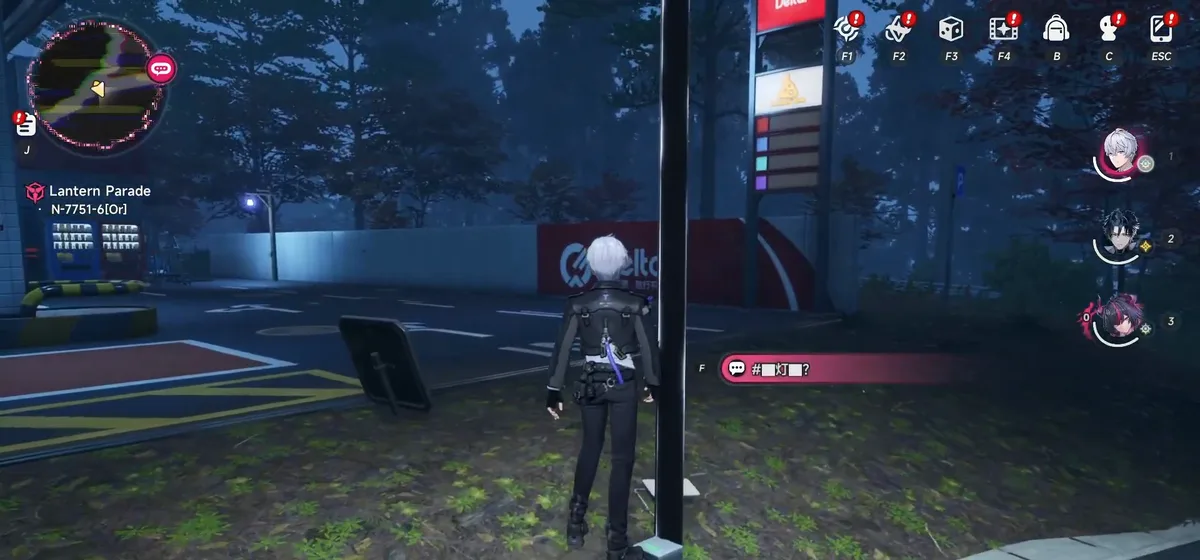
A shadow crawls out of the pole and starts moving. Stay on it and follow wherever it goes, since it leads you straight to the anomalies. The last stretch is a straightforward clean-up fight, and the commission completes the moment the whole group is down.
Twin Blooms
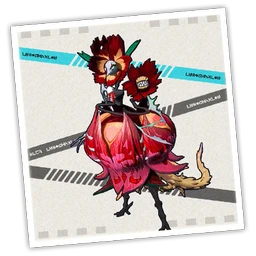
Head to the marker and expect company the second you arrive. The exploding anomalies that rush you can be ignored entirely — the objective targets are the giant Divergent Flowers pictured on the commission poster, standing in the red mist further into the woods.
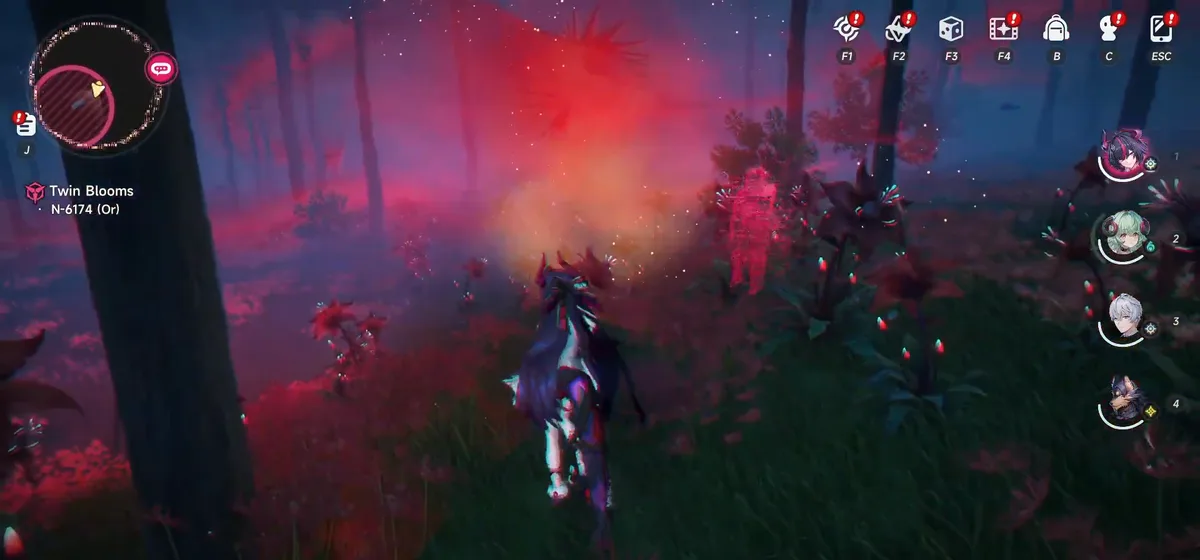
Push through the mist, take the flowers down with straight physical damage, and the commission wraps up. The exploders keep harassing you the whole way, so leave yourself room to dodge while you focus the flowers.
Finale: Da Capo
Go to the marker and you will find two Scarlet Phantoms keeping each other company. Walk up close and a Contain? prompt appears — take it, and the pair performs one last dance as though they know their time is up.
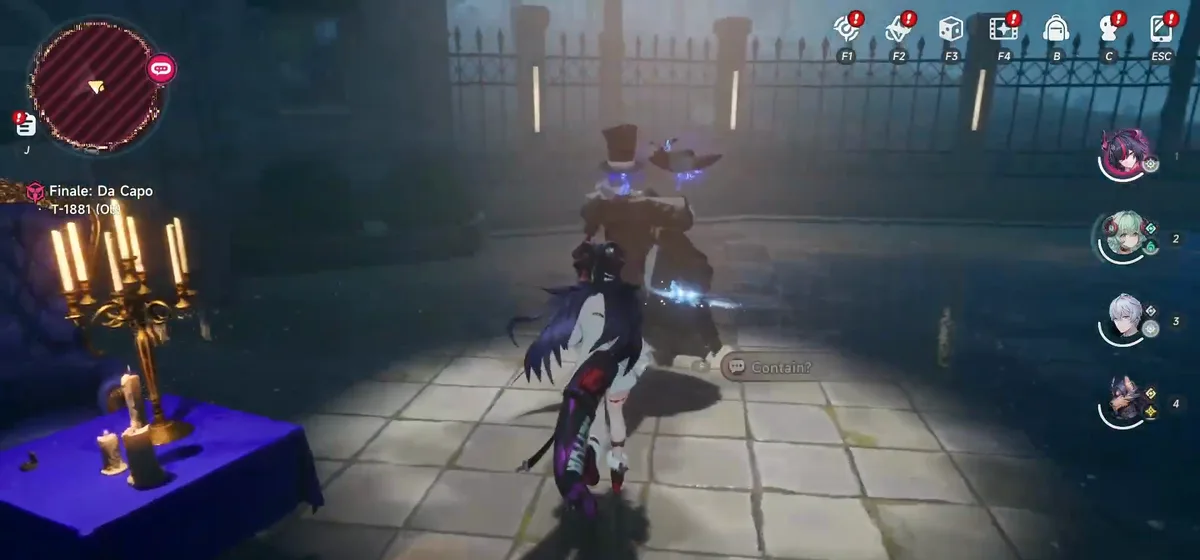
Once the dance ends, interact with the ring on the candlelit table and let the scene play out to the finish. That closes the commission.
A Lv. 65 anomaly is still standing in the area afterwards, and taking it down is worth another 20 Annulith. It is entirely optional, so walk away if you would rather leave it in peace.
Sunken Door
The three-star of the set, sitting out in the middle of Teardrop Lake. Teleport to the nearest ReroRero Phone Booth, then ride down to the marked spot on the shoreline.
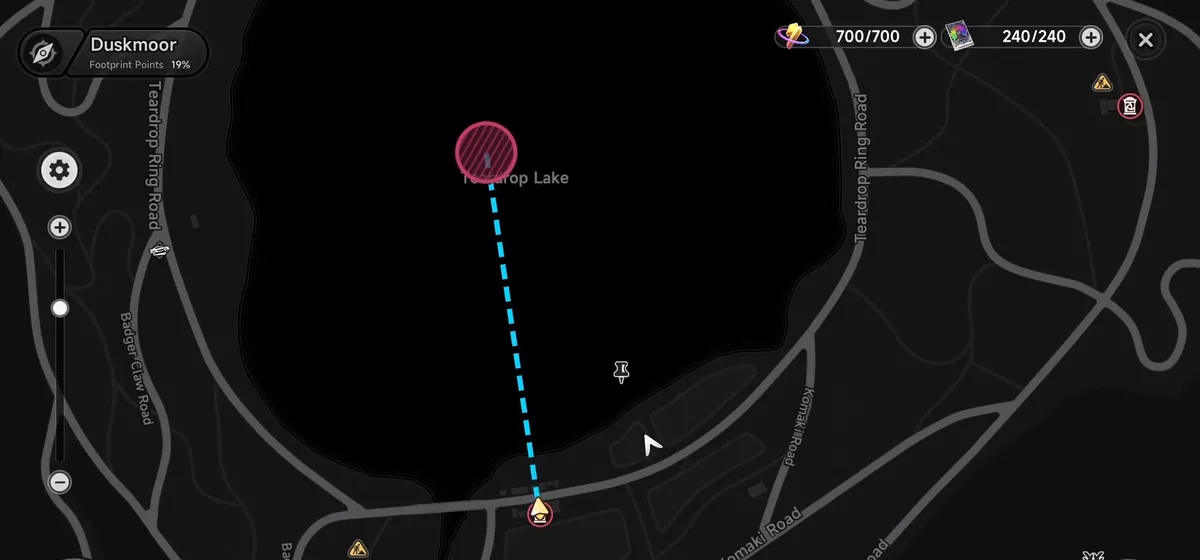
- Summon a boat at the water’s edge and get onto the lake.
- Drive out toward the marker until a strange gate rises out of the surface.
- Enter the gate and defeat the Mirror Wraith waiting inside.
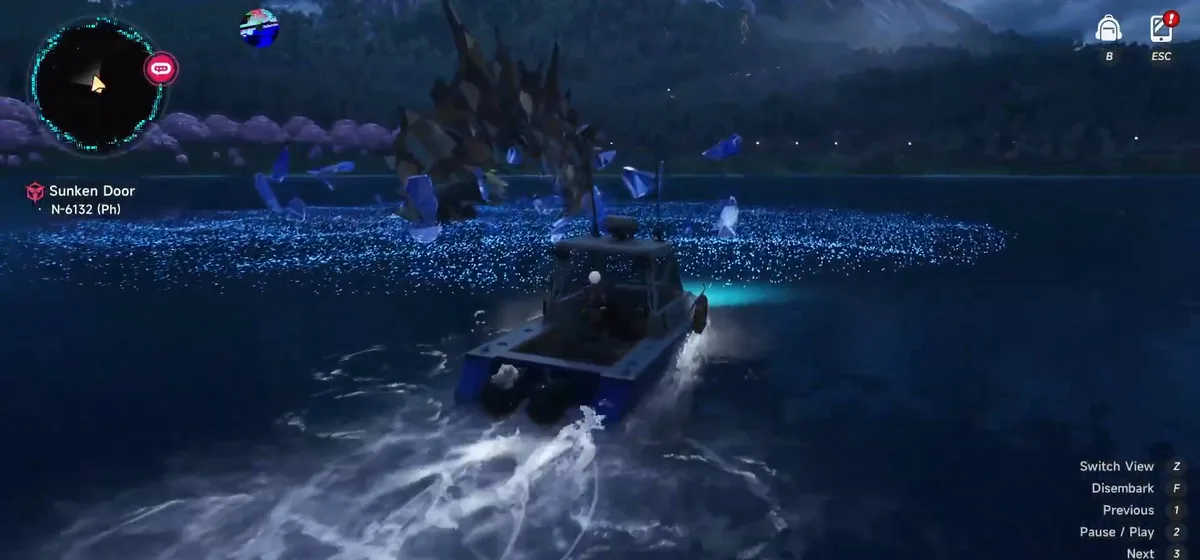
The Mirror Wraith hits considerably harder than anything else on this list, so bring a team you have actually levelled and stay disciplined with your dodges. The payout matches the difficulty: 30 Annulith, 40 Silver Carrota and four Anomaly Material Selection Box I.
Storybook Skirmish
The simplest of the six and a plain anomaly hunt. Track it, ride to the marker, and clear the fight: Saddy Teddy commands a pack of Tin Soldiers, and the commission itself recommends putting Saddy Teddy down first before mopping up the soldiers.
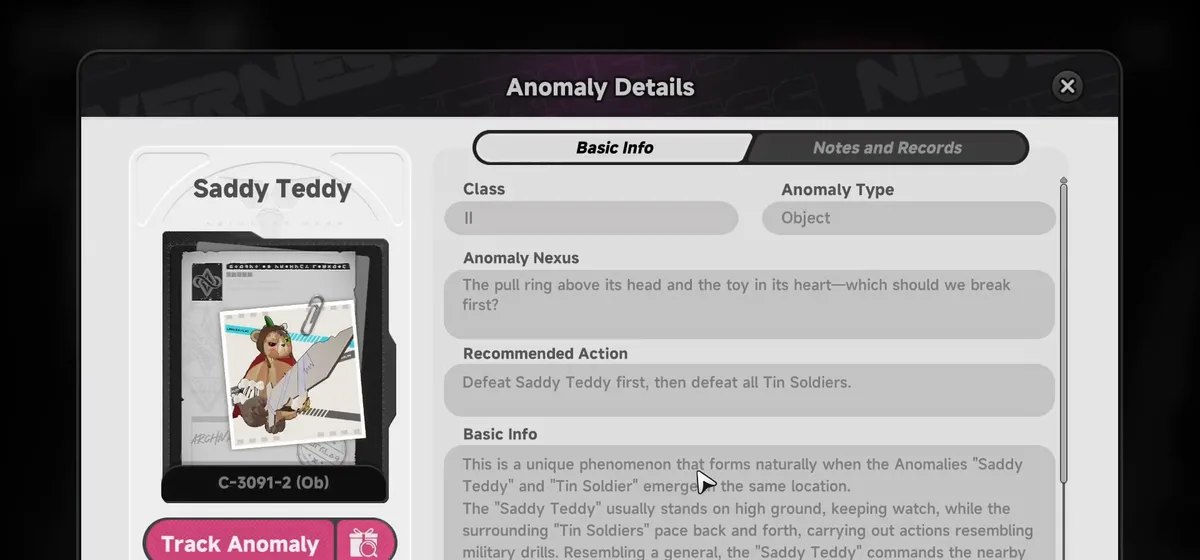
There is no time window, no vehicle requirement and nothing to interact with here. Clear the fight and the commission is done.
That covers every Anomaly Commission in Duskmoor. Fawn Alone and Sunken Door are the two worth planning around, so line up the evening time window and have a boat ready before you set out, and the rest of the district falls in a single loop.
Video Guide
Related Neverness to Everness Resources

Guide
Version 1.4 Best Team Rotations & Builds
Rotations and builds for the strongest NTE 1.4 teams: Zankou Break, Blackbird Nova and Chaos, Shinku Charge, Nanally Hexed and Hotori Blossom, with substitutes.

Guide
Blackbird: Rotation, Teams & Awakening Guide
How Blackbird's Malice, Forsaken Feather and Witch of Deliverance fit a rotation, the Nova team that suits her best, her build, and which Awakenings and signature Arc are worth pulling for.

Guide
Last Bus Out and Perfectly Common Dreams: Duskmoor Anomaly Commission Walkthrough
How to trigger and solve the two new Duskmoor Anomaly Commissions from Version 1.4: the Wayward Line bus and the Dreamaway Pillow dream.

News
NTE Akane Banner: Dazzling Star and Far Side of the Moon
Akane Rin's Dazzling Star board and the Celestial Special Arc program run October 21 to November 11, with a 90-roll guarantee and an 8-pull Arc guarantee.
News
NTE Free Rewards: Wonderlog Code, Drops, Invites
Version 1.4 brings a Wonderlog redeem code, Twitch Drops through October 13, the Blackbird's Invitation web event, a Discord relink for Annulith ×30 and a Fons ×20,000 share reward.