














Gather Resources: every material and where it comes from — Suikoden STAR LEAP
All eight gathering facilities in Suikoden STAR LEAP: what each difficulty changes, which phase of the Great Tree grows what, and every material the quarry, woodland, fields and hunting ground give.
All eight gathering facilities in Suikoden STAR LEAP: what each difficulty changes, which phase of the Great Tree grows what, and every material...
8 facilities feed the kitchen, the smith and the trading post, and they are one menu with one set of rules: a run costs the same wherever it is spent, the difficulty on offer is decided by the base's level alone, and what comes home is a material at one of five qualities. 6 of them are below; the rod and the harpoon have a page of their own.
- A run
- Spends 5 hourglasses, at every facility and every difficulty.
- Difficulty
- Which difficulties can be picked is a function of the base's level and nothing else. A higher one holds more of the pool and wants a higher score for the quality bonus.
- Quality
- Every material comes at one of five qualities, and the pool below gives the one a run starts from — the in-session bonuses stack on top of it, so a run can come home above its own floor.
- The Great Tree
- The phase decides what grows and what can be caught: Bloom, Verdant, Redleaf, Snowflake. It can be changed from the facility itself, and the hour of the day changes nothing anywhere here.
- Bond Pt.
- Pays 10 Bond Pt. to whoever is helping out, whichever facility it is.
- Skill Level
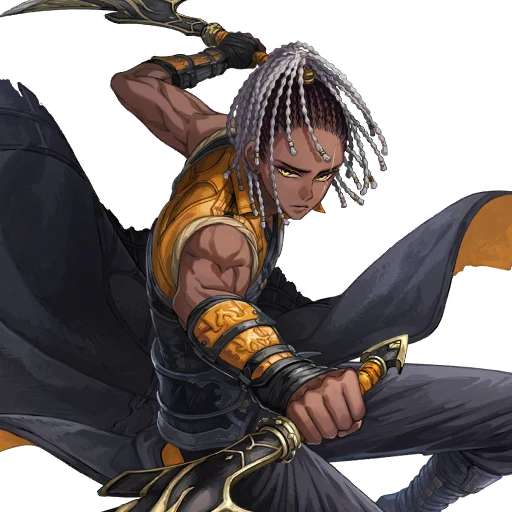
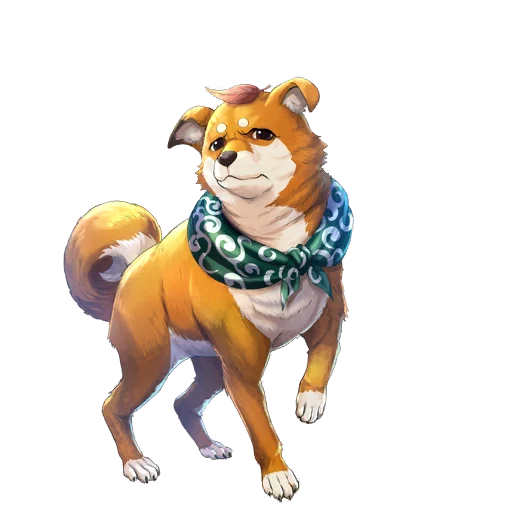
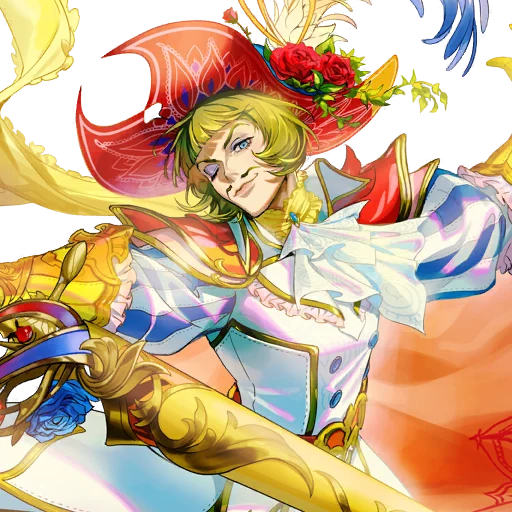
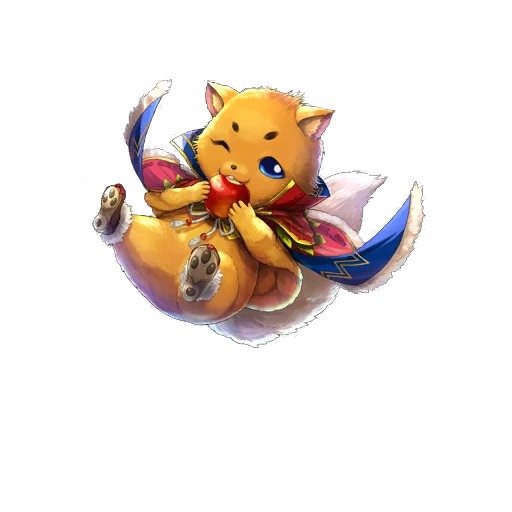
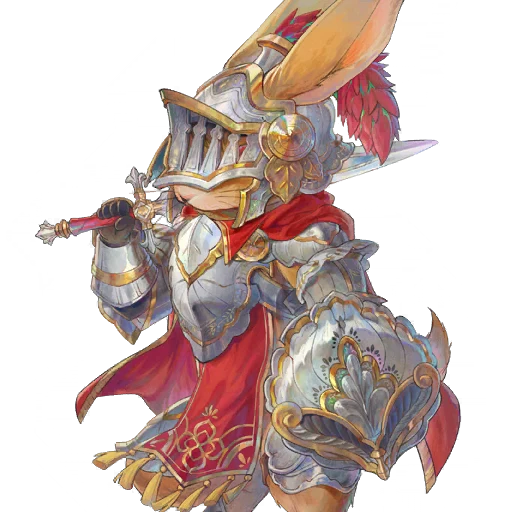
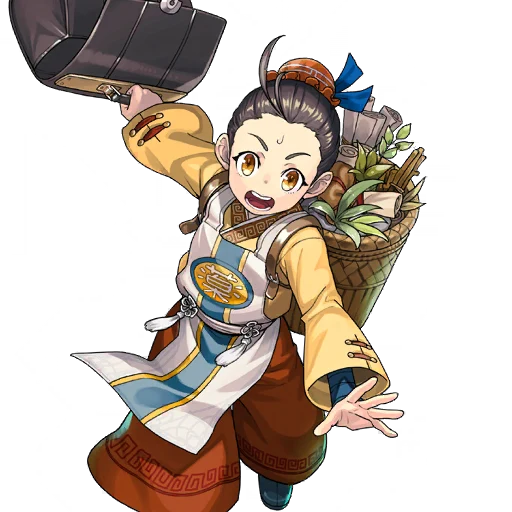
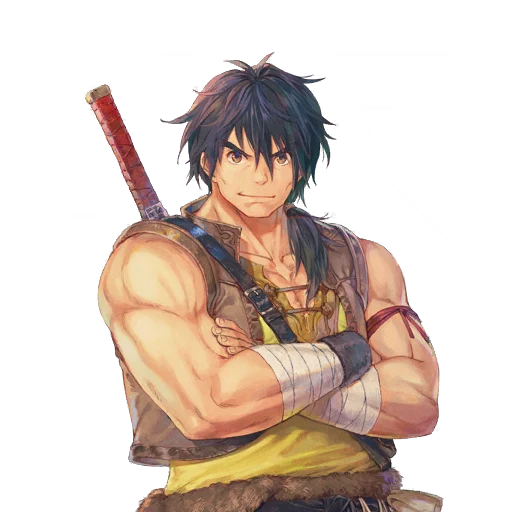
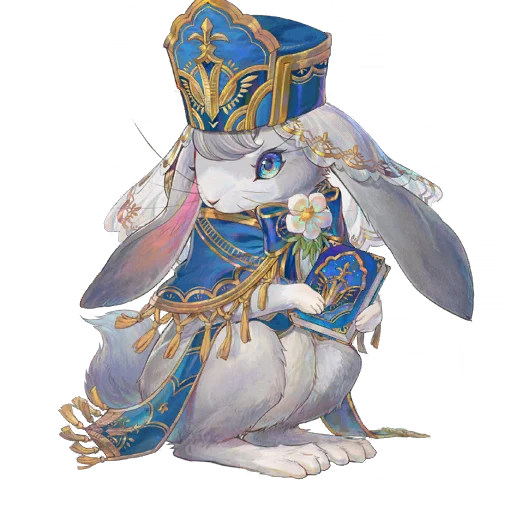
- Each facility keeps a Skill Level of its own, 20 of them on the same climb, 500 to the last one. It is not raised by working the place: the companions you have recruited raise it, and each of them suits exactly one facility.
Fishing
Use precise timing to reel in fish. What you can catch in the village change depending on the Great Tree phases. Try it during various phrases.
Open its pageVegetable Harvest
Protect your vegetables from moles that pop up in the field. Spirits of the Great Tree raise the quality of your vegetables, so don't hit them.
Difficulties
| Difficulty | Base level | Target score | What it changes |
|---|---|---|---|
| Difficulty 1 | VLG Lv. 1–11 · HQ Lv. 1–4 | 5,000 | |
| Difficulty 2 | HQ Lv. 5–11 | 6,500 | Spirit skills · Crisis mode |
| Difficulty 3 | HQ Lv. 12–14 | 7,500 | Spirit skills · Crisis mode |
What it gives
| Difficulty | Phase | Materials |
|---|---|---|
| Difficulty 1 | Bloom |
|
| Difficulty 1 | Verdant |
|
| Difficulty 1 | Redleaf |
|
| Difficulty 1 | Snowflake |
|
| Difficulty 2 | Bloom |
|
| Difficulty 2 | Verdant |
|
| Difficulty 2 | Redleaf |
|
| Difficulty 2 | Snowflake |
|
| Difficulty 3 | Bloom |
|
| Difficulty 3 | Verdant |
|
| Difficulty 3 | Redleaf |
|
| Difficulty 3 | Snowflake |
|
Diving
Catch fish by wielding your harpoon. Hitting multiple fish at once will result in a combo and increased damage. Try it when aiming for a big catch.
Open its pageHunting
Attack your prey with skill cards. If HP hits exactly 0, material quality will increase and the action counter won't be reduced.
Difficulties
| Difficulty | Base level | Target score | What it changes |
|---|---|---|---|
| Difficulty 1 | VLG Lv. 1–11 · HQ Lv. 1–10 | 5,000 | |
| Difficulty 2 | HQ Lv. 11–13 | 6,500 | |
| Difficulty 3 | HQ Lv. 14 | 8,000 |
What it gives
| Difficulty | Animal | Materials |
|---|---|---|
| Difficulty 1 | Fly Chicken HP 6 · Shields 1 · Flees after 4 turns |
|
| Difficulty 1 | White Hog HP 7 · Shields 2 · Flees after 6 turns |
|
| Difficulty 2 | Fluffy Sheep HP 9–10 · Shields 1–2 · Flees after 5 turns |
|
| Difficulty 2 | Sword Bull HP 12–13 · Shields 2 · Flees after 7 turns |
|
| Difficulty 3 | Wild Boar HP 14–15 · Shields 2 · Flees after 7 turns |
|
| Difficulty 3 | Grizzly Bear HP 18–20 · Shields 2–3 · Flees after 9 turns |
|
Grain Harvest
Harvest grains with a sickle and load it onto a cart. You can get bonuses by driving away harmful animals or finding a hidden Great Tree spirit.
Difficulties
| Difficulty | Base level | Target score | What it changes |
|---|---|---|---|
| Difficulty 1 | VLG Lv. 1–11 · HQ Lv. 1–4 | 4,000 | 2×2 field · 50s on the clock |
| Difficulty 2 | HQ Lv. 5–11 | 6,500 | 3×2 field · 60s on the clock |
| Difficulty 3 | HQ Lv. 12–14 | 9,000 | 3×3 field · 70s on the clock |
What it gives
| Difficulty | Phase | Materials |
|---|---|---|
| Difficulty 1 | Verdant |
|
| Difficulty 1 | Redleaf |
|
| Difficulty 2 | Verdant |
|
| Difficulty 2 | Redleaf |
|
| Difficulty 3 | Verdant |
|
| Difficulty 3 | Redleaf |
|
Fruit Harvest
Catch the flying fruit. Aim for a high score by catching them head-on with a perfect catch or by achieving streaks.
Difficulties
| Difficulty | Base level | Target score | What it changes |
|---|---|---|---|
| Difficulty 1 | VLG Lv. 1–11 · HQ Lv. 1–13 | 6,000 | 10 reward slots · Baskets at 10, 20, 35, 60 |
| Difficulty 2 | HQ Lv. 14 | 8,000 | Dash · 10 reward slots · Baskets at 10, 20, 35, 60 |
What it gives
| Difficulty | Phase | Materials |
|---|---|---|
| Difficulty 1 | Bloom |
|
| Difficulty 1 | Verdant |
|
| Difficulty 1 | Redleaf |
|
| Difficulty 1 | Snowflake |
|
| Difficulty 2 | Bloom |
|
| Difficulty 2 | Verdant |
|
| Difficulty 2 | Redleaf |
|
| Difficulty 2 | Snowflake |
|
Logging
Chop down trees with an axe to obtain wood. Aim for sparkling ones for higher-quality materials.
Difficulties
| Difficulty | Base level | Target score | What it changes |
|---|---|---|---|
| Difficulty 1 | VLG Lv. 1–11 · HQ Lv. 1–4 | 4,000 | 4–5 nodes |
| Difficulty 2 | HQ Lv. 5–11 | 4,000 | 5–6 nodes |
| Difficulty 3 | HQ Lv. 12–14 | 7,000 | 6–7 nodes |
What it gives
| Difficulty | Rarity | Materials |
|---|---|---|
| Difficulty 1 | Rarity 1 |
|
| Difficulty 1 | Rarity 2 |
|
| Difficulty 1 | Rarity 3 |
|
| Difficulty 2 | Rarity 1 |
|
| Difficulty 2 | Rarity 2 |
|
| Difficulty 2 | Rarity 3 |
|
| Difficulty 3 | Rarity 1 |
|
| Difficulty 3 | Rarity 2 |
|
| Difficulty 3 | Rarity 3 |
|
Mining
Use your pickaxe to hit deposits and obtain ore. Deposits glow in various colors. Aim for sparkling ones for higher-quality materials.
Difficulties
| Difficulty | Base level | Target score | What it changes |
|---|---|---|---|
| Difficulty 1 | VLG Lv. 1–11 · HQ Lv. 1–9 | 5,000 | 4–5 nodes |
| Difficulty 2 | HQ Lv. 10–12 | 5,500 | 5–6 nodes |
| Difficulty 3 | HQ Lv. 13–14 | 8,000 | 6–7 nodes |
What it gives
| Difficulty | Rarity | Materials |
|---|---|---|
| Difficulty 1 | Rarity 1 |
|
| Difficulty 1 | Rarity 2 |
|
| Difficulty 1 | Rarity 3 |
|
| Difficulty 2 | Rarity 1 |
|
| Difficulty 2 | Rarity 2 |
|
| Difficulty 2 | Rarity 3 |
|
| Difficulty 3 | Rarity 1 |
|
| Difficulty 3 | Rarity 2 |
|
| Difficulty 3 | Rarity 3 |
|
Who raises a Skill Level
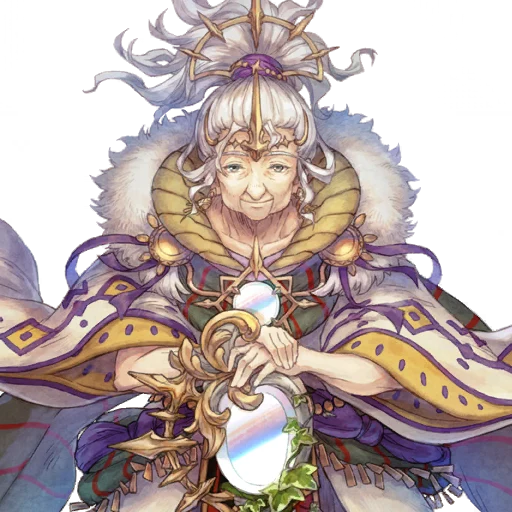
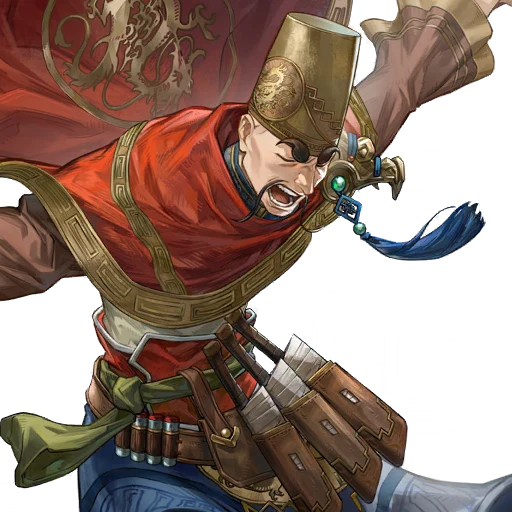
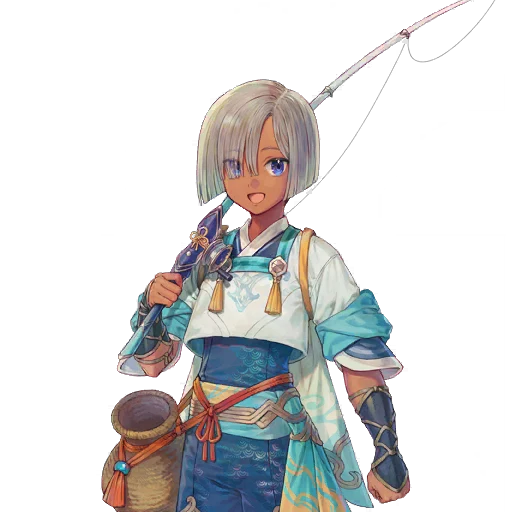
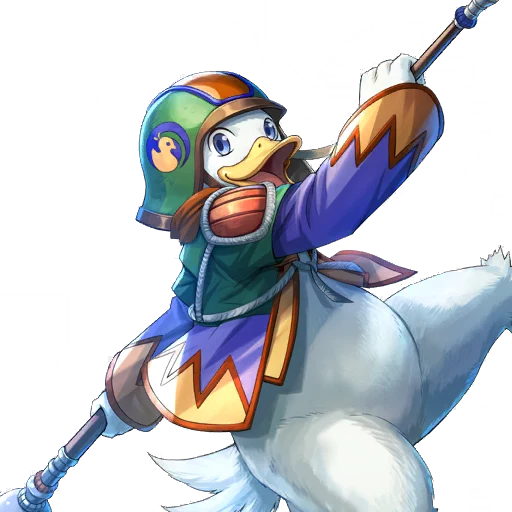
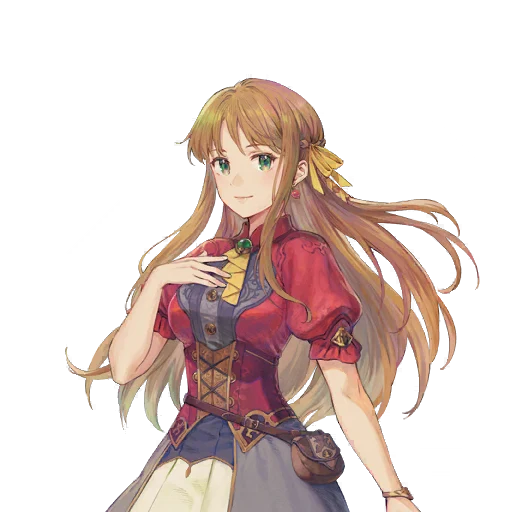
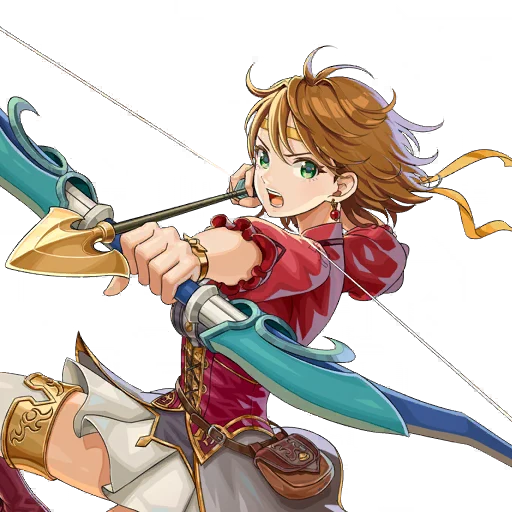
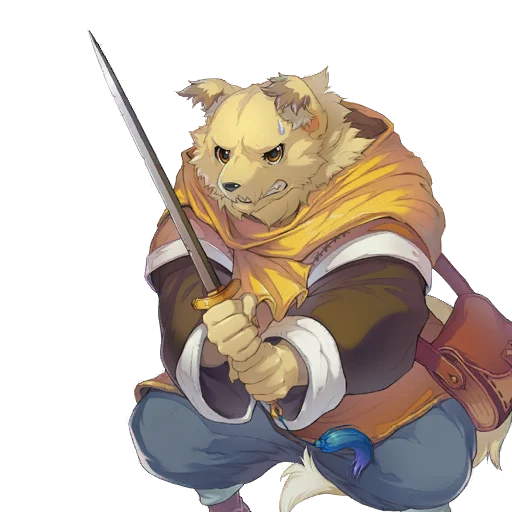
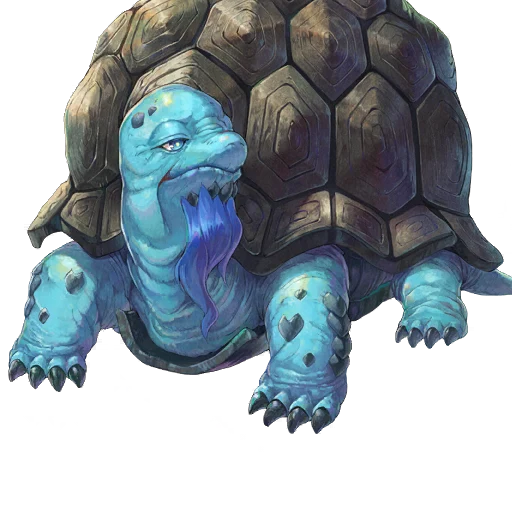
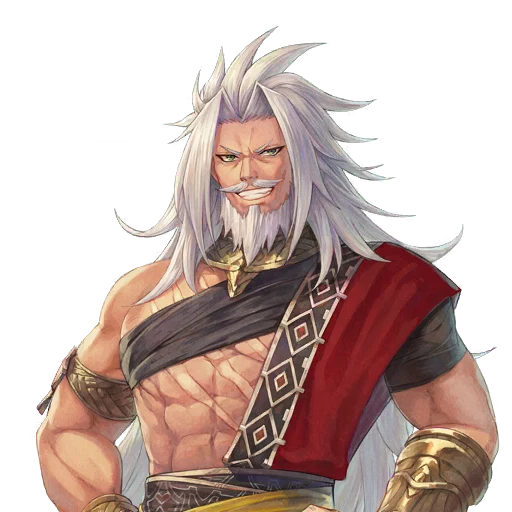
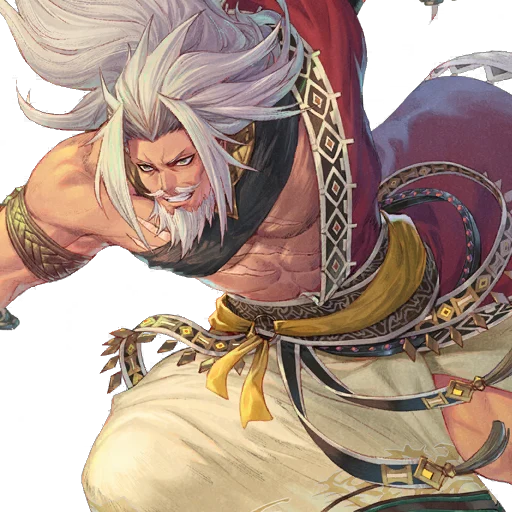
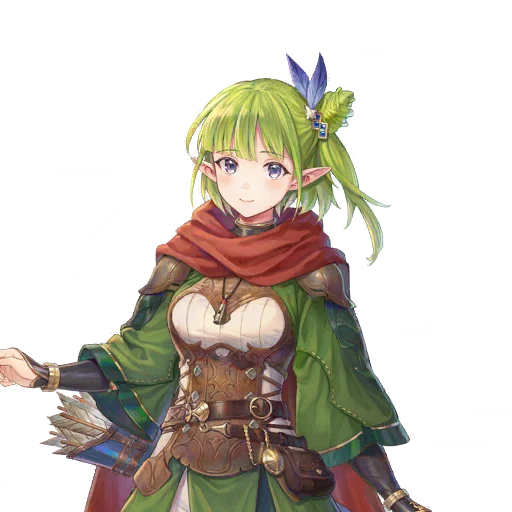
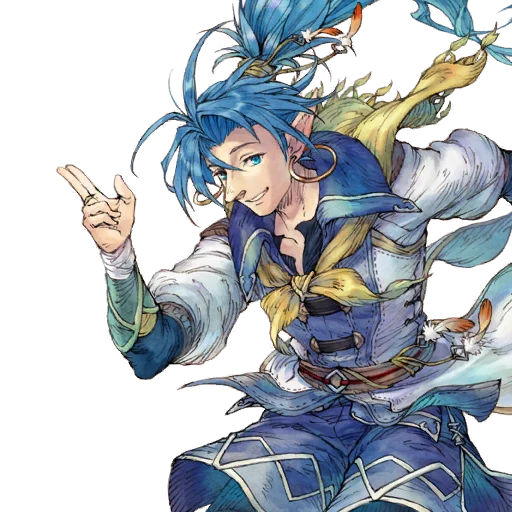
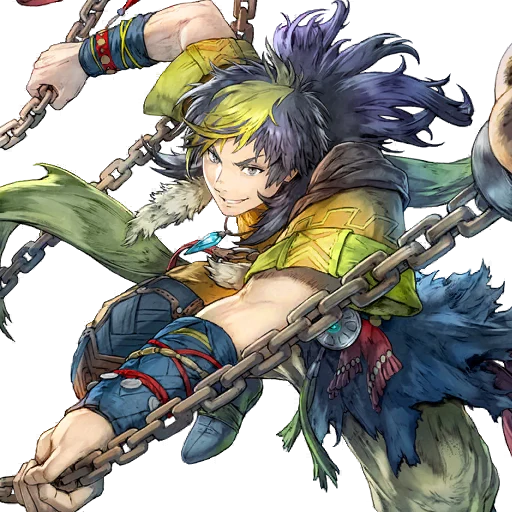
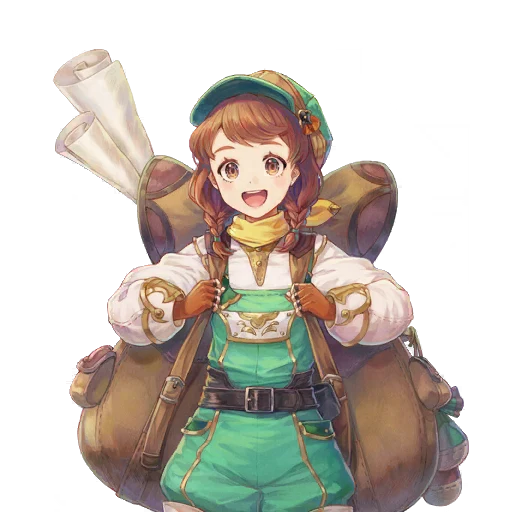
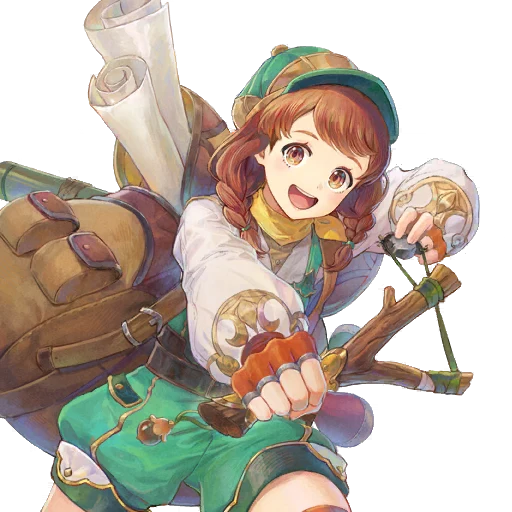
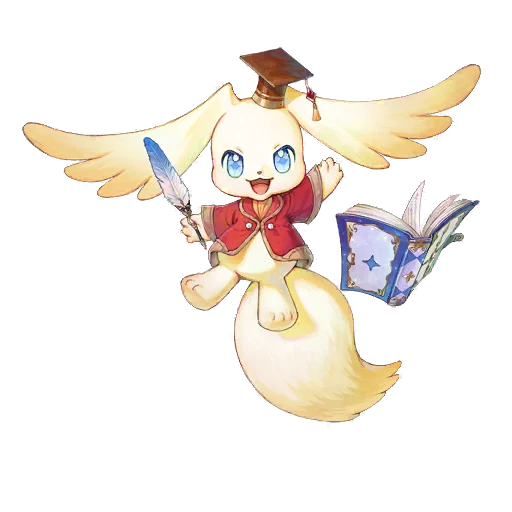
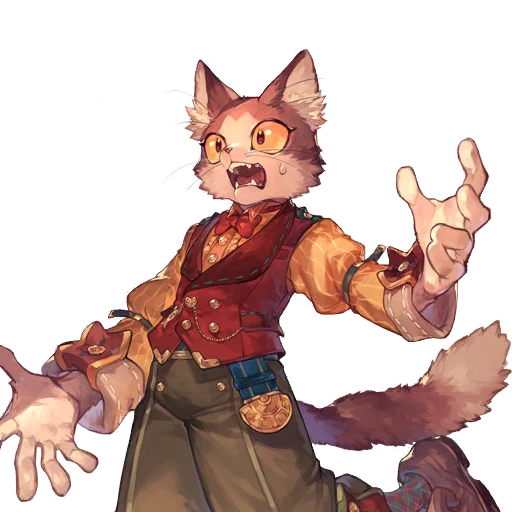
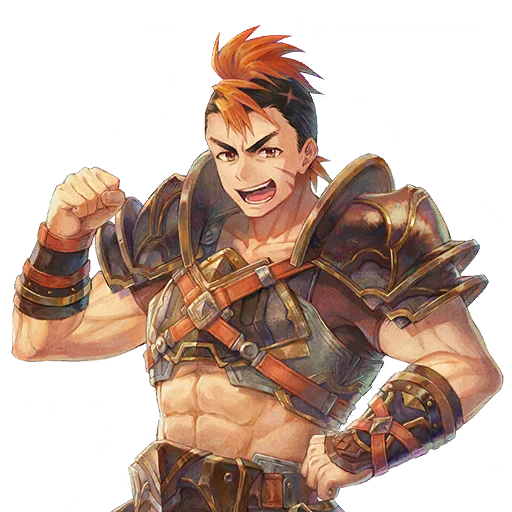
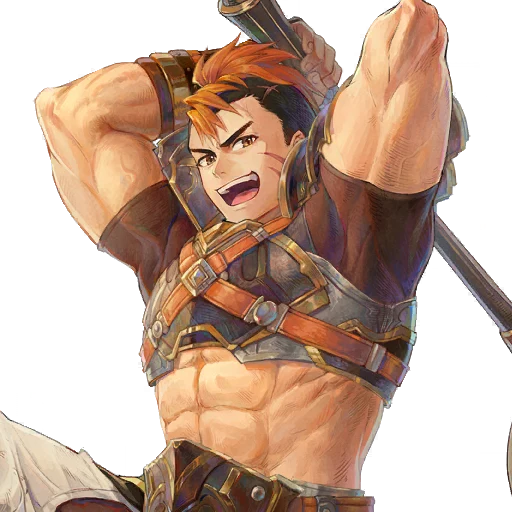
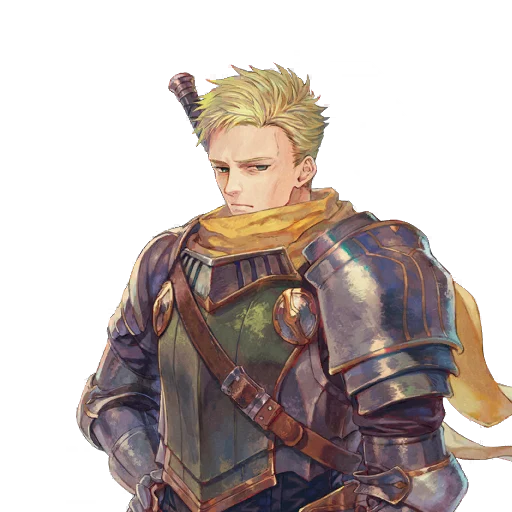
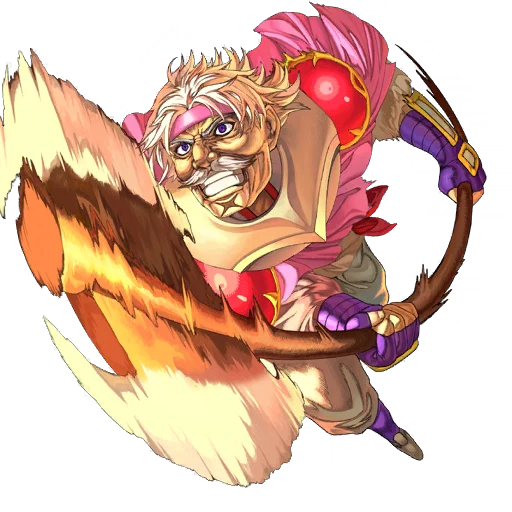
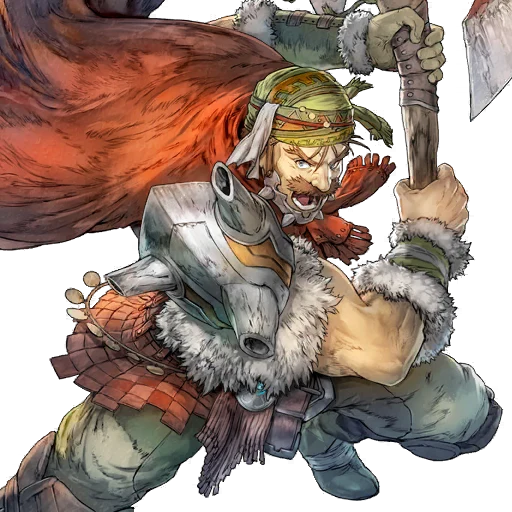
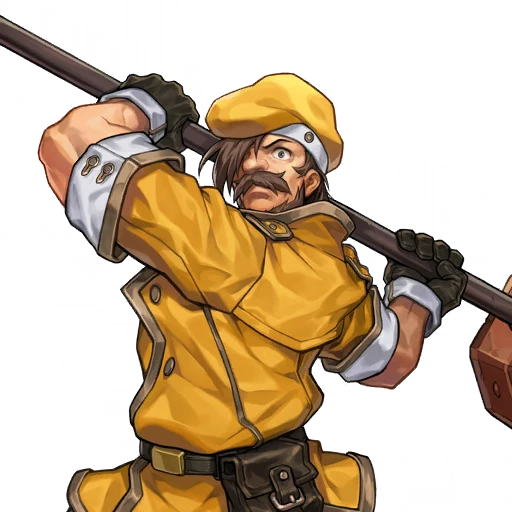
A companion joins one facility's Skill Level and no other, whoever they are and however rare. So the level is a count: recruit the people who suit a place and the place gets better at what it does. Two versions of the same companion are two companions here and count twice — and a pair does not always suit the same facility, so which one you have can decide which place gains.
| Facility | Reaches | Companions |
|---|---|---|
| Fishing | Lv. 7 of 20 13 recruited | |
| Vegetable Harvest | Lv. 8 of 20 15 recruited | |
| Diving | Lv. 8 of 20 14 recruited | |
| Hunting | Lv. 9 of 20 17 recruited | |
| Grain Harvest | Lv. 9 of 20 17 recruited | |
| Fruit Harvest | Lv. 8 of 20 15 recruited | |
| Logging | Lv. 7 of 20 12 recruited | |
| Mining | Lv. 9 of 20 16 recruited |



















































































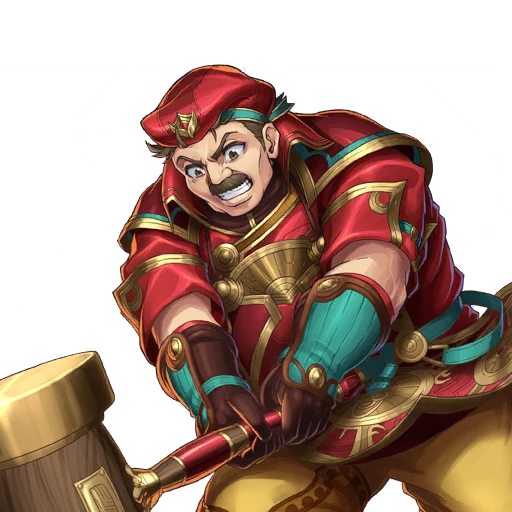
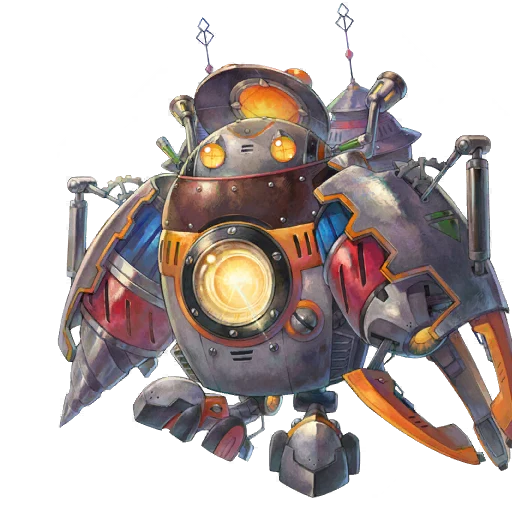



Donation Box
- One at a time
- A donation is one thing: a material, a handful of potch, or a stone. Which materials can arrive from a facility is the same at every base level and at every Skill Level, and it is narrower than what the ground itself gives — never a material that facility cannot gather, and not its highest qualities.
- Skill Level
- The potch is the one figure a Skill Level moves, from 36 at the first of the 20 to 83 at the last.
- The stone
- Always Fantasy Stones ×1, whichever facility the donation came from.
| Facility | Materials |
|---|---|
| Fishing |
|
| Vegetable Harvest |
|
| Diving |
|
| Hunting |
|
| Grain Harvest |
|
| Fruit Harvest |
|
| Logging |
|
| Mining |
|
Potch by Skill Level
| Skill Level | Potch |
|---|---|
| 1 | 36 |
| 2 | 46 |
| 3 | 53 |
| 4 | 56 |
| 5 | 59 |
| 6 | 62 |
| 7 | 64 |
| 8 | 65 |
| 9 | 67 |
| 10 | 68 |
| 11 | 70 |
| 12 | 71 |
| 13 | 73 |
| 14 | 74 |
| 15 | 76 |
| 16 | 77 |
| 17 | 78 |
| 18 | 80 |
| 19 | 81 |
| 20 | 83 |