
































Rotations and builds for the strongest teams of version 1.4, each with the substitutes that keep it working if you are missing a piece.
General Build Advice
Every damage dealer wants DMG% and a high ATK total, and around 2,000 ATK is the number to aim for. A few characters want a specific stat on top of that:
 Blackbird
wants Cycle Intensity and
Blackbird
wants Cycle Intensity and
 Daffodill
wants Break Intensity.
Daffodill
wants Break Intensity.
Do not underrate the jump from level 8 abilities to level 10. On a DPS character it is often a very large upgrade, so finish those levels before you start chasing better module rolls.
Zankou Break Team with Blackbird
Rotation
-
 Zankou
— swap straight out
Zankou
— swap straight out - Daffodill — swap straight out
- Blackbird — Ultimate twice, then Skill at A1; Skill, then Ultimate at A0
- Daffodill — Ultimate, then Skill
-
 Linko
— Skill, then Ultimate
Linko
— Skill, then Ultimate - Zankou — Skill until she is upgraded, then her Ultimates, and repeat
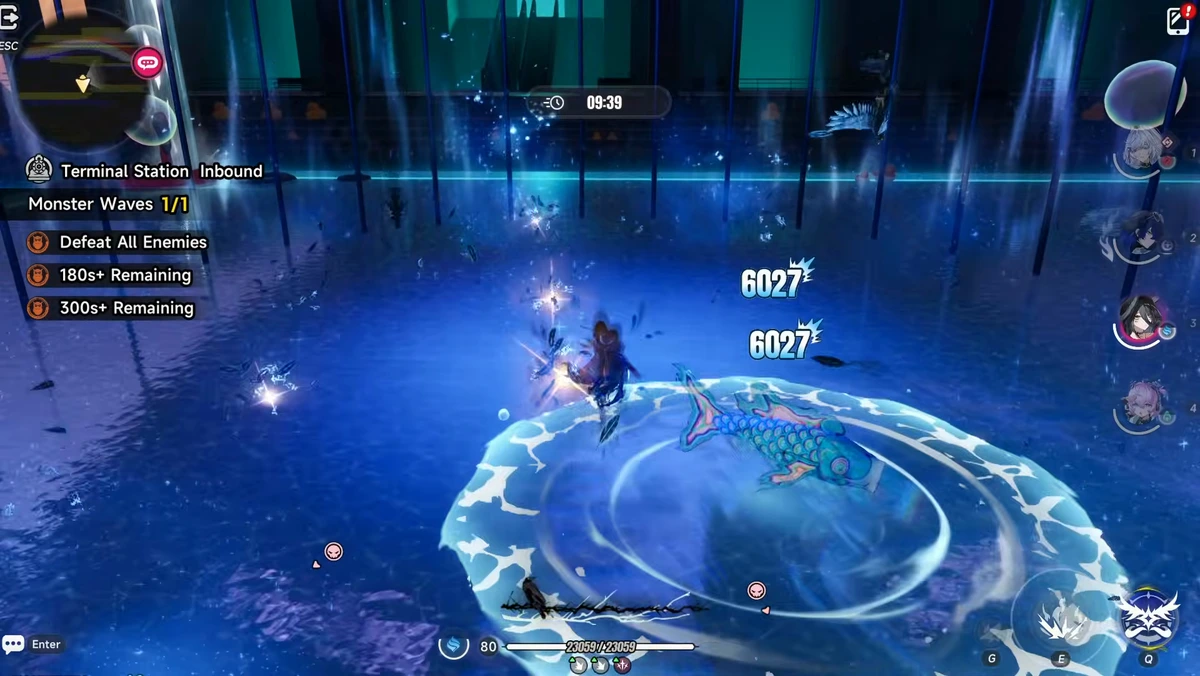
Opening on Zankou means Scorch is the first reaction on the target, and Scorch lasts 15 seconds, so with Linko’s A1 the team keeps Hexed up for the whole fight. You can open on Linko, but depending on how fast you play you may miss the Hexed damage on Zankou’s first Ultimate.







 Incantation
 Chaos
Chaos
Upon triggering Esper Cycle, inflicts Scorch on the target for 15s, dealing DoT.
Resonance

Moderate Mischief
Scorch Enhancement: Inflicts another instance of Scorch with the same effect as the existing one when a Power Word is generated on a target affected by Scorch.
Can I Eat This?
Scorch Enhancement: Increases DoT taken by the target by 25% for each type of DoT effect while in Scorch state, up to 100%.

Temperance
Scorch Enhancement: Applies one of three random debuffs whenever Scorch is inflicted on a target: -20% ATK, -10% Esper Resistance, or +10% Break Efficiency, lasting for 15s. The same effect cannot stack.
Silent Sunset
Scorch Enhancement: Scorch can be stacked up to 3 times. For each DoT effect allies inflict on a target afflicted with Scorch, Zankou inflicts 1 stack of Scorch on them, replacing the DMG, type, and duration of existing Scorch on the target with those of the newly inflicted effect. Scorch inflicted by this effect cannot trigger it again.


 Anima
Incantation
Anima
Incantation
Deals an additional instance of follow-up attack DMG to the target equal to 20% of Anima or Incantation DMG taken within 12s after triggering Esper Cycle.
Resonance
Weakness Radar
Hexed Enhancement: Increases the base DMG of additional Follow-up Attacks from Hexed to 30% while Linko is on the team. Targets affected by Hexed take 10% more Follow-up Attack DMG.
Zankou’s two Ultimates do not have to come out in one stay. After the first one you can still swap out, for a fresh Hexed trigger or another Daffodill Skill, and come back for the second before its window closes.
With
 Sakiri
in Linko’s slot, the only change is the opener: Sakiri goes first with Ultimate and Skill, then Zankou, Daffodill and Blackbird as above. That puts Sakiri’s ATK buff on Blackbird, which is worth a lot when Blackbird is at A1.
Sakiri
in Linko’s slot, the only change is the opener: Sakiri goes first with Ultimate and Skill, then Zankou, Daffodill and Blackbird as above. That puts Sakiri’s ATK buff on Blackbird, which is worth a lot when Blackbird is at A1.
Builds
- Daffodill — Break Intensity. At A1 and A2 it is always the priority; at A0 a DPS build can come out ahead.
- Blackbird — at least 150 Cycle Intensity. It raises her Nova and Scorch damage and makes the Stain buff stronger in Stain teams.
- Linko — a classic DPS build. Her Arc options in order:
 Voice of the Voyager
, then Nanally’s
Voice of the Voyager
, then Nanally’s
 Ready-Ready
, then
Ready-Ready
, then
 Fluff of Fortitude
, then
Fluff of Fortitude
, then
 Raging Flames
.
Raging Flames
. - Zankou — a classic DPS build as well.
Blackbird Nova Team

 Chaos
Chaos
 Psyche
Inflicts Nova on the target for 5s after triggering Esper Cycle. When the effect ends, the target takes massive Mental Damage.
Resonance
Furnace of Guilt
Nova Enhancement: Allows all allies to drain Max HP from the target when Nova ends. The target loses Max HP equal to 200% of Fadia's base Max HP, and each ally gains Max HP equal to 10% of Fadia's base Max HP. Total drained cannot exceed 50% of Fadia's base Max HP. Restores both parties' stats upon exiting combat.
It's Friendship!
Nova Enhancement: Allows all allies to drain ATK from the target when Nova ends. The target loses ATK equal to 4% of Haniel's Base ATK, and each ally gains ATK equal to 8% of Haniel's Base ATK. The total drain is capped at 16% of Haniel's Base ATK, and the target cannot lose more than 20% of their initial ATK. Restores both parties' stats upon exiting combat.

Harmonics
Nova Enhancement: Deals 3 instances of Psyche DMG to the target after their Nova status ends, each equal to 50% of ATK.
Thrushsong
Stain Enhancement: Increases Stain's base DMG Bonus to 30% and extends its duration to 20s. Nova Enhancement: When Nova ends, deals additional Mental DMG equal to 20% of the actual total DMG taken by the target while Nova was active (excluding DMG dealt by the Support Skill that triggered Nova and by Nova itself), up to 1,000× Blackbird's Base ATK. This additional DMG is not affected by any other DMG Buffs or Debuffs. Inflicts Nova on the target once afterward. Prevents Nova inflicted by this effect from triggering the Nova reapplication effect again.
Rotation
-
 Fadia
or
Fadia
or
 Haniel
— Ultimate, then Skill
Haniel
— Ultimate, then Skill - Sakiri — Ultimate, then Skill. If you have trouble staying on the enemy, one Basic Attack closes the gap.
- Blackbird — Ultimate twice, then Skill at A1; Skill, then Ultimate at A0
-
 Lacrimosa
— ten stacks from her Basic Attacks, then Ultimate, then her Anomaly Skill
Lacrimosa
— ten stacks from her Basic Attacks, then Ultimate, then her Anomaly Skill - Cancel into Blackbird and Basic Attack until her Skill is back, then return to Lacrimosa and repeat
Blackbird is at her most fun in this team, because you swap between her and Lacrimosa constantly: every time her Skill comes back, she gets a turn on the field.
With Daffodill in Lacrimosa’s slot the rotation stays the same, since the two share an element. You will probably stay longer on Blackbird’s Ultimate, because there is less to swap out for.
Builds
- Blackbird — Cycle Intensity, then a damage build.
- Lacrimosa — as much damage as possible, with a very high Crit Rate.
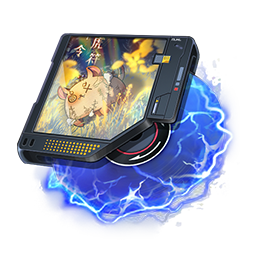
- Fadia — the Speedy Hedgehog cartridge set. Its ATK buff on Ultimate lines up exactly with her cooldown.
- Haniel — her stats barely matter, because her ATK buff scales off her Base ATK.
Fadia and Haniel need very little from their stats, so some Cycle Intensity on either of them is a good use of the spare room, especially in longer fights. It keeps Nova damage high when someone other than Blackbird triggers it.
The Stain Version
Stain is not worth building yet unless you are playing
 Chaos
. Running it only to buff Blackbird makes the rotation worse, and Nova is clearly ahead until the roster has a Lakshana support.
Chaos
. Running it only to buff Blackbird makes the rotation worse, and Nova is clearly ahead until the roster has a Lakshana support.
 Psyche
 Lakshana
Increases the target's Psyche and Lakshana DMG taken by 20% for 12s after triggering Esper Cycle.
Resonance
Thrushsong
Stain Enhancement: Increases Stain's base DMG Bonus to 30% and extends its duration to 20s. Nova Enhancement: When Nova ends, deals additional Mental DMG equal to 20% of the actual total DMG taken by the target while Nova was active (excluding DMG dealt by the Support Skill that triggered Nova and by Nova itself), up to 1,000× Blackbird's Base ATK. This additional DMG is not affected by any other DMG Buffs or Debuffs. Inflicts Nova on the target once afterward. Prevents Nova inflicted by this effect from triggering the Nova reapplication effect again.
If you want to play it anyway, open on Sakiri with Ultimate and Skill, then swap to Blackbird or
 Hathor
. With a built Hathor, go to Blackbird first so Stain is already on the target when Hathor comes in. Hathor and Chaos both take a basic damage build.
Hathor
. With a built Hathor, go to Blackbird first so Stain is already on the target when Hathor comes in. Hathor and Chaos both take a basic damage build.
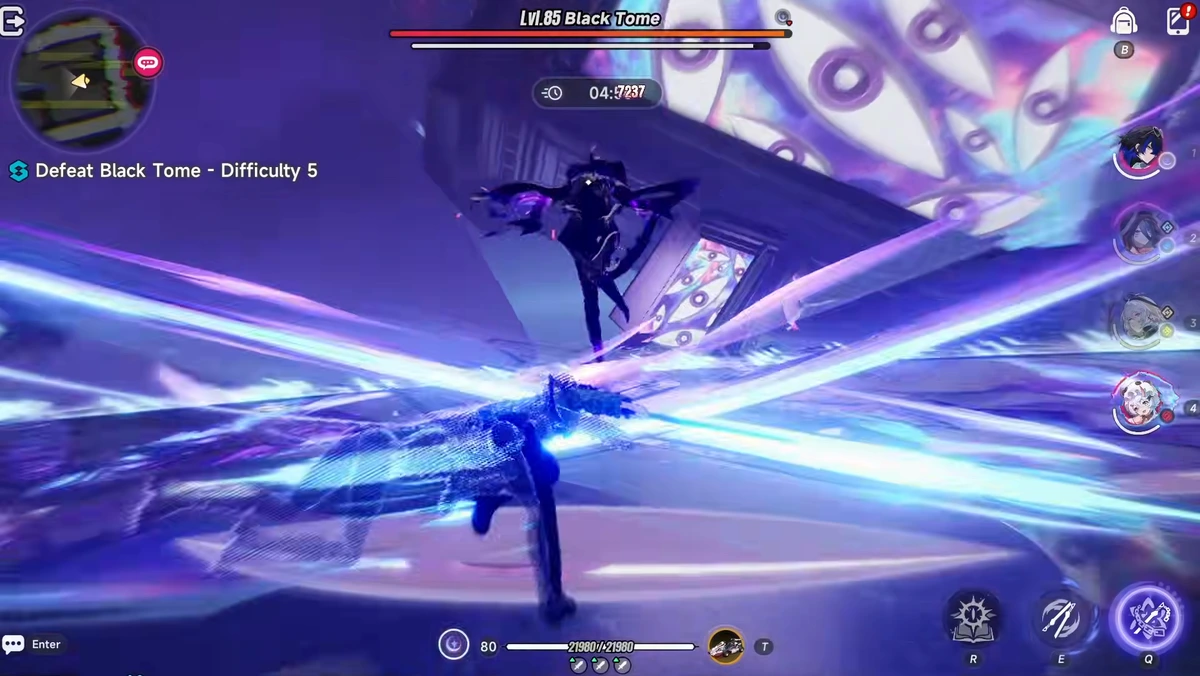
Chaos Team with Blackbird
Rotation
- Blackbird — Skill, then Ultimate once at A0; Ultimate twice, then Skill at A1
- Hathor — Skill, then Ultimate, and swap out after the first Skill press
-
 Zero
— Ultimate, then Skill
Zero
— Ultimate, then Skill - Chaos — play her out
If your Hathor is not built, go straight from Blackbird to Chaos. From there, swap to Chaos, Blackbird or Zero whenever one of their cooldowns is ready: Blackbird’s Skill or Ultimate, Zero’s Skill or Ultimate. Played this way, Stain is already on the enemy when Blackbird uses her Ultimate.
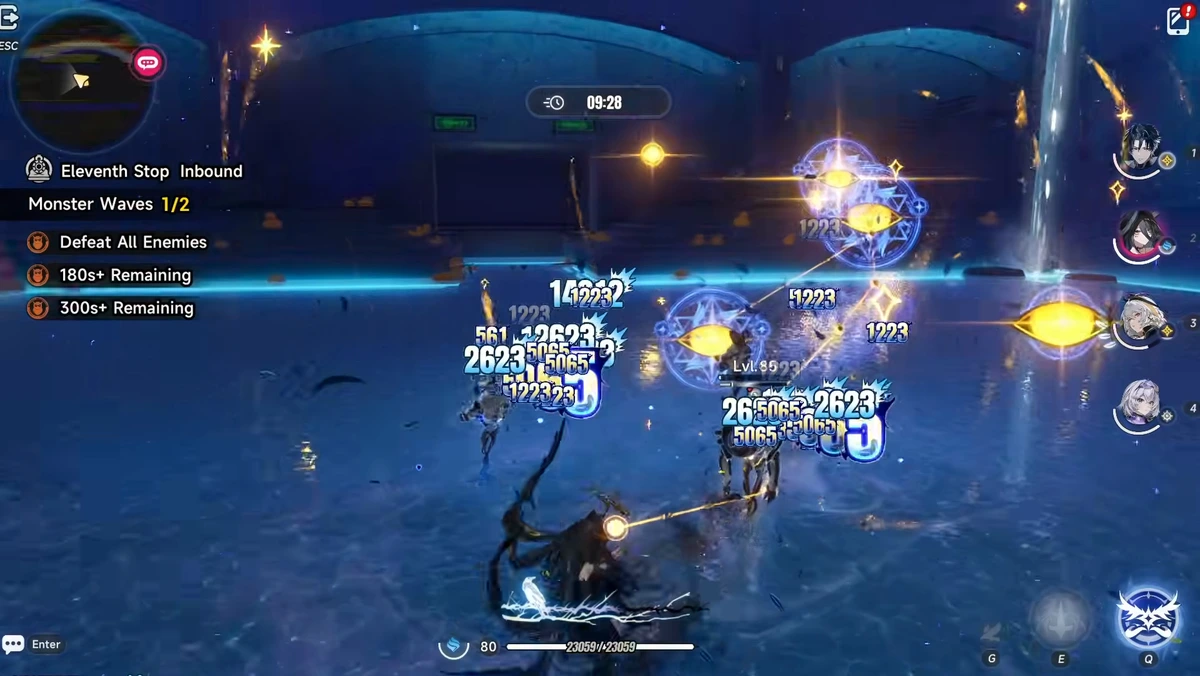
A1 Blackbird feels very good here, and the team performs well overall. Blackbird keeps her Cycle Intensity build, and Hathor and Chaos take a basic damage build.
Shinku Charge Team

 Cosmos
Anima
Lakshana
Cosmos
Anima
Lakshana
Grants the active character 10 additional Ultimate Energy when Vita Pistils hit targets affected by Remora.
Resonance
Appraiser
Creation Enhancement: Each "Creation Flower" will split into 2 flowers that fly together towards the target within range and explode.


Gentle Edge
Charge Enhancement: Grants 120 Ultimate Energy instantly when a character triggers Charge using a Support Skill. Disables Ultimate Energy gain from Vita Pistils when hitting Slowed targets afterward. Cooldown: 30s.
Lone Stride
Charge Enhancement: Grants off-field characters the same amount of Charge when the active character gains Ultimate Energy. While Shinku is active and in Charge state, each trigger deals AoE DMG equal to 400% of ATK (scales with Basic Attack level, reaching 863.6% at level 11), and increases her ATK by 5% for 30s, up to 10 stacks. Cooldown: 1s.
Rotation
-
 Shinku
— build to max stacks, use her Skill, build back to four stacks, then attack
Shinku
— build to max stacks, use her Skill, build back to four stacks, then attack - Hathor or
 Skia
— Ultimate, then Skill
Skia
— Ultimate, then Skill - Zero — Ultimate, then Skill
-
 Iroi
or
Iroi
or
 Nanally
— Ultimate, then Skill, and swap into Shinku
Nanally
— Ultimate, then Skill, and swap into Shinku - Shinku — Ultimate, then Skill five times
Swap into Shinku right after the Anima character’s Skill, so that Skill is not cancelled. Done correctly, there is time for Shinku’s Ultimate and all five Skills before you swap to the Lakshana character again and repeat.
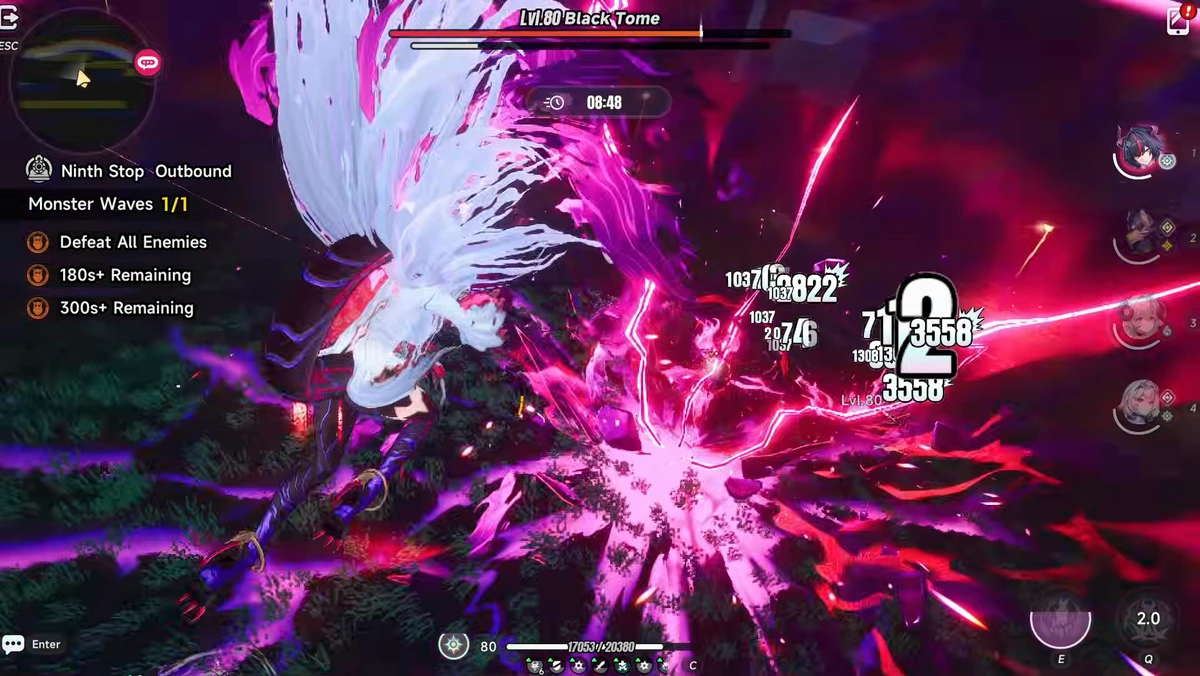
Skia has one advantage over Hathor: she can carry
 Good Boy's Grand Adventure
, which buffs the whole team’s ATK.
Good Boy's Grand Adventure
, which buffs the whole team’s ATK.
Nanally Hexed Team with Linko
Rotation
- Sakiri — Ultimate, then Skill
- Zero — Ultimate, then Skill
- Linko — Skill, then Ultimate
- Nanally — deal the damage, then repeat
Iroi in Linko’s slot adds more Blossom damage, and she is the better choice if your Linko is not well built.
Cosmos
Anima
Generates 1 Vita Bud near the target after triggering Esper Cycle, which blossoms 5 Vita Pistils.
Vita Pistils then fly toward targets within range, exploding every 2s and dealing DMG to an area.
Up to 3 Vita Buds can exist on the field at once.
Resonance
More Than Passionate
Blossom Enhancement: Fires 10 Vita Pistils with Vita Bud, reducing the interval between each shot to 1s.

Ghost Orchid Crest
Blossom Enhancement: Prevents Vita Bud attacks from pausing during Time Stop.
Seize the Moment
Blossom Enhancement: Spawns 1 additional Vita Bud and increases Vita Bud limit on field to 6.
Mirror Image
Blossom Enhancement: Generates a Vita Bud Copy when the current Vita Bud has existed for 3s. This copy cannot duplicate and does not count toward the Vita Bud limit. The copy produces 20 Copied Vita Pistils. Every 0.5s, one Copied Vita Pistil flies toward a target within range and explodes, dealing 37.5% of the original Vita Pistil's DMG.
Builds
- Nanally — the standard DPS build. Arcs: her signature
Ready-Ready
, then the battle pass
Fluff of Fortitude
, then
Raging Flames
as the free option.
- Linko — a damage build here too. Arcs:
Voice of the Voyager
, then Ready-Ready, then Fluff of Fortitude, then Raging Flames.
- Zero — as much Cycle Intensity as you can fit, to push the Blossom damage.
- Sakiri — her ATK buff scales off her Base ATK, so put some damage on her and move on.
- Iroi — focus on Cycle Intensity. Arcs: her signature
 The Wrong Gate
, then
The Wrong Gate
, then
 Youthful Fantasy
, then
Youthful Fantasy
, then
 Fluff of Fleetness
, then
Fluff of Fleetness
, then
 Shiny Days
as the four-star option.
Shiny Days
as the four-star option.
Hotori Blossom Team
Rotation
-
 Hotori
— Skill
Hotori
— Skill - Zero — Ultimate, then Skill
- Iroi — Ultimate, then Skill
- Nanally — Skill, then Ultimate, and stay on her until Hotori’s Ultimate is nearly ready
- Zero — Skill
- Iroi — Skill, which groups the enemies in AoE content
- Hotori — Ultimate
Ending the loop on Zero and Iroi gathers the enemies and sets up Blossom just before Hotori’s Ultimate, so the Ultimate hits every target and Blossom lands inside it.
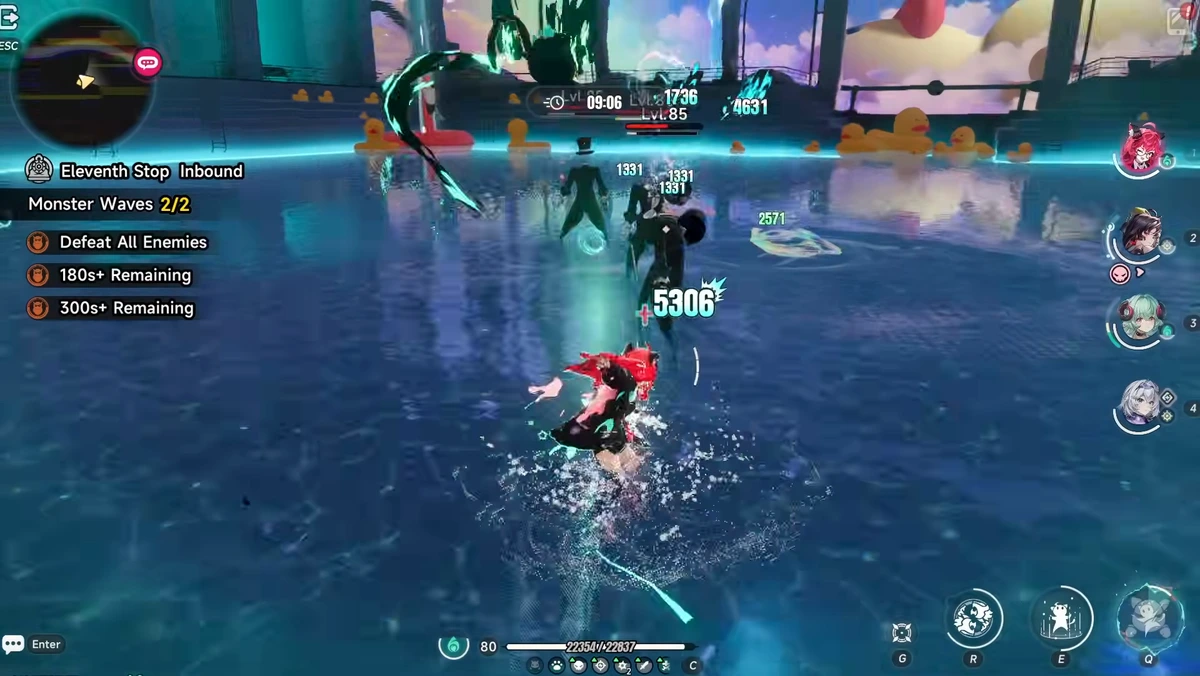
 Jiuyuan
can take Iroi’s slot with exactly the same rotation, though Iroi feels very good in this team.
Jiuyuan
can take Iroi’s slot with exactly the same rotation, though Iroi feels very good in this team.
Builds
- Hotori — maximum damage. Her signature
 Marching Beyond Time
and
Marching Beyond Time
and
 Fluff of Fearlessness
are close to each other, then
Fluff of Fearlessness
are close to each other, then
 The Rain That Shook the World
and
The Rain That Shook the World
and
 Hethereau's Keeper
. Played as a support, she takes
Hethereau's Keeper
. Played as a support, she takes
 Blow up the Crowd
.
Blow up the Crowd
. - Jiuyuan — her signature, which is free, and a damage build. She does not need Cycle Intensity, because Zero covers it.
Video Guide
Related Neverness to Everness Resources

Guide
Blackbird: Rotation, Teams & Awakening Guide
How Blackbird's Malice, Forsaken Feather and Witch of Deliverance fit a rotation, the Nova team that suits her best, her build, and which Awakenings and signature Arc are worth pulling for.

Guide
Last Bus Out and Perfectly Common Dreams: Duskmoor Anomaly Commission Walkthrough
How to trigger and solve the two new Duskmoor Anomaly Commissions from Version 1.4: the Wayward Line bus and the Dreamaway Pillow dream.

Guide
Lilliput in the Looking Glass: All 3 Escape Routes
Walkthrough for the Pukaland Anomaly Commission Lilliput in the Looking Glass: the bedroom, bathroom and kitchen escape routes and every step of each.
News
NTE Free Rewards: Wonderlog Code, Drops, Invites
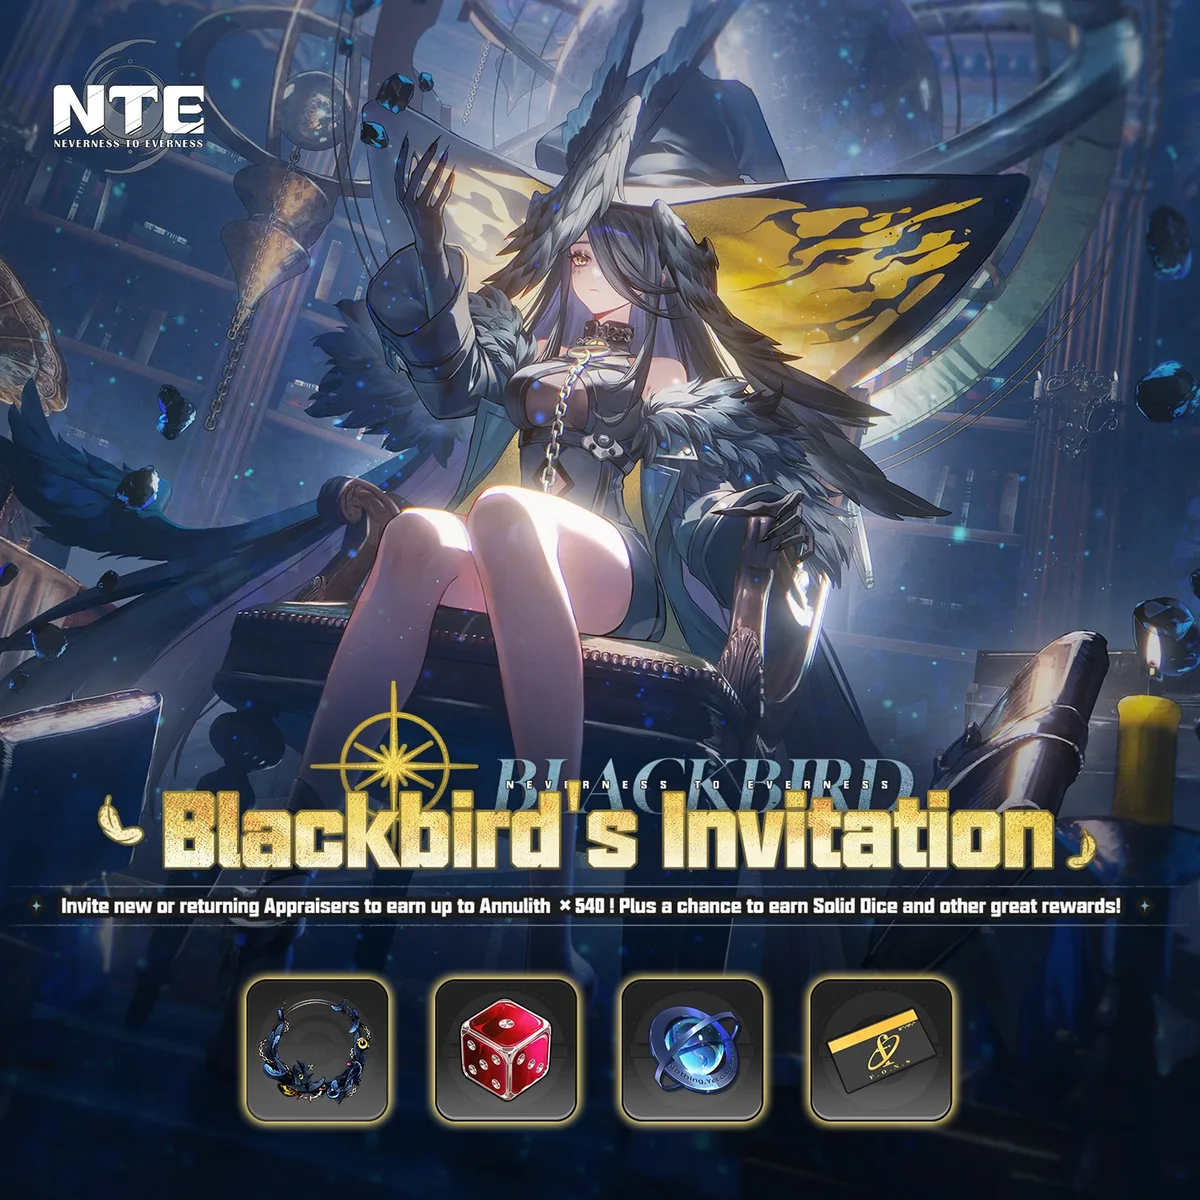
Version 1.4 brings a Wonderlog redeem code, Twitch Drops through October 13, the Blackbird's Invitation web event, a Discord relink for Annulith ×30 and a Fons ×20,000 share reward.
News
NTE 1.4: Blackbird, Pukaland, Porsche and a Free Code
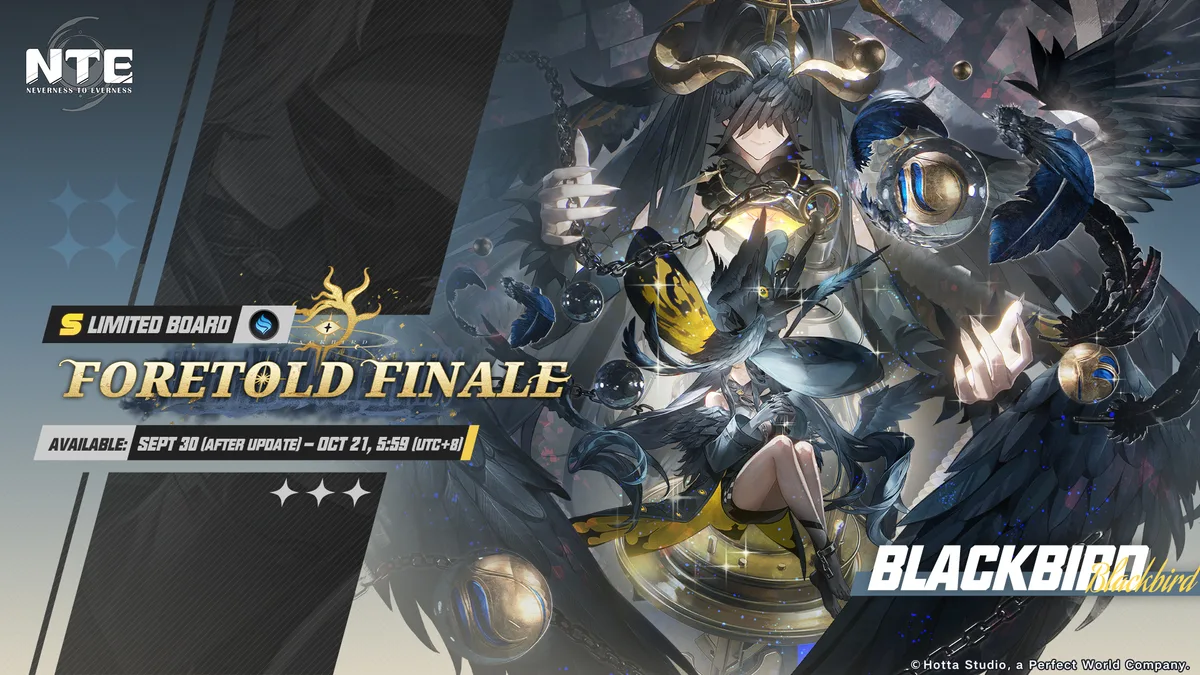
Version 1.4 lands September 30 with limited S-class Blackbird, a Lacrimosa rerun, the Pukaland theme park, a Porsche collab and 600 Annulith of compensation.