




























 Elyms
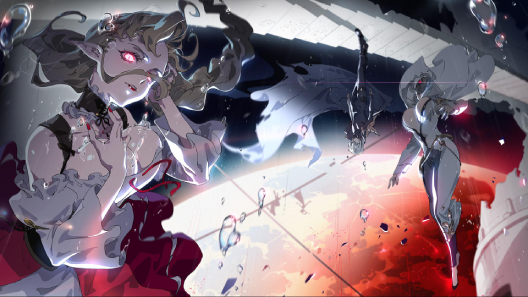
is a Cosmos support. Her Ultimate raises the whole team’s ATK and Follow-up Attack DMG and leaves her attacking from off the field once you swap out, and both the Ultimate and those attacks hit harder the further she has raised her Connection Strength before casting it. Her passive adds up to 30% Cosmos DMG to the team, which is why
 Shinku
gains more from her than anyone else.

Connection Strength
Elyms has three levels of Connection Strength: Weak, Medium and Strong. She starts every fight at Weak, and casting her Ultimate or leaving combat drops her back to it.
- Weak. Her Basic Attack, Instant Glitch, is a five-hit string. The fifth hit, or casting The Ones Who Left, makes Intermittent Existence available for 12 seconds. It is also available at the start of combat.
- Weak to Medium. Casting Intermittent Existence or her Support Skill, I’m Here, raises her to Medium and grants a stack of Optical Illusion for 15 seconds.
- Medium and Strong. Her Basic Attack becomes Crosstalk, a three-hit string. The third hit makes Goodbye to You available for 6 seconds.
- Medium to Strong. Goodbye to You raises her to Strong and consumes every Optical Illusion stack, adding 100% to its own DMG Ratio for each one.
The Ones Who Left also fills her Cycle Energy in one cast. Swap from her to an Anima or Lakshana ally and the Esper Cycle triggers straight away.
Her Ultimate has a single-target and an AoE form. Intermittent Existence, Goodbye to You and I’m Here count the enemies around her and pick the form for you, so there is nothing to choose by hand. At Weak, the Ultimate always takes its AoE form.
Do You Get Deja Vu and Remembrance
The Ultimate’s DMG Ratio depends on her Connection Strength when she casts it: 50% higher at Medium and 100% higher at Strong. Remembrance follows the same rule.
Casting it gives the whole team an ATK bonus equal to 20% of Elyms’s Base ATK and 10% Follow-up Attack DMG for 20 seconds, and puts her into On the Line. While On the Line lasts and she is off the field, she casts Remembrance every 3 seconds, up to 6 times. Remembrance takes the same form as the Ultimate before it and the same Connection Strength bonus, and it counts as Follow-up Attack DMG. The icons under her portrait show how many are left.
Passives
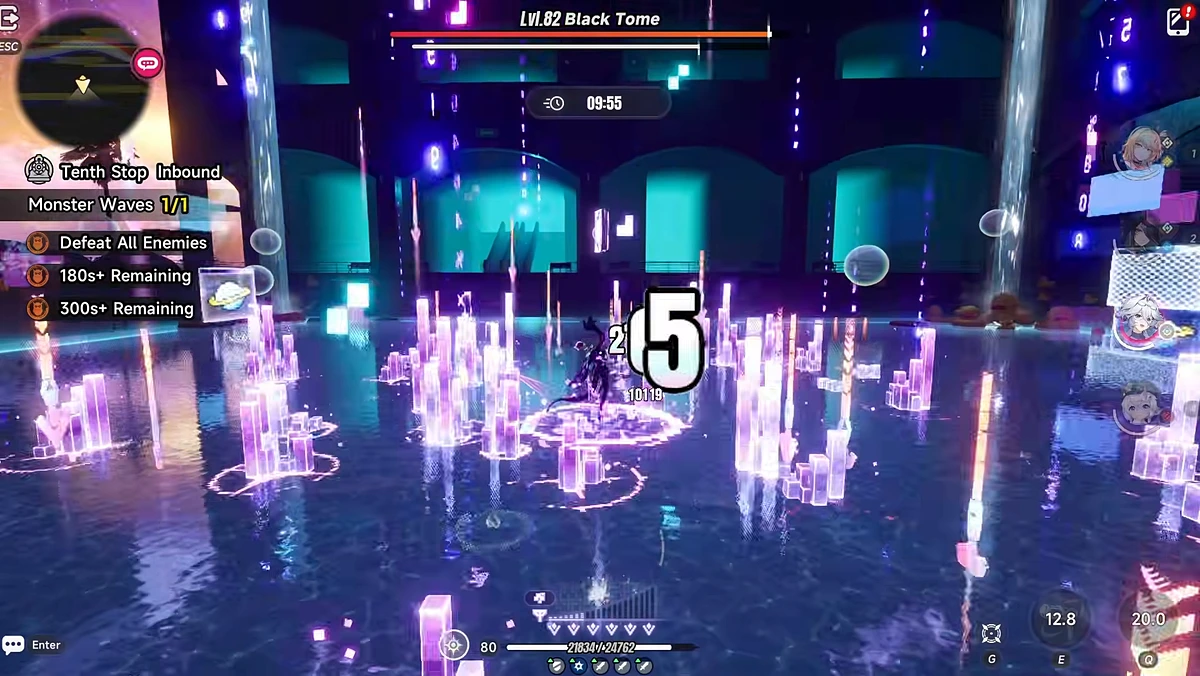
- Relay Node, Charge Enhancement: every time the active character gains Ultimate Energy, the whole team gains 3.75% Cosmos DMG for 30 seconds, stacking up to 8 times for 30%.
- Relay Node, Remora Enhancement: when an ally applies Remora, Elyms applies it again to the same target 7.5 seconds later, at most once every 7 seconds.
- Pity System: 10% Crit DMG for herself.
Rotation
- The Ones Who Left to fill her Cycle Energy.
- Intermittent Existence to reach Medium and gain an Optical Illusion stack.
- Three Basic Attacks to open Goodbye to You.
- Goodbye to You to reach Strong.
- Ultimate, then swap out and let Remembrance play out while the rest of the team works.
When the carry needs the field time more than Elyms needs the bigger Ultimate, stop at Medium: The Ones Who Left, Intermittent Existence, Ultimate.
Build
Cartridge
 Lost Radiance
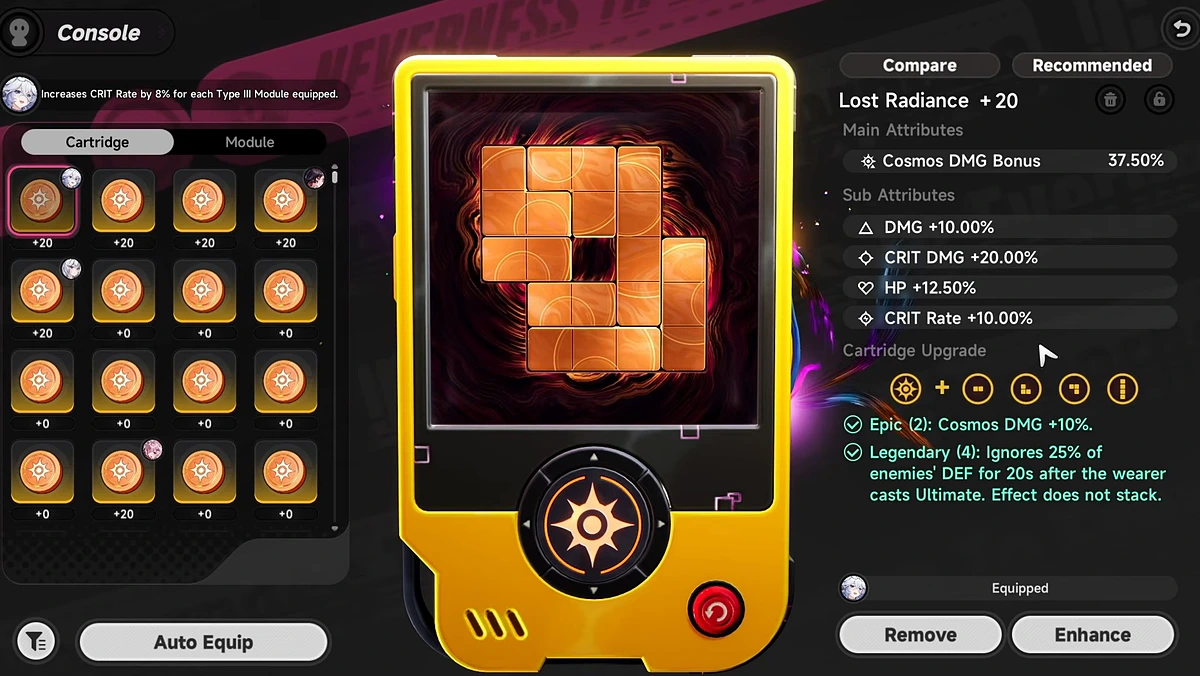
, the Cosmos set: 10% Cosmos DMG for two pieces, and 25% of the enemy’s DEF ignored for 20 seconds after she casts her Ultimate for four. Crit DMG is the main attribute to aim for, then Cosmos DMG. Her signature already gives 24% Crit Rate, so a Crit Rate main only makes sense without it.
If nobody else on the team carries
 Speedy Hedgehog
, Elyms is a good carrier for it: its four-piece raises every ally’s ATK by 15% for 20 seconds after her Ultimate. It does not stack, so one copy per team is enough.
Modules
Her console is Type III, and every Type III module equipped adds 8% Crit Rate. Crit Rate and Crit DMG first, then DMG% and ATK%. In Shinku’s team, leave Cycle Intensity to Iroi: Elyms’s value there is the damage she does from off the field. In a Blossom team she wants it herself.
Arcs
| Priority | Arc | Statline (max) | Why |
|---|---|---|---|
| 1 |
 Echoes on Hold |
570 ATK / 24% Crit Rate | 15% ATK. After her Ultimate, three Follow-up Attack hits give the team 12% DEF Ignore and her another 10% for 20s, and her Redirect Skill gives the team 8% Cosmos RES Penetration for 20s. Both trigger as soon as she enters combat |
| 2 |
 Blow up the Crowd |
512 ATK / 27.5% ATK | Haniel’s signature: 10% ATK for the active character while Elyms is off the field, and better at a higher Mixing level |
| 3 |
 The Rain That Shook the World |
512 ATK / 22% Crit Rate | 30% Cosmos DMG on her Redirect Skill and Ultimate, and 36 Cycle Intensity for 15s after a Redirect Skill, which suits her Blossom teams |
| 4 |
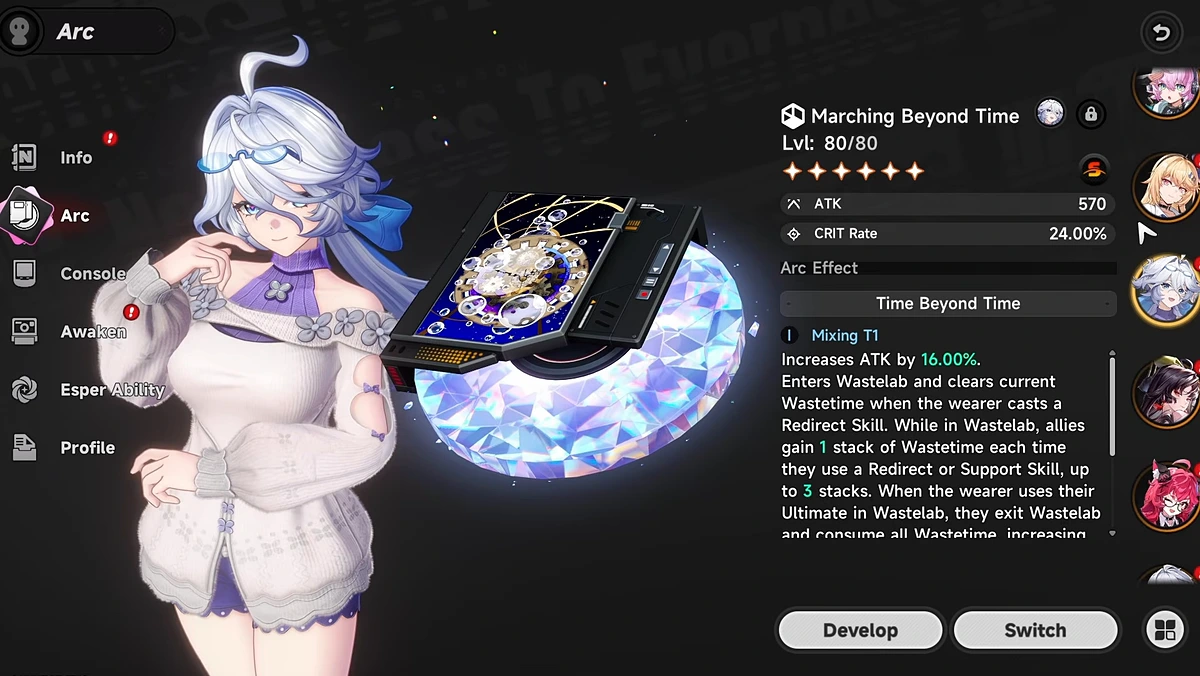
 Marching Beyond Time |
570 ATK / 24% Crit Rate | Hotori’s signature: 16% ATK and Ultimate Crit DMG, all of it for Elyms herself |
Her signature is the one that helps the team, and most of all a Cosmos team, since the RES Penetration only applies to Cosmos DMG. It is good without being a must-pull.
Skill Priority
Ultimate first, then her Skill. Basic Attack and Support Skill matter least. Unlock both passives as early as you can.
Awakenings
| Awakening | Effect |
|---|---|
| A1 404: Island Out of Reach | Team Crit DMG +10% for 20s for each Optical Illusion stack consumed before the Ultimate |
| A2 200: Nodes Connected | Ultimate DMG Ratio +30%, and Goodbye to You ignores 5% DEF per Optical Illusion stack consumed |
| A3 504: Gateway Timeout | Optical Illusion stacks up to 4, and going from Medium to Strong grants 3 stacks |
| A4 302: Wish Redirected | Team Crit DMG +20% while Elyms is on the team and alive |
| A5 304: Nothing Has Changed | The Ones Who Left DMG Ratio +100%, and her Cycle Energy starts the battle full |
| A6 301: Moved Permanently | Her Follow-up Attack DMG +25% for 20s for each Optical Illusion stack consumed before the Ultimate |
She is strong at A0. With one copy, A4 is the pick: 20% team Crit DMG with no conditions attached.
A1 and A3 are a pair. Without A3, Optical Illusion never goes past one stack, so A1 is worth 10% on its own. With A3, a rotation that reaches Strong builds four stacks and A1 gives the team 40% Crit DMG. That takes the full rotation, so in a team where she stops at Medium, A4 stays the better copy.
A6 pairs with A3 the same way and only raises her own damage.
Teams
Shinku
is the reason to pull her. Her Cosmos DMG passive and her signature’s Cosmos RES Penetration only help Cosmos damage, and Shinku’s Charge team is where both land in full.
Shinku, Akane and Iroi





Elyms takes
 Zero
’s place, and the team is a large step up on the version with Zero.
Rotation:
- Stay on Shinku at the start until her Esper Cycle is ready.
- Akane: Skill, then Ultimate.
- Elyms: The Ones Who Left, Intermittent Existence, then Ultimate.
- Iroi: Skill, Ultimate, then a held Basic Attack.
- Shinku: Ultimate, Skill five times, then the Ultimate dashes. From the second rotation on, open with Iroi’s Support Skill and repeat from step 2.
Elyms stops at Medium here.
- Hathor takes Akane’s slot. She stretches Remora rather than keeping it up the way Akane does.
- Nanally covers Iroi, without the healing.
- Iroi carries Speedy Hedgehog and the Cycle Intensity, so Elyms can stay on Lost Radiance and damage stats.
Akane and Blackbird



A small upgrade at most. With both
 Sakiri
and
 Iroi
, Akane’s own team with the two of them still does more at A0. Elyms earns this slot on an account missing one of them, and most of all on one filling it with
 Haniel
.
Blossom with Nanally
She can take Zero’s place in
 Nanally
’s Blossom teams, beside
 Jiuyuan
. The gain is small: Nanally is Anima, so the Cosmos DMG passive does nothing for her. Build Cycle Intensity on Elyms for these teams.
 Chiz
is a Cosmos carry, so she gains from Elyms as well, in her usual team with Hathor and Iroi or Jiuyuan.
Is Elyms Worth Pulling?
Reasons to pull
- Shinku. If you play her, Elyms is the biggest upgrade her team can get.
- A better Zero. In the teams that run Zero, she usually does the job better.
- She works at A0, and her signature is good without being necessary.
- Supports are scarce. On a newer account another support is worth a lot.
Reasons to skip
- Outside Cosmos teams she adds little. Without a Cosmos carry to receive the passive, she is an ordinary support.
- An established roster gains little. If you have Sakiri, Iroi and Blackbird already, most of your teams barely move.
Video Guide
Related Neverness to Everness Resources

Guide
Abandoned Training Grounds: Material Farming
Farm Beetle Coins and enemy materials at Duskmoor's Abandoned Training Grounds and the Midas Arc Workshop, or buy Expansion Cores and Heterogeneous Units.

Guide
City Logistics: Hub, Drivers and Rewards
Unlock the Logistics Hub, hire the right Kool Express drivers, put Elyms to work as Logistics Assistant and spend Kool Tokens in the Logistics Shop.

Guide
Akane Rin: Rotation & Team Composition Guide
Akane Rin's String Energy loop and two-stage Ultimate, her rotation in five teams from Blackbird to Shinku, her builds, and whether she is worth pulling.
News
NTE Special Route Beyond the Rails: Glinting Circle Event
NTE's Ghost Train Glinting Circle Special Route runs November 5 to November 19, 2026 (UTC+8). Clear event challenges for Annulith, Fons and Train Logs.

News
NTE V1.5 Fan Creation Event: $1,000 and Annulith Prizes
NTE's Version 1.5 Fan Creation Event takes illustrations and videos until December 13, 2026 (UTC+8), with 820 winners across cash and Annulith tiers.