
































Event Overview
Fishing Frenzy is a limited-time fishing mode that runs from August 3, 05:00 until August 19, 05:59 (server time). It swaps the usual rod for a harpoon, a net and a bomb, and every run is capped at 60 seconds, so the goal is to pull as many fish out of the water as possible before the timer expires. Since the event closes early in the morning on the 19th, treat August 18 as your real deadline unless you plan to log in before the reset.
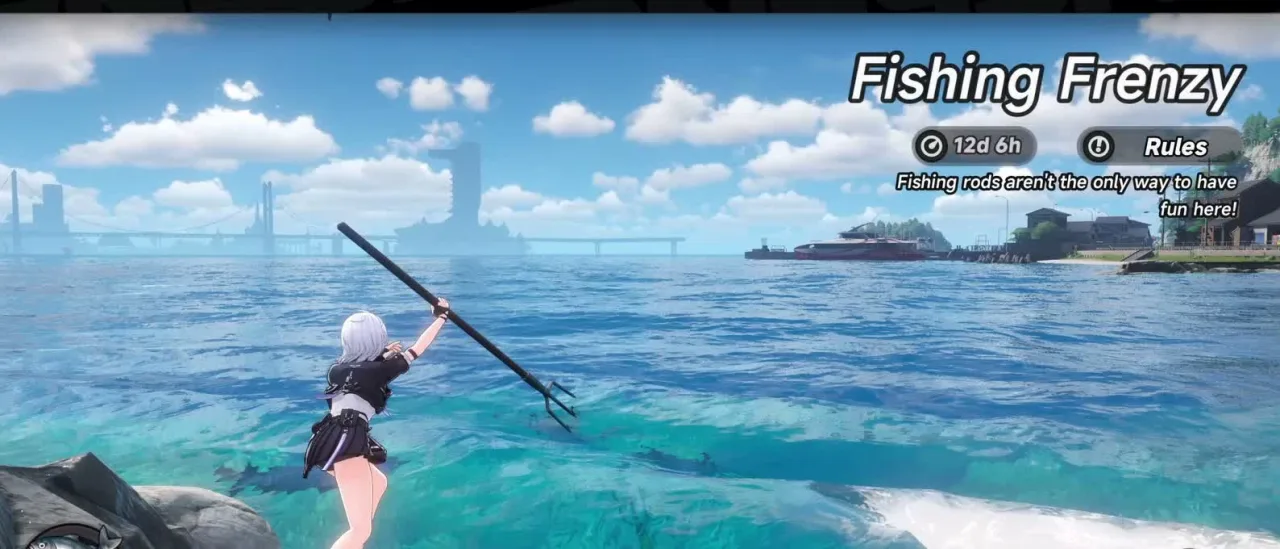
Rewards come from two places: the fish themselves, and the Fishing Levels you gain along the way. That second part matters well beyond the event, since Fishing Level 10 is what unlocks Beetle Coin purchases in the Fishing Shop, and this mode is the fastest window you will get to push that number up.
Where to Find It
Fishing Frenzy runs at the Nacupeda Park Fishing Spot, the Sea Angler location in Illusion Town. The park sits west of Davidia Avenue, bounded by Onion Road on one side and Coastal Highway Z42 on the other. You can also open the event page directly and hit Go to travel there.
Fishing Tools
You start with the Harpoon only, and the other two tools unlock as your Fishing Level climbs. Each one has its own range, effect and cooldown, so the tool you reach for depends on where the fish are sitting.
| Tool | How to unlock | Cooldown |
|---|---|---|
| Harpoon | Available from the start | 1.5 seconds |
| Fishing Net | Fishing Level 3 | 5 seconds |
| Bomb | Fishing Level 5 | 10 seconds |
On PC you select tools with Q, W and E, then left click to deploy. The Harpoon’s short cooldown makes it your bread and butter for single targets, the Net covers a wider area at mid range, and the Bomb clears whole clusters when several fish drift together.
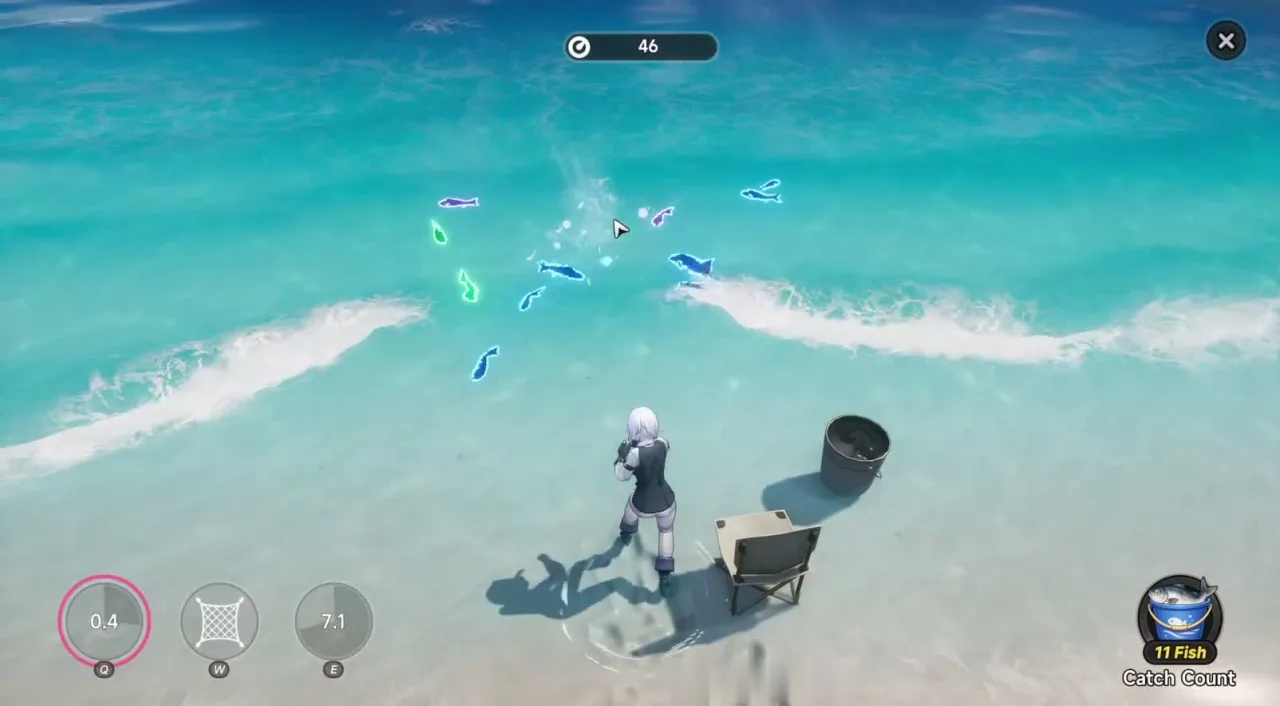
Fish have different amounts of HP depending on their rarity, so Purple and Orange targets take several hits and eat a big chunk of your 60 seconds. When the clock is your limiting factor, sweep the Green and Blue fish first and save the expensive targets for a fresh run.
How the Fish Pool Works
This is the part that decides how you should play the event. The fishing area works like a stocked pond with a fixed schedule, and the numbers are the same for every player.
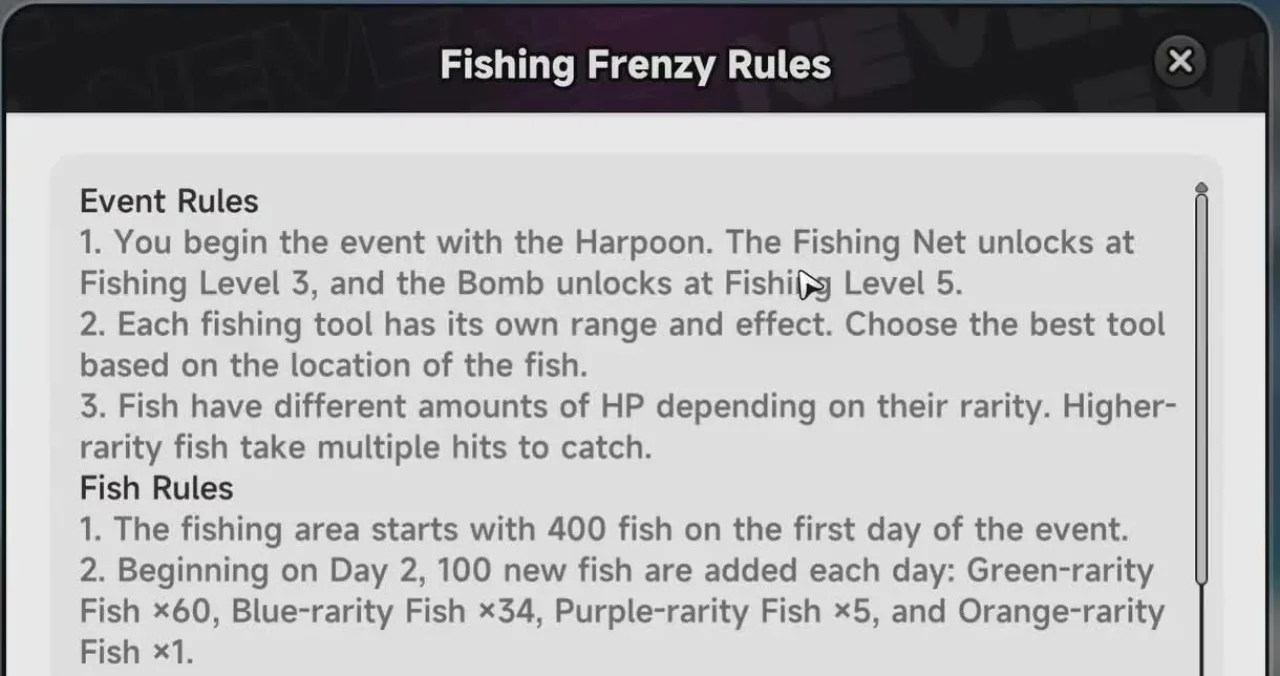
- Day 1 opens with 400 fish in the pond.
- From Day 2, the pond restocks with 100 new fish every day, split as 60 Green, 34 Blue, 5 Purple and 1 Orange.
- After Day 12 the restocks stop, bringing the event total to 1,500 fish.
Two details make this generous. The stock carries over, so anything you leave in the water is still waiting for you the next day, and the daily allocation is fixed for everyone, which means the single Orange fish is yours whether you land it on the first attempt or the tenth. You can check what is left at any time from the event page, and there is no penalty for taking your time.
Why You Should Not Fish Every Day
Selling your catch is what converts fish into value, and each submission draws from your weekly City Stamina pool of 700. Clearing a full pond of 400 fish and selling the lot burns somewhere around 650 to 700 stamina, which is your entire weekly allowance in a single 15 to 20 minute session.
That gives the event an obvious rhythm. Fishing a little every day drip-feeds your stamina away and leaves the pond permanently thin, while letting the pond refill for a few days hands you a full 400-fish stock to clear in one sitting. Bank the fish, empty the pond right after the weekly reset, and spend the rest of the week on whatever you actually enjoy.
The Save-Up Schedule
Here is how the restocks land across the event, with the weekly reset falling on Monday.
| Date | Pond change | What to do |
|---|---|---|
| Mon, August 3 | +400 | Clear the pond, sell everything |
| Tue 4 – Thu 6 | +100 per day | Fish freely, or start banking |
| Fri 7 – Sun 9 | +100 per day | Stop fishing and let the pond fill |
| Mon, August 10 | +100 (400 banked) | Clear the pond, sell everything |
| Tue 11 – Fri 14 | +100 per day | Do not fish |
| Sat 15 – Sun 16 | +0 | Restocks have stopped |
| Mon, August 17 | +0 (400 banked) | Clear the pond, sell everything |
| Tue 18 – Wed 19 | +0 | Event closes at 05:59 on the 19th |
The logic behind it is straightforward. Four skipped days add up to exactly 400 fish, which lines up with one full weekly stamina pool, so stopping on Friday sets you up for the following Monday. The same trick works for the final week even after the restocks end, because the four days from the 11th to the 14th still bank 400 fish that sit in the pond until you come back for them. Set a reminder for that last Monday, since the event closes early on the 19th and anything left in the water goes with it.
Once the fish are sold and your weekly stamina is gone, the rest of the week is free for zero-stamina content and whatever else is running, from the cafe and mahjong minigames to the other limited-time events on the schedule.
Run Tips
- Push Fishing Level early. The Net at Level 3 and the Bomb at Level 5 cut down how many runs a 400-fish pond takes, so the first session of the event is worth spending on levels.
- Open with the cheap fish. Green targets die in one hit and keep your Catch Count moving while cooldowns tick over.
- Group your Bomb usage. A 10-second cooldown is a long time in a 60-second run, so hold it until several fish overlap.
- Reposition between throws. The Harpoon comes back in 1.5 seconds, which is enough time to walk into a better angle before the next throw.
- Do not rush the timer. A run ending with fish still in the water costs you nothing, since the pond keeps its stock until you return.
Related Neverness to Everness Resources
Guide
Version 1.4 Best Team Rotations & Builds
Rotations and builds for the strongest NTE 1.4 teams: Zankou Break, Blackbird Nova and Chaos, Shinku Charge, Nanally Hexed and Hotori Blossom, with substitutes.

Guide
Blackbird: Rotation, Teams & Awakening Guide
How Blackbird's Malice, Forsaken Feather and Witch of Deliverance fit a rotation, the Nova team that suits her best, her build, and which Awakenings and signature Arc are worth pulling for.
Guide
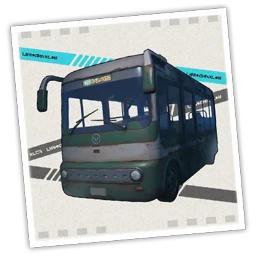
Last Bus Out and Perfectly Common Dreams: Duskmoor Anomaly Commission Walkthrough
How to trigger and solve the two new Duskmoor Anomaly Commissions from Version 1.4: the Wayward Line bus and the Dreamaway Pillow dream.
News
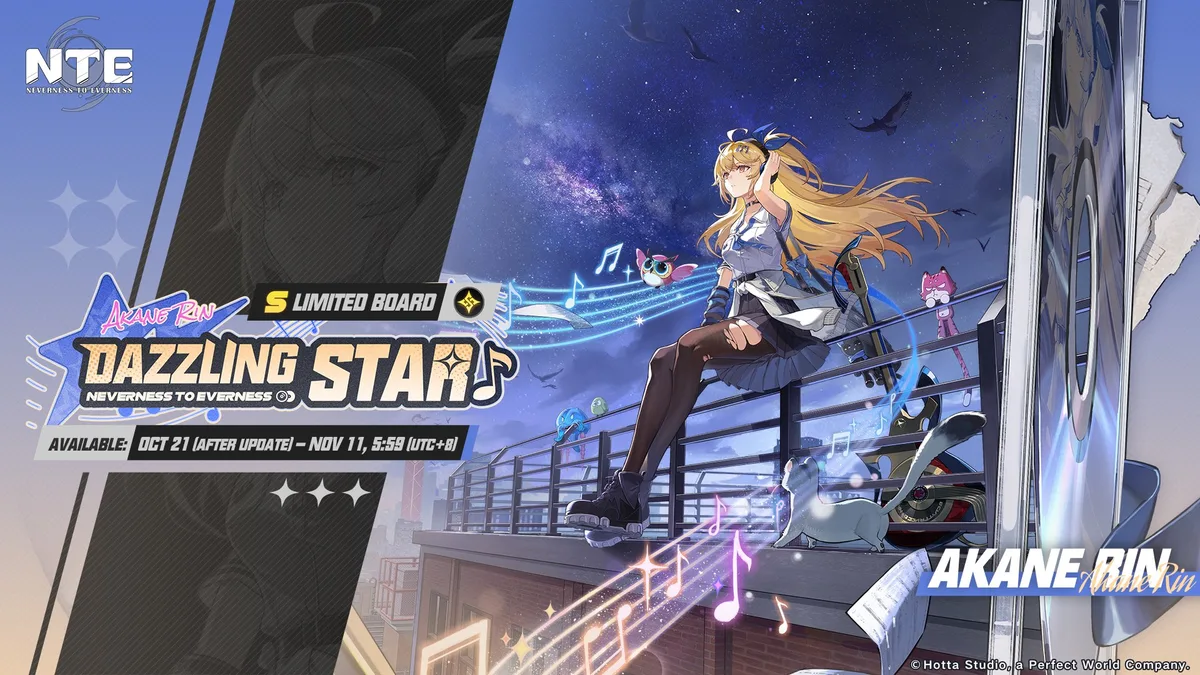
NTE Akane Banner: Dazzling Star and Far Side of the Moon
Akane Rin's Dazzling Star board and the Celestial Special Arc program run October 21 to November 11, with a 90-roll guarantee and an 8-pull Arc guarantee.
News
NTE Free Rewards: Wonderlog Code, Drops, Invites
Version 1.4 brings a Wonderlog redeem code, Twitch Drops through October 13, the Blackbird's Invitation web event, a Discord relink for Annulith ×30 and a Fons ×20,000 share reward.