


































Why Minigames Matter
The minigames are the supply line for everything else at your headquarters. They produce the ingredients you cook with, which is how bond levels climb; they produce the ores you take to the blacksmith; and they produce the goods you sell through the trading post. Quality matters as much as quantity, because a higher score yields higher-grade materials, and high-grade materials are what make cooking and trading pay.

Minigame Stamina
Minigames run on a dedicated stamina pool with a small, strict shape:
- The pool caps at 4, each attempt costs 1, and you can spend several in a row.
- One point regenerates every 6 hours.
- The whole system unlocks when you return from Gregminster, alongside gardening and
 Haruka
.
Haruka
.
Because the cap is 4 and the regeneration is 6 hours, a full pool refills in a day and any time spent sitting at 4 is wasted regeneration. Spend down to zero whenever you log in.
You can also refill directly.
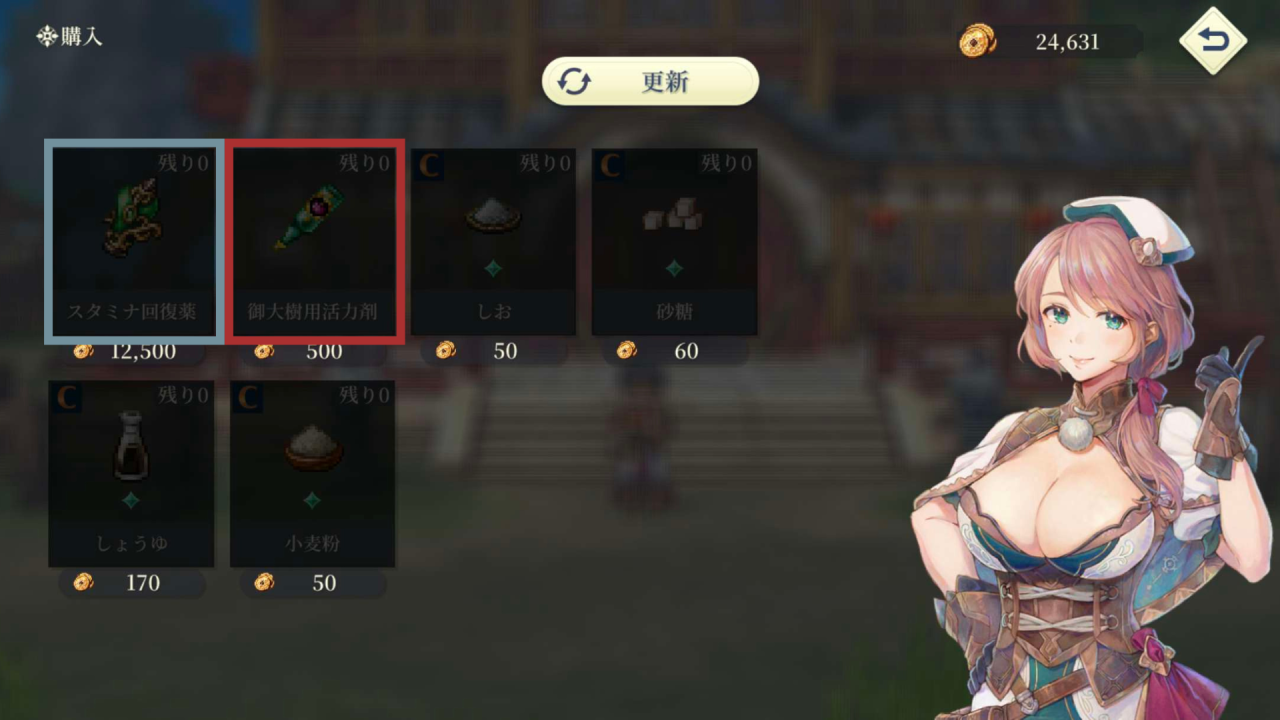
 Chloe
sells minigame stamina bottles for 500 Potch, which is cheap enough that buying them out daily is simply correct, and a bounty stamina bottle for 12,500 Potch. Cities begin stocking bottles of their own once you have finished their sidequests.
Chloe
sells minigame stamina bottles for 500 Potch, which is cheap enough that buying them out daily is simply correct, and a bounty stamina bottle for 12,500 Potch. Cities begin stocking bottles of their own once you have finished their sidequests.
What Every Minigame Shares
Four things are true of every minigame, so they are worth stating once:
- You pick two companions to bring along. They help during the game and they gain bond points for it, which makes minigames a passive bond farm on top of everything else.
- Most games have a practice mode that costs no stamina, so you can learn the scoring before spending anything.
- Most have auto and 2× speed buttons. Manual play scores better, so use auto for filler runs and play the ones you care about by hand.
- Season and time of day change what you collect in several of them, and both are yours to set.
Gardening
The first minigame you unlock, and the one that drives cooking most directly.
Gardening is organised by season, shown at the top of the screen and freely changeable. The season decides which ingredients you get, and as a bonus it changes the appearance of your headquarters. The menu also lets you check which ingredients each stage and season yields before committing, which saves a lot of guesswork when you are chasing a specific character’s favourite dish.
Stage selection opens up as you upgrade the headquarters and recruit more companions. The game itself is simple: tap the moles and let the stars grow your plants, while the two companions you placed facing the plants deal with the moles on their side automatically.

Fishing
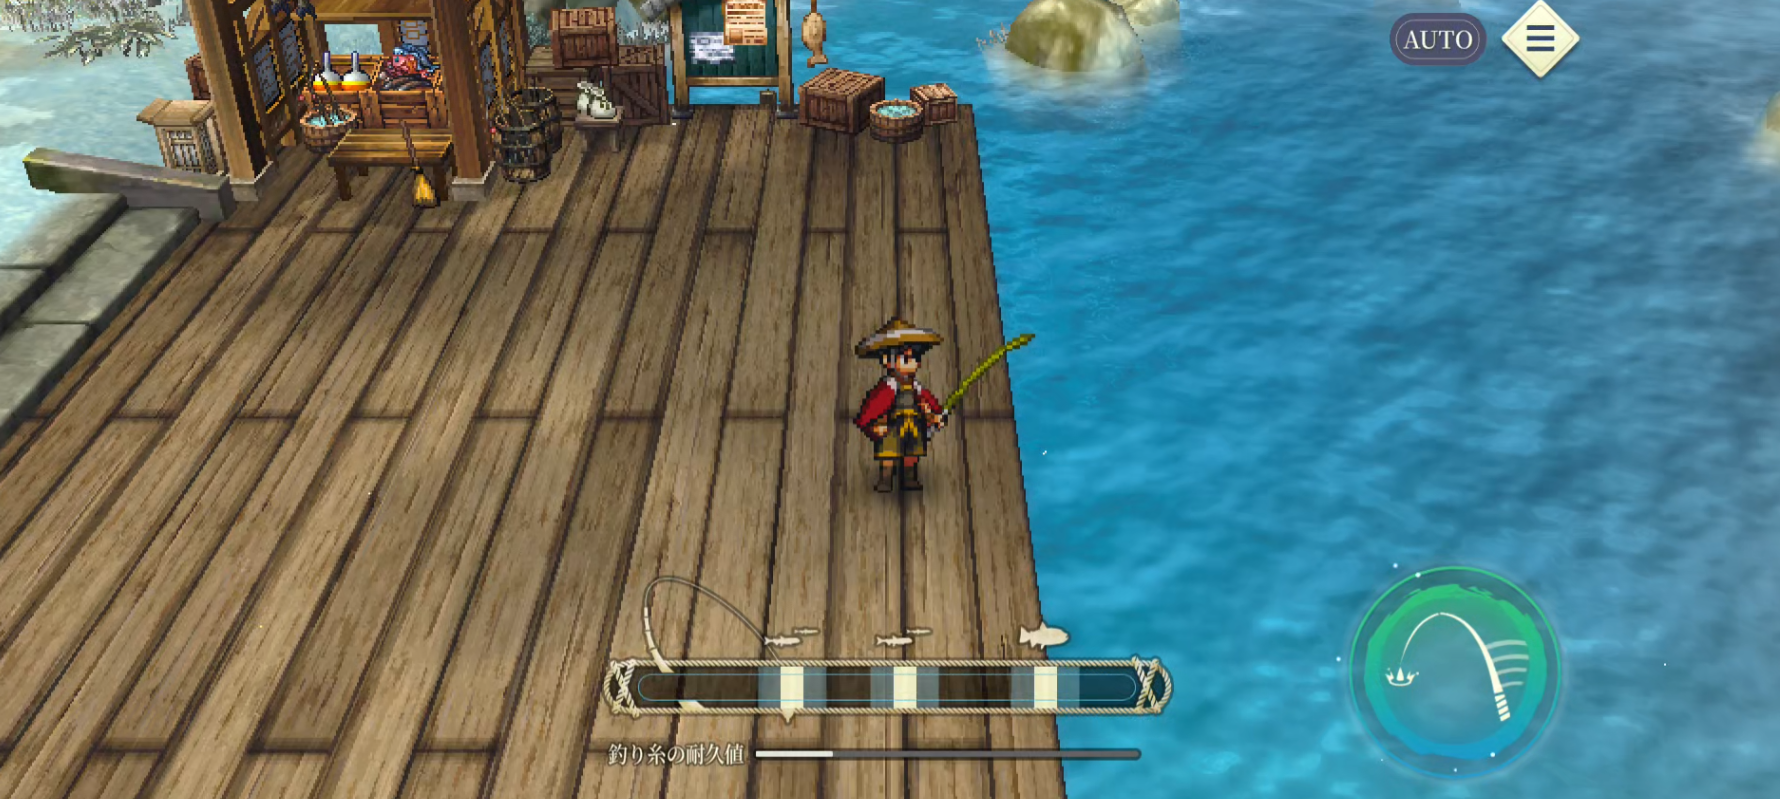
A classic fishing minigame with one detail worth knowing: fishing in a city fishing pond costs no stamina, so complete your collection entries there and save the stamina for yields you actually need.
Long-press to choose where the line lands, since small and large fish sit in different spots. Season and time of day change which species appear, exactly as they do in gardening. There is an auto button and a 2× speed toggle for when you just want the materials, and manual play remains the higher-scoring option.
Harvesting
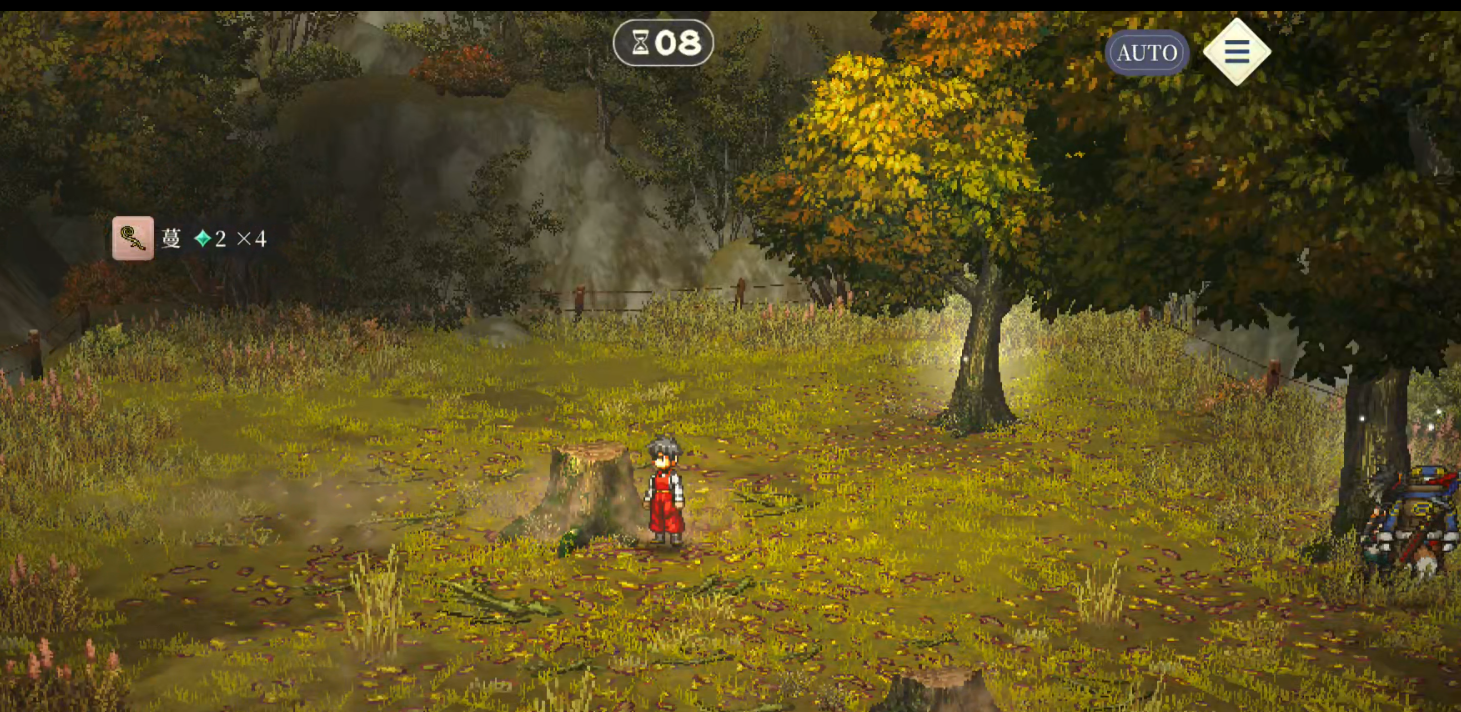
One of the more involved games, and one of the more enjoyable ones. Resources follow the season, with summer and autumn available at stage 1.
You have 50 seconds to cut everything on the field while hitting the animals wandering around. Each hit fills the fever gauge, and a full gauge speeds up your harvesting; hitting animals while fever is already running tops it back up. When your arms are full you have to deposit at one of the carts before continuing.
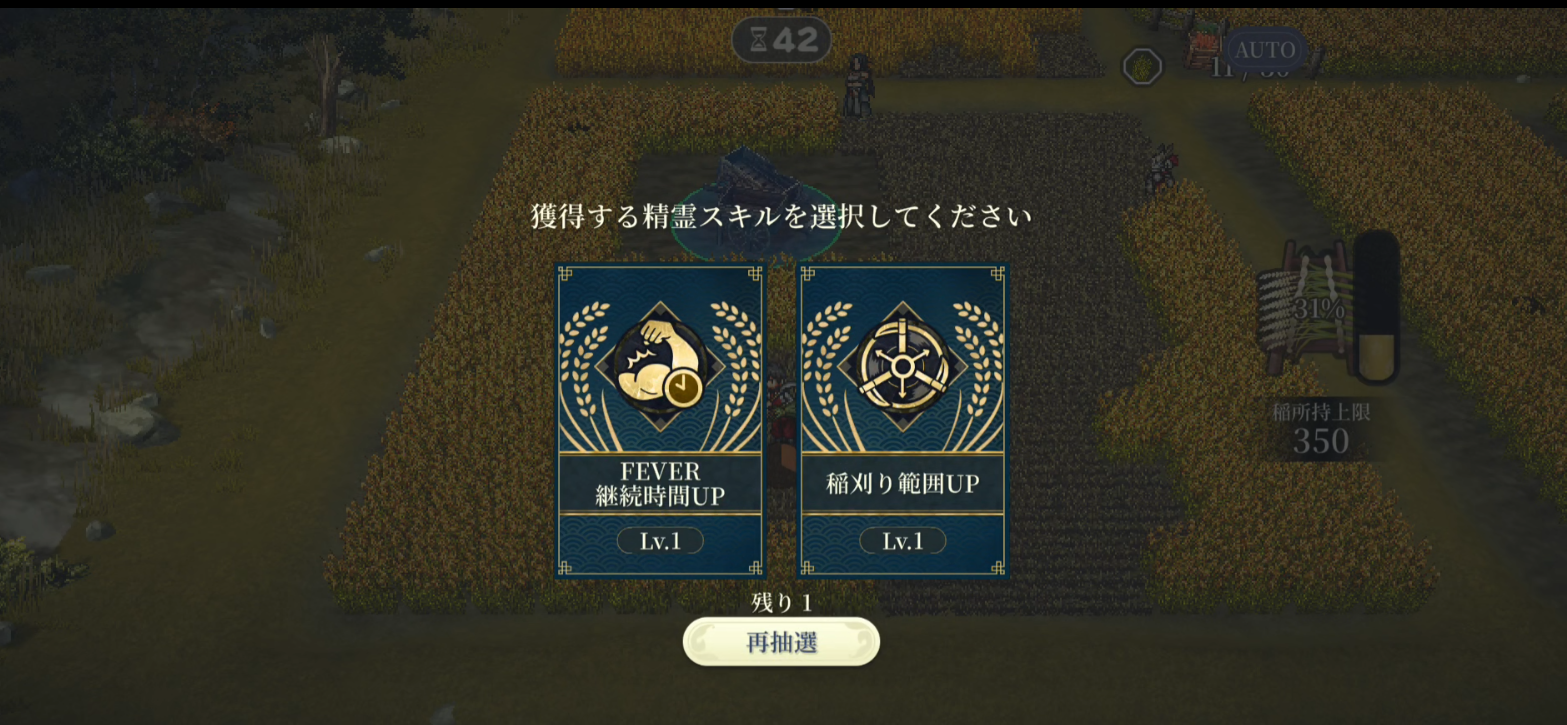
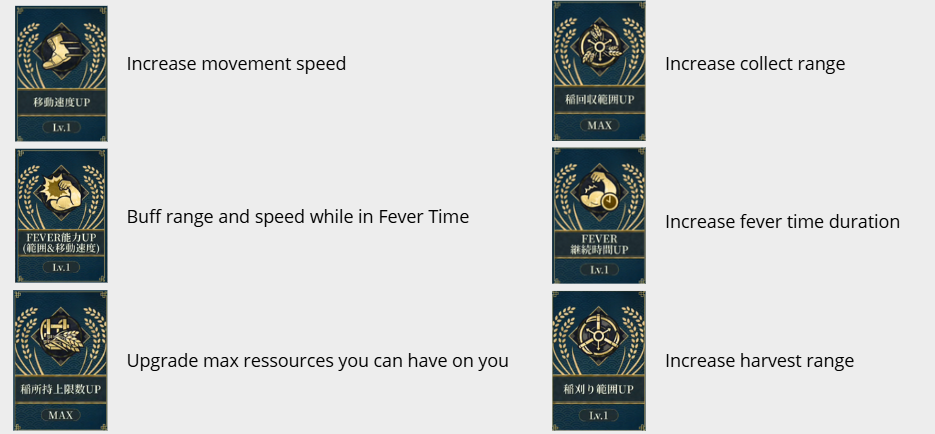
Stars appear as you work and offer a choice between two bonuses, with one reroll available per run. Watch the large animals: if one is facing you after being hit, it can hit back and stun you.
Logging
The fastest game on the list. Resources are the same regardless of season, so there is nothing to set up.
You have 15 seconds to cut trees, some of which take more than one tap. Auto and 2× are both available, and there is genuinely nothing more to it.
Mining
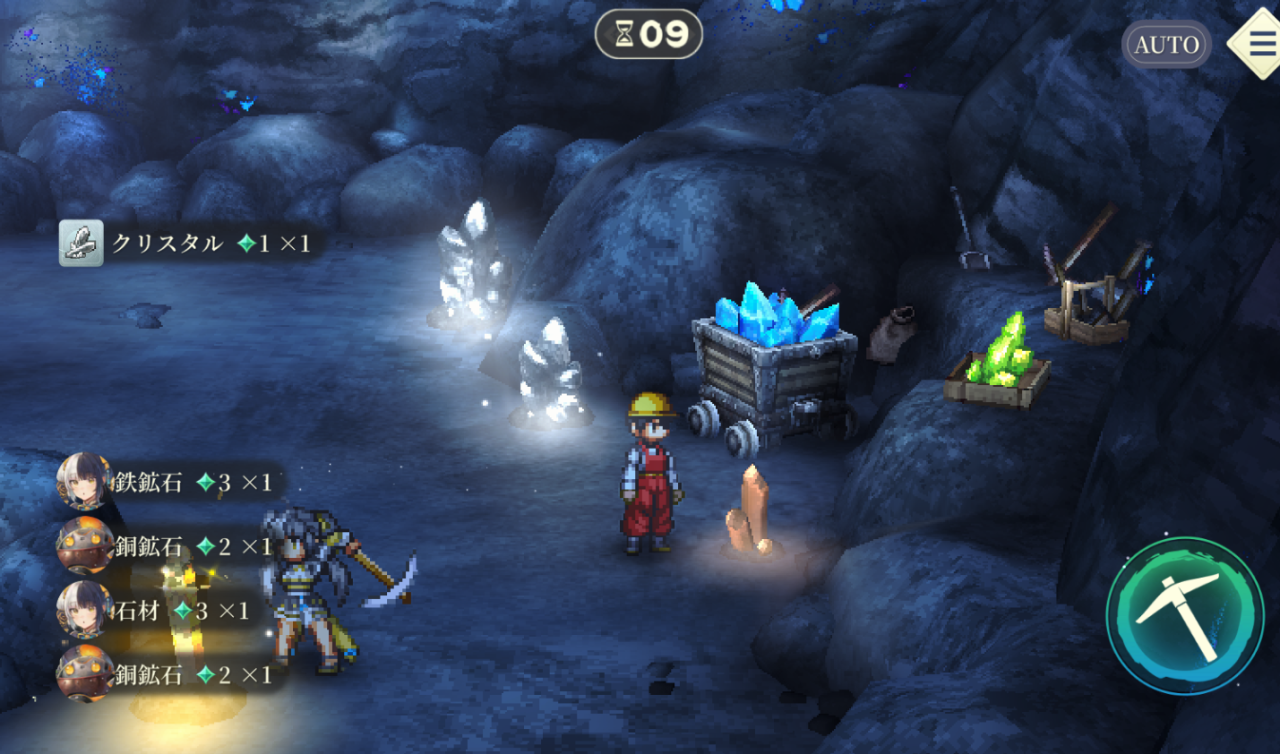
Mechanically identical to logging, aimed at ores. Ores ignore the season, you get 15 seconds, and some nodes need more than one tap.
Ores feed weapon upgrades at the blacksmith, which makes this one of the games worth running even when you have no cooking plans.
Hunting
The most tactical game of the set, and the one where understanding the rules changes your results the most. Hunting yields meat, and the meat table ignores the season.
The monsters
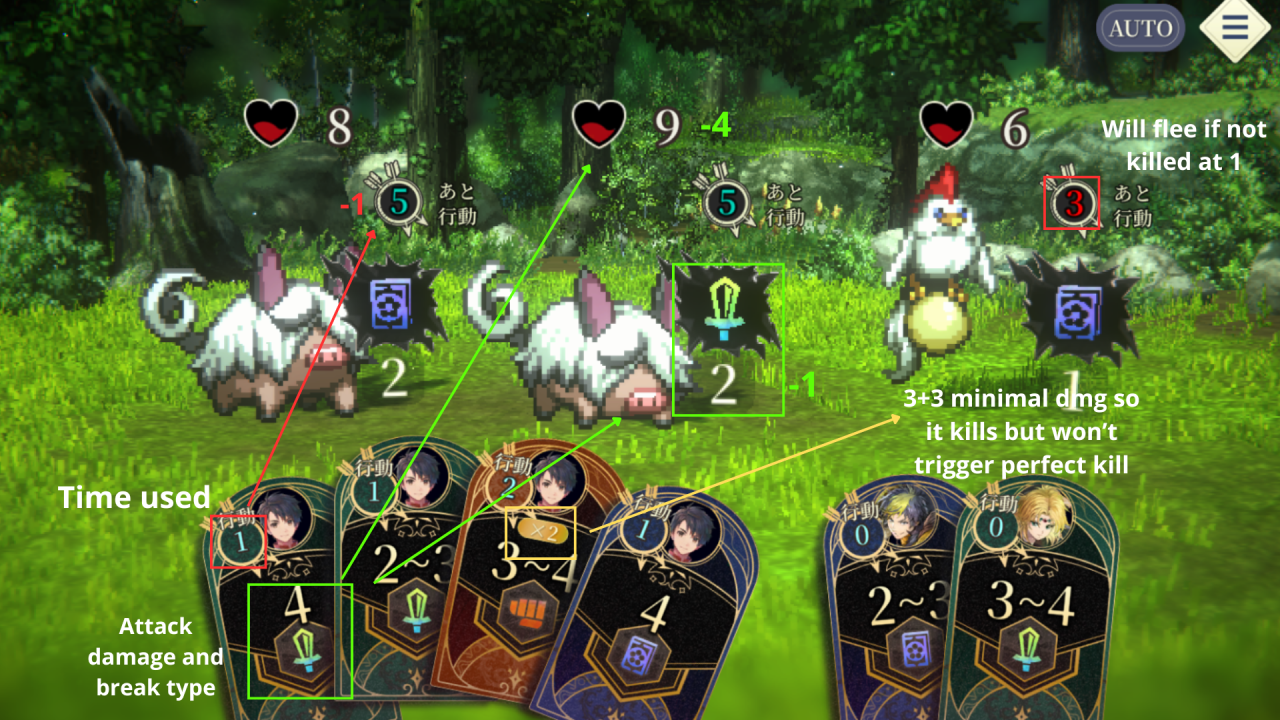
Each monster has a timer beside its health bar. When the timer hits zero the monster flees, and this happens even if you break it with one turn left, so breaking is not a reprieve. Under the timer sits the damage type it takes and the amount you need to deal to break it, and breaking adds time back to that timer.
Your cards
- You need to deal enough damage to kill each monster, drawing from cards that carry either a fixed value or a random range.
- Each card costs a time value to play, and playing a card that costs 1 or more reduces every monster’s timer by that amount. A 0-cost card reduces nothing.
- A card showing 4 with a Sword icon deals 4 damage and 1 break, regardless of the damage number. The break value is not tied to the damage value.
- A ×2 marker means the damage triggers twice. A ×2 card showing 2 deals 4 this turn; a ×2 card showing 4–5 deals between 8 and 10. Save these for guaranteeing a kill.
- Aim to break enemies before their timer reaches 1. If a timer is already at 1, use your next timed attack to finish that monster outright.
- Cards in hand do not refresh — breaking a monster gives you one card back. If your hand empties, every remaining monster flees.
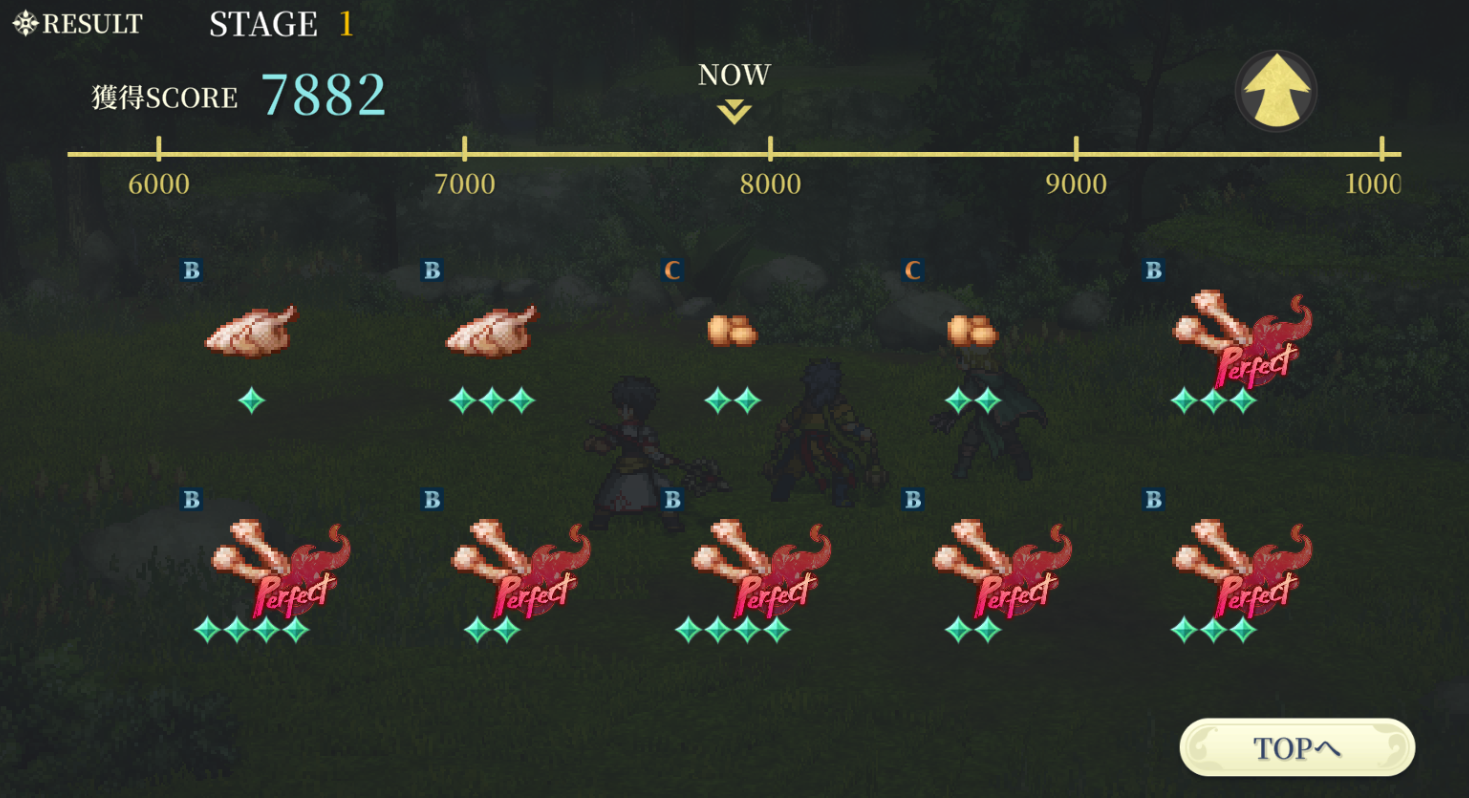
Perfect ratings on a kill appear to be random, and they yield higher-quality meat.
Auto and speed-up are both available, and this is one of the games where playing manually pays for itself.
Collecting
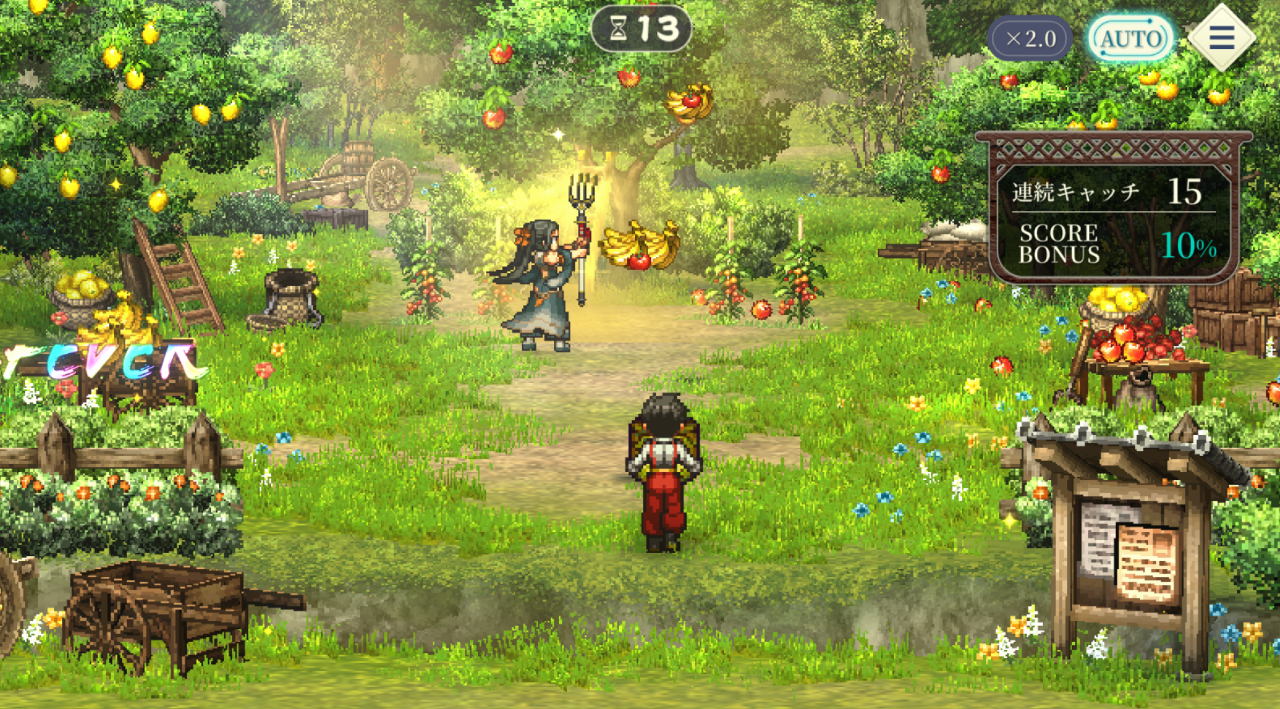
Fruit gathering, with the yield tied to the season. Straightforward to play and one of the more pleasant runs.
- Your two companions gather extra fruit off-screen and can catch fruit you missed if they happen to be standing in the right place.
- To score a Perfect, be facing the tree as the fruit lands in your basket.
- A Good keeps your combo alive; missing a fruit breaks it.
- Perfects raise your score bonus and the quality of the fruit, and collecting stars triggers fever time, during which Haruka sends a burst of extra fruit to the same spot.
Diving
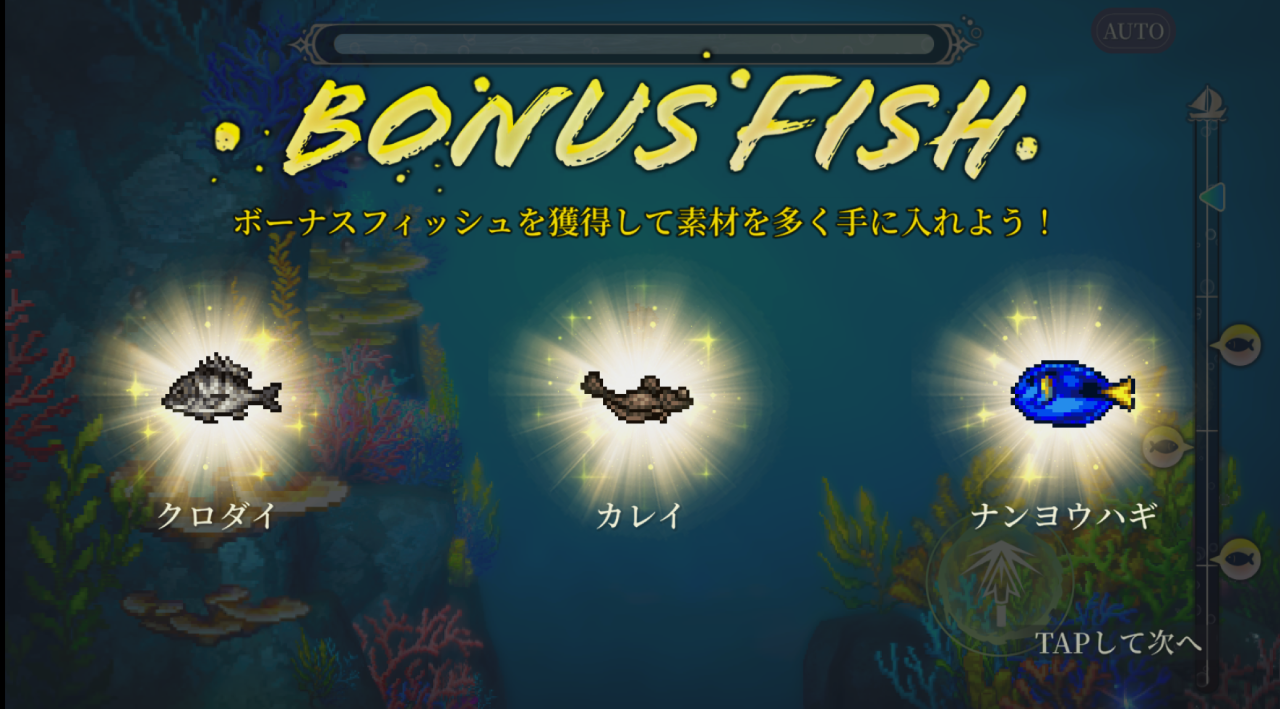
The last minigame available at launch, and the only one where rewards are tied to the time of day.
- The bonus fish shown at the start are worth chasing: catching them raises both your bonus and the quality of the rewards.
- Movement and attacking are all you need — swim to the fish you want and hit them.
- Your breath bar drains slowly underwater and drains faster the deeper you go, with each attack costing a little extra. Hitting crates restores a large chunk of it.
- Depth pays: rewards improve the further down you go, which is the trade the breath bar exists to price.
- Large fish will attack you and take a bite out of the bar.
The Bar
The bar sits with the minigames and costs no stamina, which makes it free value every day.
It holds two things. Side stories let you watch character scenes, with more added over time. Chinchirorin is a dice gambling game, and it works like this:
- You receive 5,000 coins daily and can gamble three times per day in total, regardless of which opponent you pick.
- You choose your opponent and your stake. Bigger stakes mean bigger swings in both directions.
- Three dice are rolled between the parent (your opponent) and the child (you). If the parent rolls a winning hand, or rolls three times without landing anything, play passes to you. You can lose outright on the first throw.
The high-stakes outcomes are worth memorising:
| Roll | Result |
|---|---|
| Three of a kind | Pay or win 3× your stake |
| 4-5-6 or 1-2-3 | Pay or win 2× your stake |
| Triple 1 | Pay or win 5× your stake |
The full table of 1× outcomes is available in the menu while playing. Coins won here are spent in the exchange shop on resources and materials, so the three daily rolls are worth taking even on a bad streak.

Related Suikoden STAR LEAP Resources

Guide
Gear, Accessories and Runes: What to Farm
Equipment ranks and slots, elemental gear sets from EX bounties, why disguises cost more than they give, which accessory each role wants, and the runes worth 99,999 Potch in Suikoden STAR LEAP.

Guide
Buffs, Debuffs, and Positioning: The Hidden Half of Combat
Stat stages and their speed multipliers, how percentage buffs differ from stacking ones, row-based support passives, and how to aim a unite attack in Suikoden STAR LEAP.

Guide
Character Growth: Cooking, Training and Stars
How bond levels, the Talent Tree, offline EXP, shard training, and the Tablet of Promise combine to raise characters in Suikoden STAR LEAP.

News
Suikoden STAR LEAP: New Event RPG and a Free SSR Nanami
A four-episode Event RPG opens September 30 with up to 24,000 Fantasy Stones and two new SSRs, alongside a login bonus for Suikoden: The Anime's Nanami.

News
Suikoden STAR LEAP: Chapter 3 Story and a QoL Overhaul
New Chapter 3 story, the Emotions & Secrets banner with Rachana, Gremio and Hou, badges, and a September 21 update with bulk trading and eight party slots.