



















Four Slots, One Rule
The gear system opens after the first boss in the cave, with weapon upgrades following a little later. Every character carries a piece in each of four slots, and each slot has its own families of equipment:
| Slot | Types |
|---|---|
| Head | Hats, Crowns, Helmets, Circlets |
| Torso | Cuirasses, Gi, Light armors, Heavy armors, Breastplates |
| Arm | Shields, Gloves, Gauntlets, Armguards |
| Legs | Deep boots, Boots, Heavy boots, Greaves |
A character can only equip one type in each slot, and the types need different materials to craft and upgrade. Check what your character actually takes before you spend anything — buying the wrong family is the most common early waste.
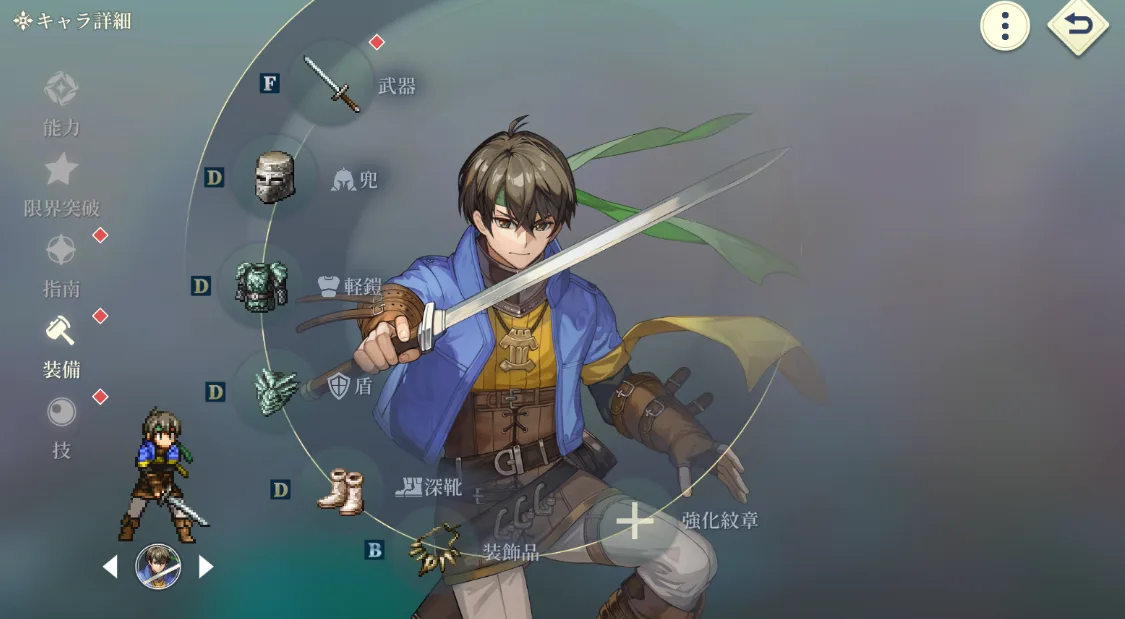
Gear runs from rank H to rank S, and each step costs more materials than the last. Bounties, trading posts and exchange shops cover the early ranks. From rank C upward you also need armor and weapon tokens, and those come from the Exploration and Nightmare Battlefield exchange shops — which is the real reason to clear both every time they reset.
You get equipment two ways: craft it at Meesh’s workshop, or buy it from the equipment shop in any city, where stock is limited. Early pieces are cheap enough to buy and upgrade freely for the defensive stats. Past rank C the costs bite, so that is where you start choosing who gets the good gear.
Elemental Sets from EX Bounties
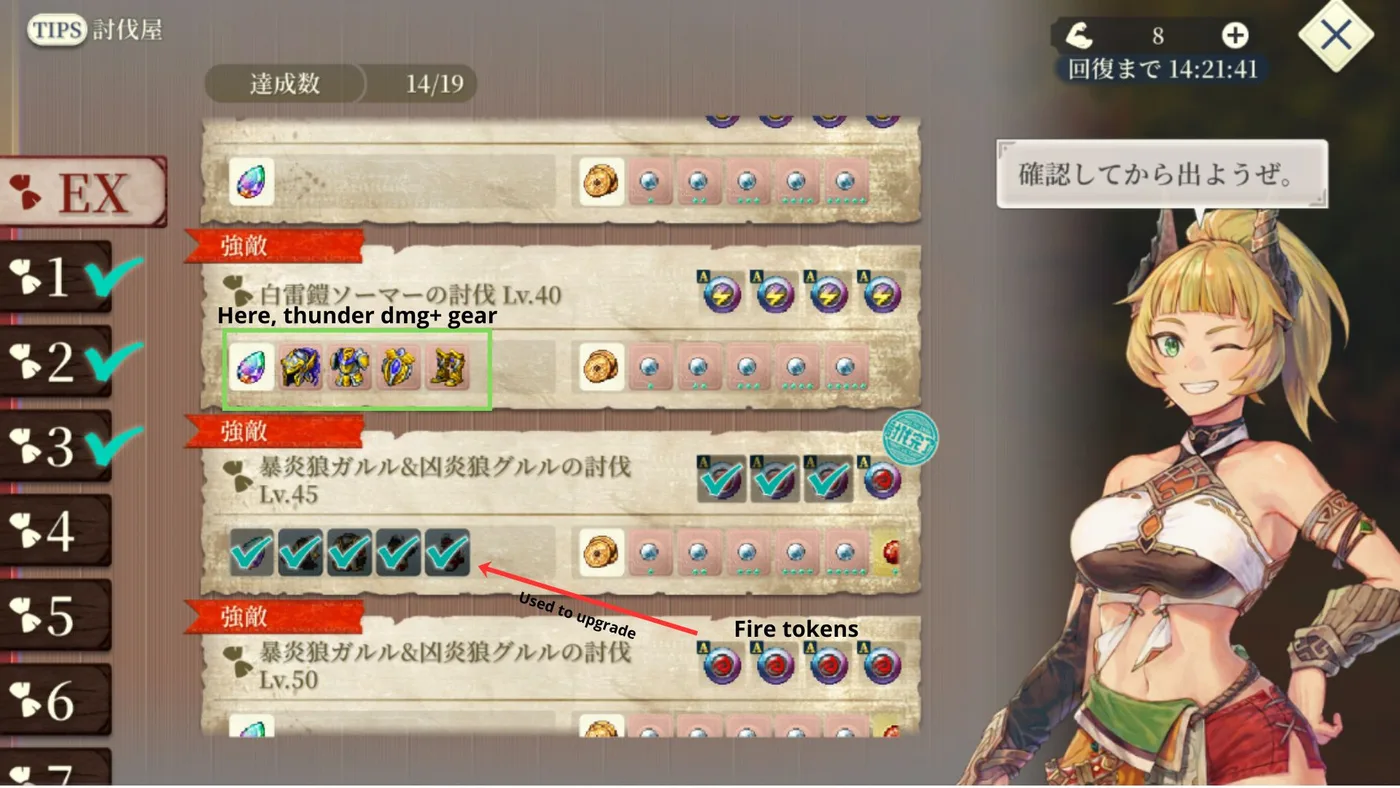
Later in the story you unlock EX bounties, and they hand out an elemental gear set for each element as clear rewards, elemental tokens for the objectives, and materials for accessories along the way. Each bounty asks for four things:
- Clear the stage
- Field more than two characters of the effective element
- Lose no more than two characters
- Finish within 42 actions
Every elemental set gives the same effect, it only equips onto a character of the matching element, and it stacks: attacking with that element temporarily raises attack power by 2.5% per piece, so 10% on a full set. Upgrading the set costs the elemental tokens from the objectives, so a piece only reaches its ceiling once you are full-clearing the bounty. They also cost 5 stamina, which is fair given they drop materials as well.
Put the set on your best damage dealer of that element. Spreading it thin gives you four characters with a fraction of a bonus.
Disguises Are a Trap
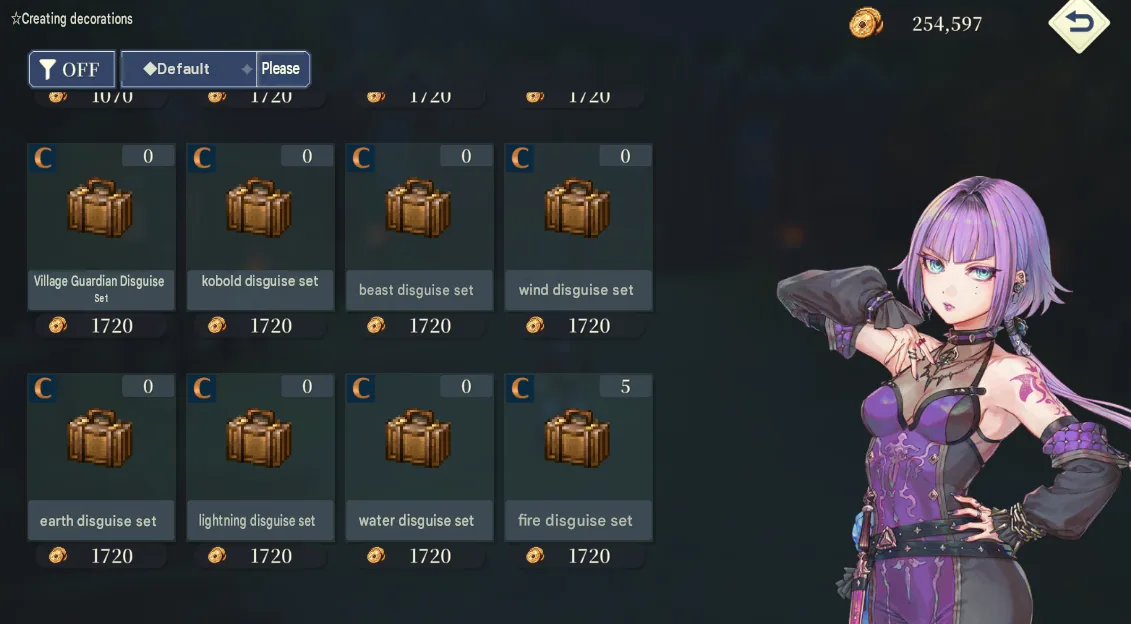
Disguises look interesting at first. They grant affinities — a sword or earth affinity, or a tag — no matter what your character’s own element and type are, and the B rank versions grant two at once, like Water plus Sword or Lightning plus Combat.
The catch is the price: 40% of your stats gone, and 60% on those B rank sets. That is far more than any affinity gives back at this stage of the game, so buy them for the collection if you like, and keep them off your fighting party.
There is one practical hazard. Auto-equip and auto-formation will happily put a disguise on someone, so equip real accessories to your characters and lock them. A locked slot stays where you put it.
Accessories by Role
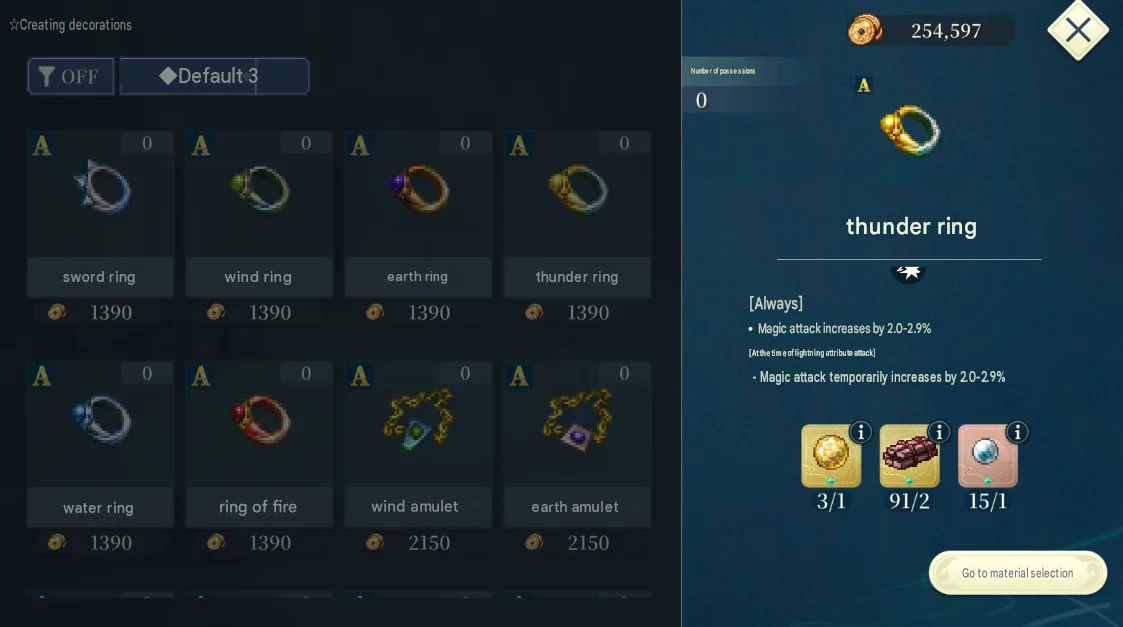
From chapter 2 you unlock accessory crafting, currently spanning rank C up to rank A. The better the materials you feed it, the better your odds of a high grade result. Materials come from mining, logging, diving, trading, the Chinchirorin coin shop, and from EX bounties — with rank A accessories asking for high rank bounty drops.
What each role wants:
| Role | Accessory | Effect |
|---|---|---|
| Mage attacker | Rings | M.Atk +2–2.9%, and another +2–2.9% temporarily when attacking with the matching element |
| Melee attacker | Bangles | P.Atk +2–2.9%, and another +2–2.9% temporarily when attacking with the matching element |
| Tank | Amulets | M.Def +2–2.9%, and another +2–2.9% temporarily when taking that element |
| Tank | Leg armors | P.Def +2–2.9%, and another +2–2.9% temporarily when taking that element |
| Healer | Seals | The yellow holy seal boosts HP recovery; the green badge heals on every action, five times per battle |
Physical or magical is decided by the character’s skills, not by their weapon type. Sword and Combat characters are usually melee and Wisdom characters usually magic, and the exceptions matter: the protagonist is a hybrid who uses both, so his accessory follows whichever job you give him, and Tengaar carries Sword and Earth while every one of her skills — the Sword attack included — is magic. Open the skill list when you are unsure.
Rank B accessories carry you until rank A crafting is available, and the icons repeat across ranks, so the same design at C, B and A is the same effect at a lower or higher value.
Runes
The last slot on a character takes a rune, bought from the rune shops that some cities keep. Each buffs a single stat by 5%, costs 99,999 Potch, and currently only affects certain roles.
| City | Chapter | Rune |
|---|---|---|
| Gregminster | 1 | HP +5% |
| Lenankamp | 1 | M.Def +5% |
| Sauronix | 2 | P.Def +5% |
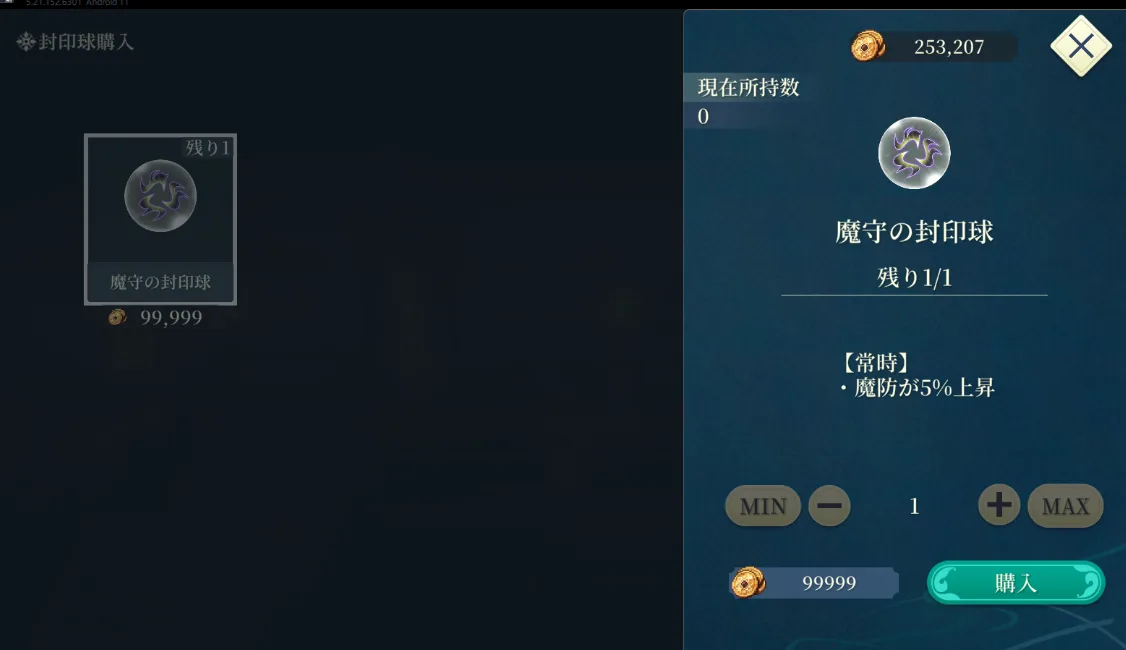
At 99,999 Potch each these are a serious purchase early on, and the trading post loop is how you pay for them. More may appear at higher city affinity, and this page gets updated as they turn up.
Related Suikoden STAR LEAP Resources

Guide
Buffs, Debuffs, and Positioning: The Hidden Half of Combat
Stat stages and their speed multipliers, how percentage buffs differ from stacking ones, row-based support passives, and how to aim a unite attack in Suikoden STAR LEAP.

Guide
Character Growth: Cooking, Training and Stars
How bond levels, the Talent Tree, offline EXP, shard training, and the Tablet of Promise combine to raise characters in Suikoden STAR LEAP.

Guide
Combat and Team Building: Elements and Formation
How damage, resistances, breaking, and turn order work in Suikoden STAR LEAP, and how to build a party that beats the fight in front of you.

News
Suikoden STAR LEAP Event Bounty Bug: Fight in Town
A resume prompt can lock the UI during an Event Bounty, and the Mist Shade fights eat the Bounty Tickets with it. Start them in town until the fix lands.
News
Suikoden STAR LEAP Sept 2 Update: Event Bounties Live
The September 2 update opens Event Bounties and Chapter 2 of Under the Liberation Army Flag, ships the first-half balance list, and pays 150 Fantasy Stones.