

































Monsterlings are the core gear system in Mongil: Star Dive. Each character can equip up to three, and the right combination of link effects, rank effects, and traits is the biggest long-term damage source in the game. This guide breaks down how monsterlings work, which ones to build, and the safest way to farm useful traits.
What Are Monsterlings?
A monsterling has three independent parts: a Link effect, a Rank effect, and up to four Traits.
- Link only works when the monsterling is placed in the first slot. It triggers on a specific condition, such as using a special skill or landing an ultimate, and applies a debuff or effect. For example,
 Red Shadow
’s link shreds ice resistance and neutralization resistance when you use an ice special skill.
Red Shadow
’s link shreds ice resistance and neutralization resistance when you use an ice special skill. - Rank is always active no matter which slot the monsterling sits in. It can buff the holder or the entire party. For example,
 Amon
’s rank gives the whole team 11% crit rate as long as the holder attacks frequently enough.
Amon
’s rank gives the whole team 11% crit rate as long as the holder attacks frequently enough. - Traits are the substats you farm and transfer between monsterlings. They are the most grind-heavy part of the system and the main reason you keep farming monsterlings in the endgame.
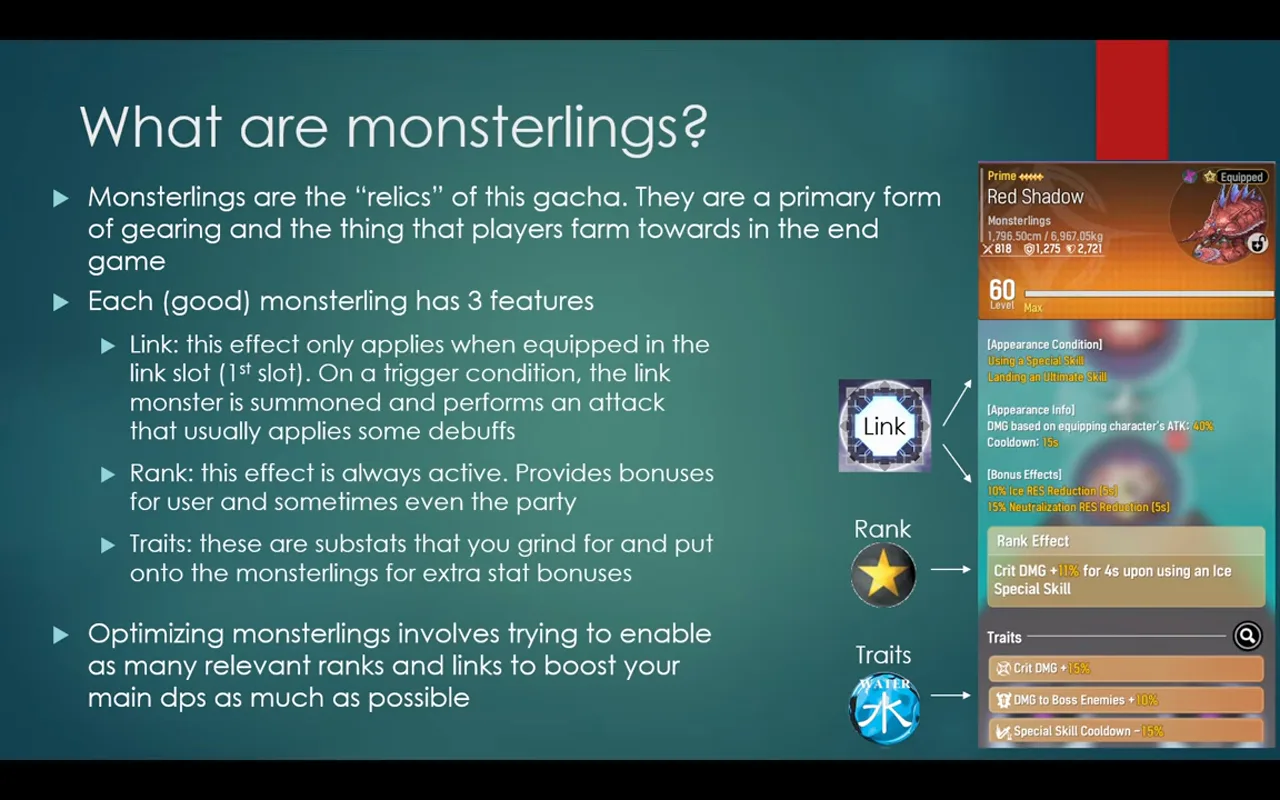
Every character wants three different rank effects active at once, so the goal is to find monsterlings whose rank and link effects match your team and then layer good traits on top.
Stacking Rules
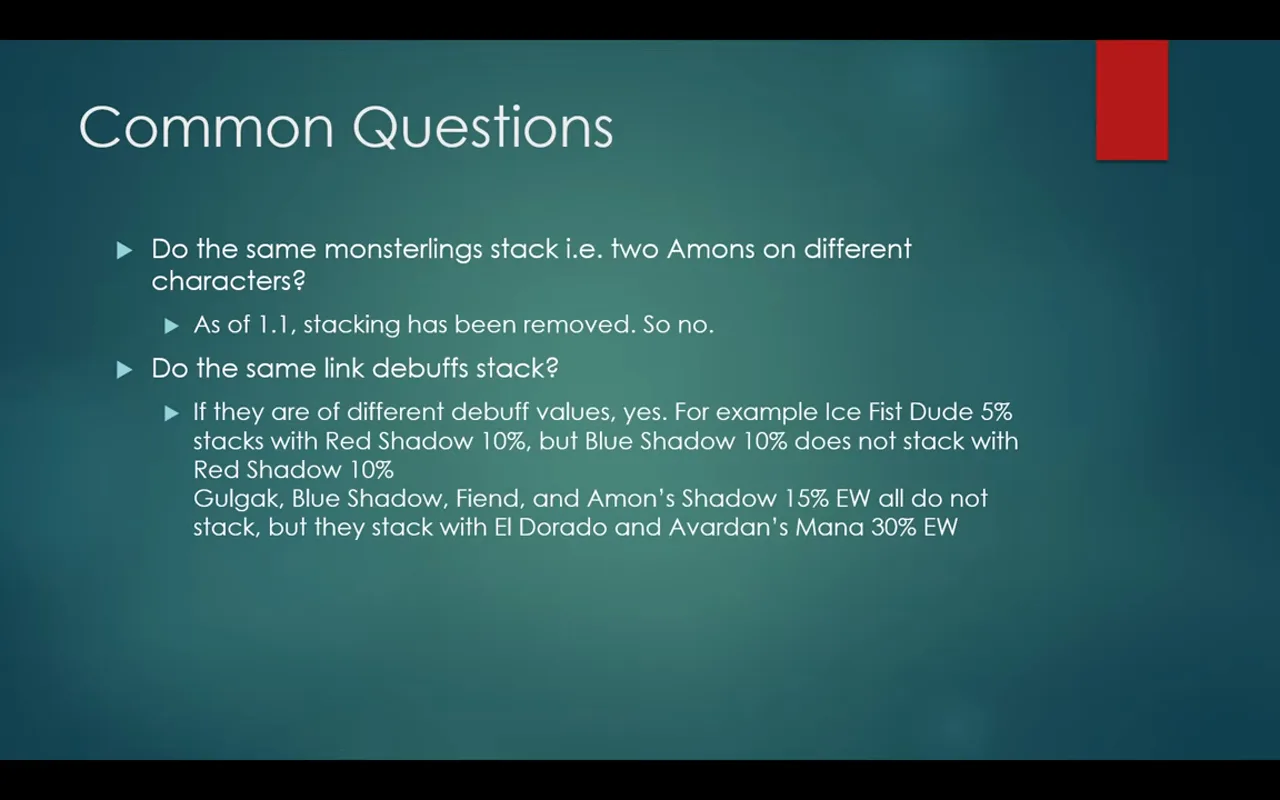
Two copies of the same monsterling do not give double the rank bonus. Rank stacking was removed in version 1.1, so you cannot run two
Amon
s on two different characters and expect 22% team crit rate.
Link debuffs follow a simple rule: debuffs with different percentage values stack, and debuffs with the same percentage value do not. For example,
Red Shadow
’s 10% ice resistance shred stacks with
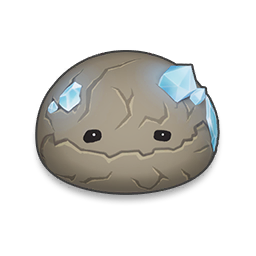 Ice Fist Dude
’s 5% ice resistance shred, but it does not stack with
Ice Fist Dude
’s 5% ice resistance shred, but it does not stack with
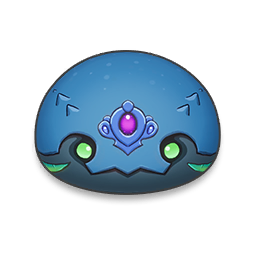 Blue Shadow
’s identical 10% shred. Similarly,
Blue Shadow
’s identical 10% shred. Similarly,
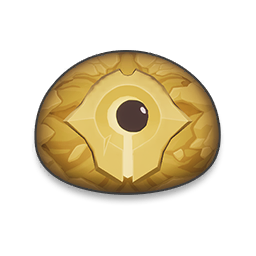 El Dorado Guardian
and
El Dorado Guardian
and
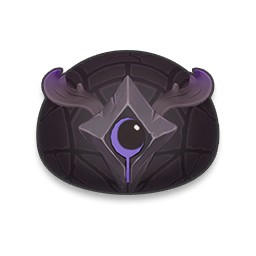 Avardan
both apply 30% element weakness damage boosts, and those stack with the smaller 15% weakness debuffs from
Avardan
both apply 30% element weakness damage boosts, and those stack with the smaller 15% weakness debuffs from
 Fiend
,
Fiend
,
 Gulgak
, and
Gulgak
, and
 Amon's Shadow
.
Amon's Shadow
.
Why On-Element Teams Matter
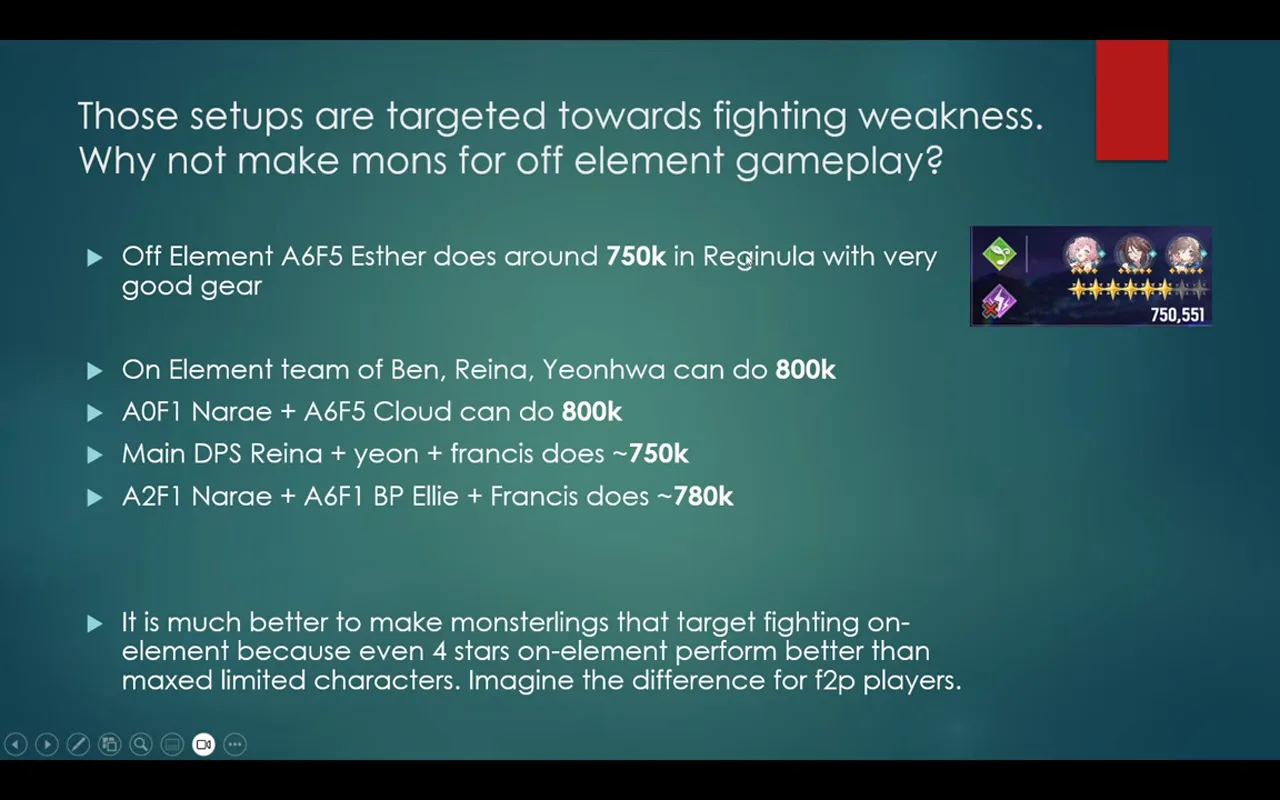
A practical comparison shows why off-element brute force is a trap. A fully maxed
 Esther
fighting off-element reaches only about 750k in Regina, even at A6S5 with strong gear. Meanwhile, a low-dupe on-element Raina team or an A0
Esther
fighting off-element reaches only about 750k in Regina, even at A6S5 with strong gear. Meanwhile, a low-dupe on-element Raina team or an A0
 Benjamin
team can hit the same number. Building monsterlings that let you fight on-element across several characters is the better investment.
Benjamin
team can hit the same number. Building monsterlings that let you fight on-element across several characters is the better investment.
Best Monsterlings
The best monsterlings depend on whether the holder is a main DPS, a sub-DPS, or a support.
Support Monsterlings
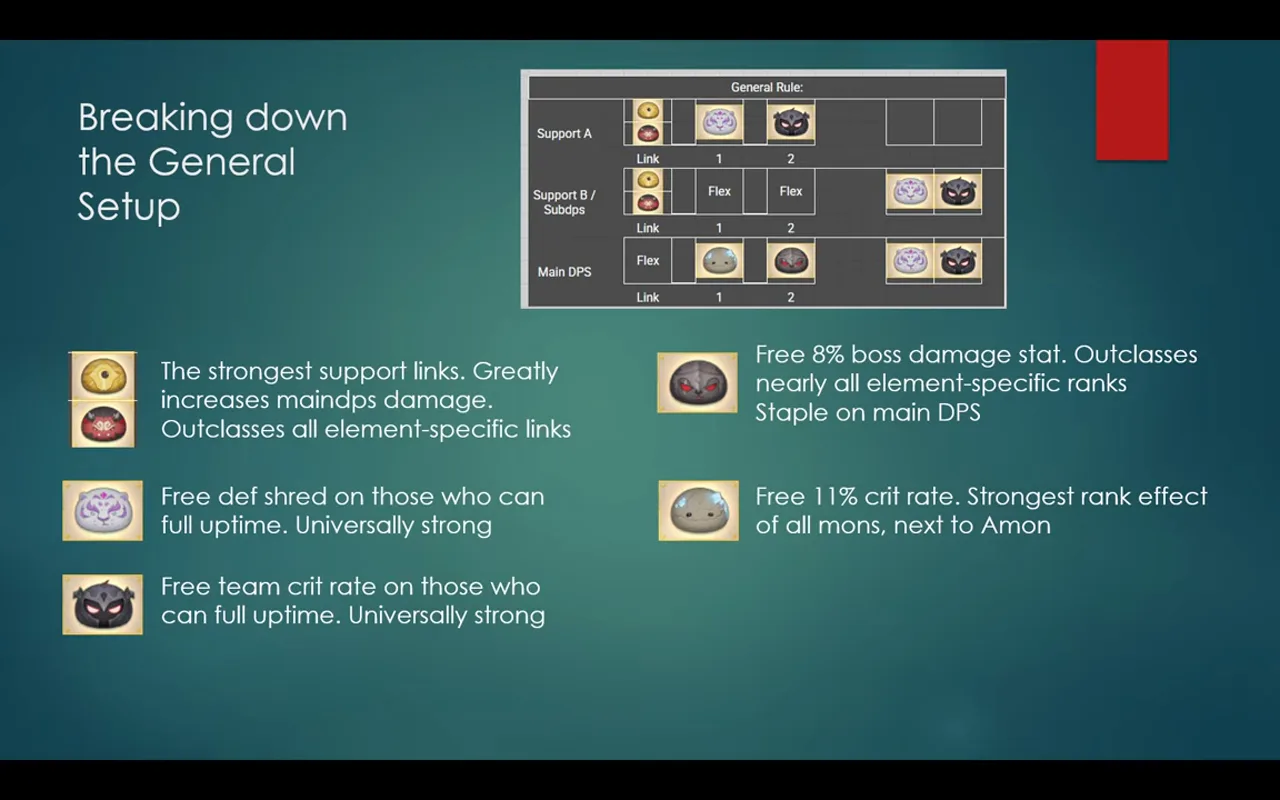
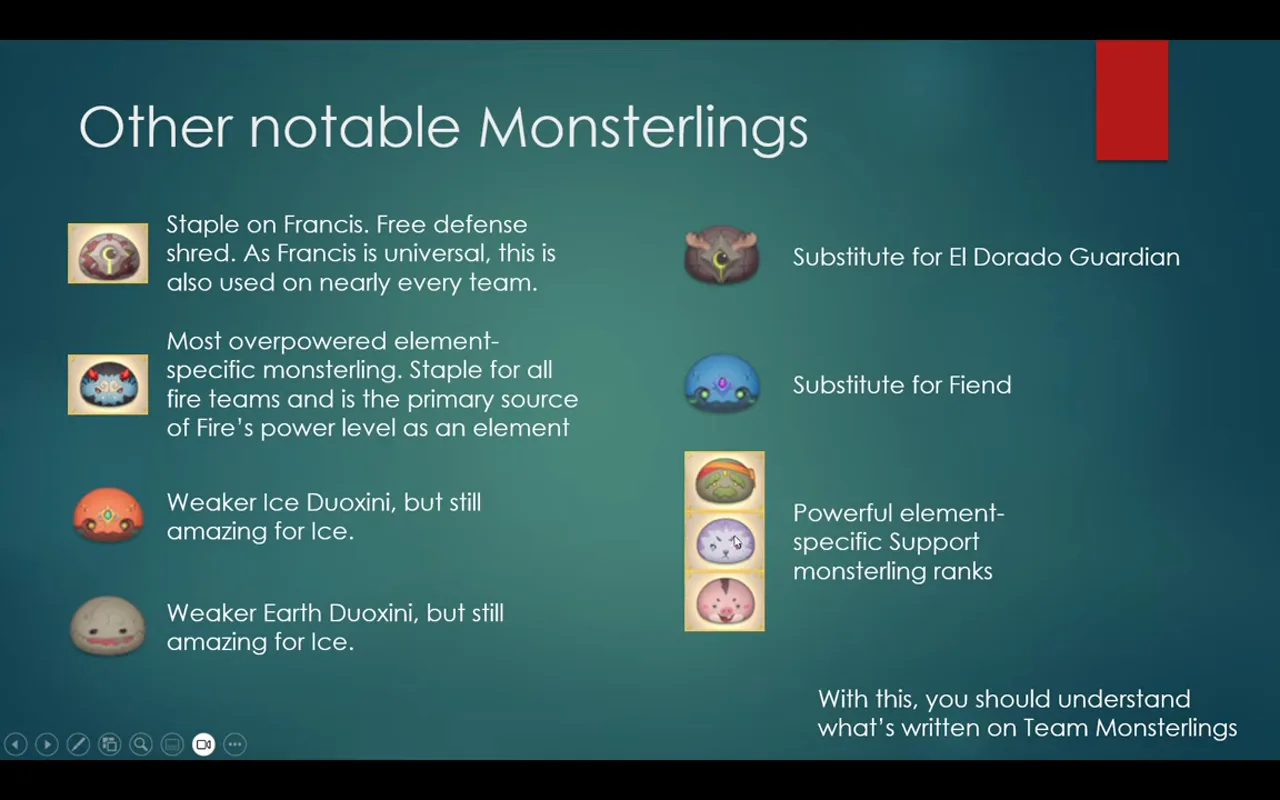
Supporters usually want monsterlings that buff the whole team or apply long debuffs. The two most powerful support links are
El Dorado Guardian
and
Fiend
.
-
El Dorado Guardian
applies a 30% element weakness debuff during enemy stagger and keeps it active for the full break plus five seconds after. This is a massive damage window for your main DPS.
-
Fiend
summons a totem that radiates fire damage and continuously reapplies a 15% element weakness debuff for about 13 seconds. That duration makes it the longest 15% debuff in the game.
-
Gulgak
gives an easy 8% defense shred as long as the holder hits once every five seconds. It is universally strong and requires almost no rotation thought.
-
Amon
gives the entire team 11% crit rate when the holder lands more than ten hits in ten seconds. This turns any fast-hitting support into a crit buffer.
DPS Monsterlings
Main DPS units want raw damage and crit support.
-
 Scar
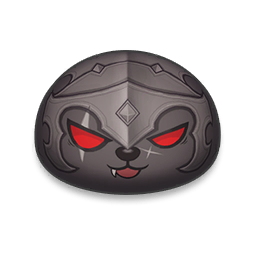
gives a flat 8% boss damage from its rank. This is so strong that almost every main DPS build in the game uses it.
Scar
gives a flat 8% boss damage from its rank. This is so strong that almost every main DPS build in the game uses it. -
Ice Fist Dude
gives 11% crit rate when you hit an element weakness. Because you should always be fighting on-element, this is essentially a free crit rate buff.
-
 Duoxini
is the best element-specific monsterling for fire teams, with both a fire weakness rank and an additional fire weakness link.
Duoxini
is the best element-specific monsterling for fire teams, with both a fire weakness rank and an additional fire weakness link. -
Red Shadow
is the ice-team equivalent of Duoxini, though slightly weaker.
-
 Rock Fist Dude
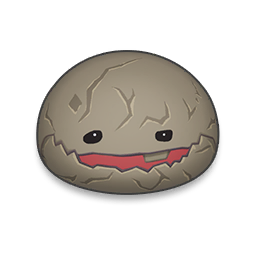
is the earth-team option, with a conditional but useful link and rank.
Rock Fist Dude
is the earth-team option, with a conditional but useful link and rank.
If you do not have
El Dorado Guardian
,
Avardan
does the same job. If you do not have
Fiend
,
Blue Shadow
applies the same debuff but with a shorter duration — it is also the monsterling built for
 Sera
specifically.
Sera
specifically.
Two more are worth knowing about:
-
 Hahnul
gives the whole team 11% switch skill damage for ten seconds when the holder lands a critical hit on a boss. It has no link, so it belongs in a flex slot where nothing else earns the space.
Hahnul
gives the whole team 11% switch skill damage for ten seconds when the holder lands a critical hit on a boss. It has no link, so it belongs in a flex slot where nothing else earns the space. -
 Maple Odong
gives 5.8% switch skill attack with a 10% earth resistance reduction on its link. Its place in a build is still being worked out.
Maple Odong
gives 5.8% switch skill attack with a 10% earth resistance reduction on its link. Its place in a build is still being worked out.
How to Build Traits
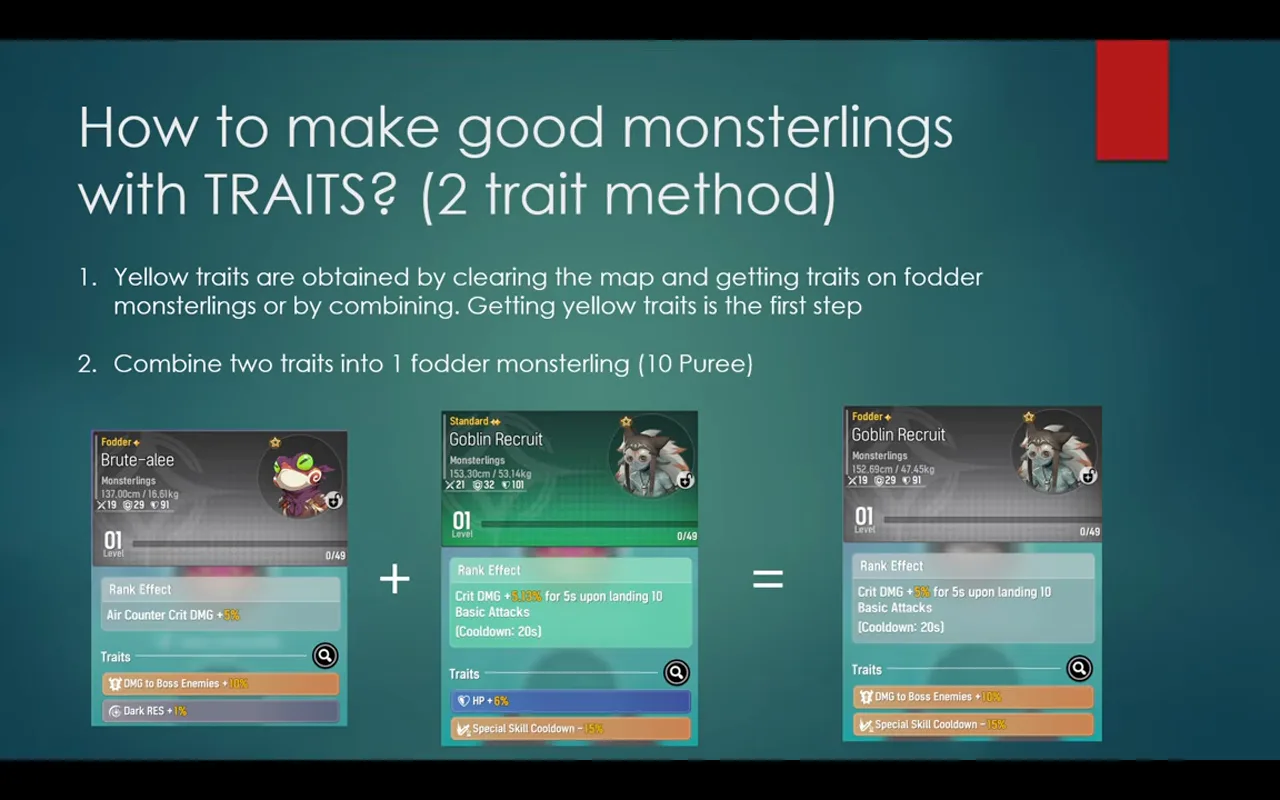
This guide follows the two-trait method, which keeps the risky 50/50 transfer step cheap and predictable.
- Farm yellow traits. Run content, collect trash monsterlings, and look for the traits you want. If you do not get them, combine useless monsterlings until you do.
- Combine two traits onto one monsterling. Once you have two desired traits on separate monsterlings, fuse them together. This costs 10 purity.
- Transfer the traits to your target monsterling. Fuse the two-trait monsterling with the monsterling you actually want to use. This is the only 50/50 step, and it costs 10 purity per attempt.
- Upgrade to gold. Use a gold upgrade stone, or gamble by fusing with a yellow fodder monsterling. With purple materials, you have a 25% chance to win, a 50% chance of a neutral retry, and a 25% chance of a catastrophic loss. With blue materials, the win rate drops to 20% and the catastrophic loss rate rises to 30%. Only gamble with blue or purple materials; white and green materials are not worth it.
- Repeat and combine. Once you have two golden monsterlings each with two traits, fuse them for a final four-trait monsterling. This last step costs 40 purity.
The total cost is roughly 100 purity if you use gold stones, but it can climb into several hundred purity if you gamble and get unlucky.
Trait Priority
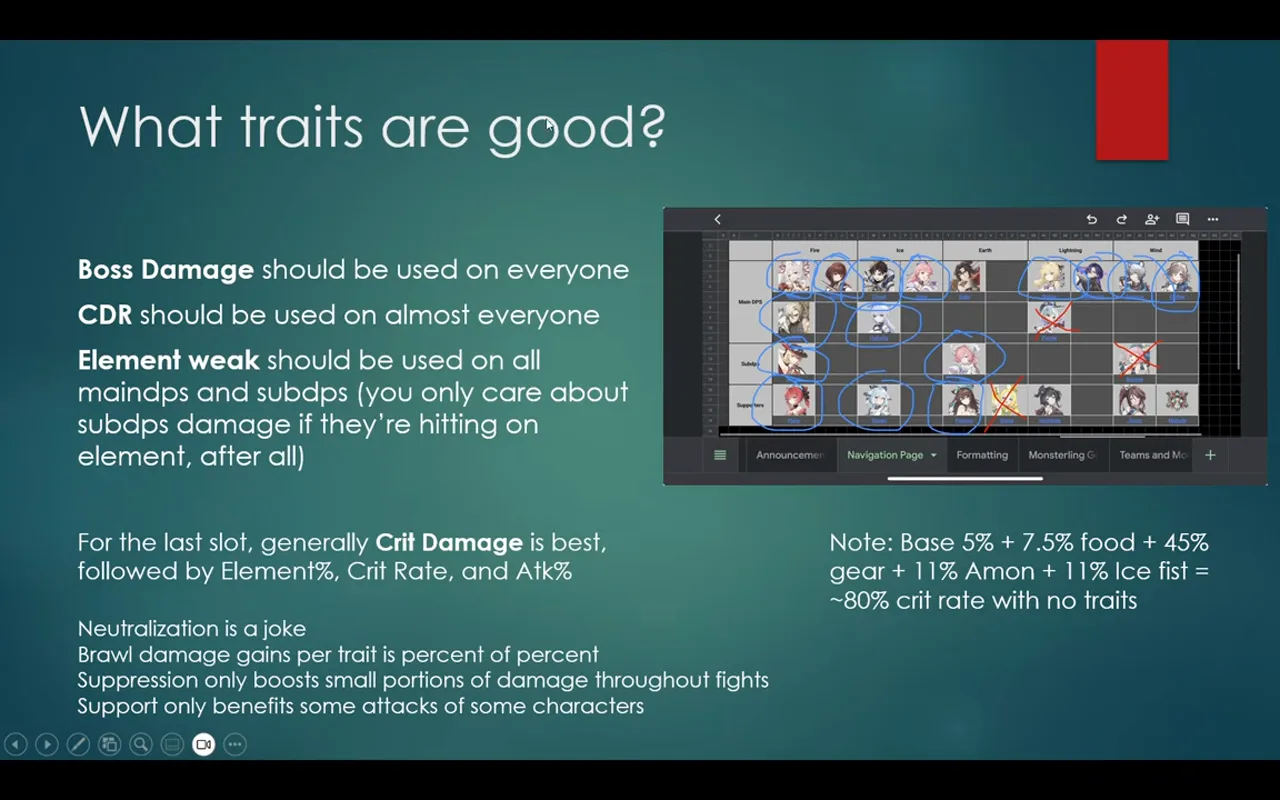
For most characters, the four best traits are Boss Damage, Cooldown Reduction, Element Weakness, and Crit Damage.
- Boss Damage is a direct 10% damage boost and works on everyone.
- Cooldown Reduction is wanted by most of the roster. Characters like
 Cloud
depend on it for their rotations, while others like
Cloud
depend on it for their rotations, while others like
 Mina
use it for smoother cycles. A few characters like
Mina
use it for smoother cycles. A few characters like
 Gabi
or
Gabi
or
 Penny
do not need it, but the majority do.
Penny
do not need it, but the majority do. - Element Weakness is strong on every main DPS and sub-DPS because you should fight on-element.
- Crit Damage is usually the best fourth trait. Between base crit, food, gear,
Amon
, and
Ice Fist Dude
, most characters already reach around 80% crit rate without traits, so 15% crit damage wins over 5% crit rate.
Avoid class-specific traits: Neutralization, Brawl Damage, Suppression, and Support damage are all underwhelming compared to the universal damage traits above.
Reginula runs the numbers differently. There, Boss, Weak and Attack are the three highest-value lines. The fourth is yours to pick: crit damage or crit rate by preference, or that element’s own damage percentage if you are pushing a single element as far as it goes.
Recommended Progression
If you are unsure what to build first, follow this order:
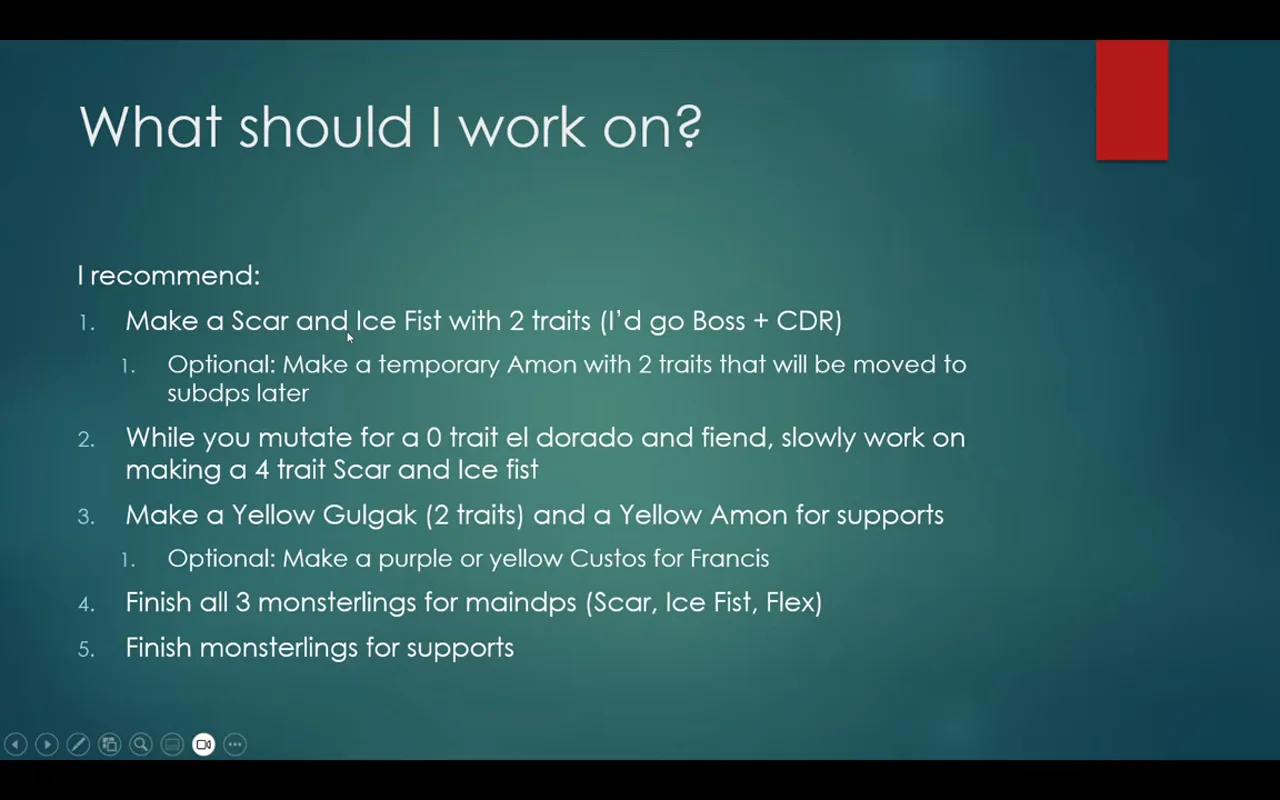
- Make a
Scar
and an
Ice Fist Dude
with two traits. Put Boss Damage and Cooldown Reduction on both so any main DPS can use them.
- Make a temporary
Amon
with two traits. Use it as the third DPS slot until you get an element-specific monsterling for your main carry.
- Farm a zero-trait
El Dorado Guardian
and
Fiend
. Their links are enough to justify a slot on supporters; traits can come later.
- Make a yellow
Gulgak
with two traits. It is a strong support link that deserves the investment.
- Make a yellow
Amon
with two traits. This becomes your permanent support crit buffer.
- Build a
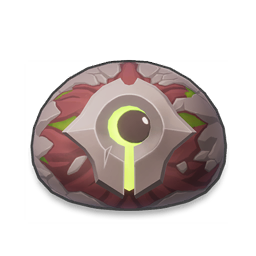 Custos
for
Custos
for
 Francis
. Since Francis appears on almost every team, a dedicated monsterling for her pays off.
Francis
. Since Francis appears on almost every team, a dedicated monsterling for her pays off. - Finish your main DPS pieces. Max out
Scar
and
Ice Fist Dude
with four traits, then fill the third slot with the best element-specific option.
- Finish your supports. Add traits to
Gulgak
,
Amon
,
El Dorado Guardian
, and
Fiend
last.
Video Guide
Related Mongil: Star Dive Resources
Guide
New Gear Sets: What to Craft
Every new Mongil: Star Dive armor set rated for what it actually does — the five worth the crafting materials, the four that are dead weight, and which characters each one belongs on.
Guide
Team Composition Guide
How teams are built in Mongil: Star Dive — the class archetypes, the composition formats, and the three-seat shape every current team takes, with the carries worth building for each element.
Guide
Melody Played on Heartstrings Guide
A practical Mongil: Star Dive guide for using Melody Played on Heartstrings, including stamina stacking, best holders, Fusion targets, and sample teams.

News
Mongil Chosen Promise Recruit Issue and October Fixes
Mongil: Star Dive suspended and reopened the Chosen Promise Recruit after a guarantee bug, and the known-issues list now names five characters whose Element Guidance text is wrong.

News
Mongil Developer Lounge Talk: October 14 With Chloe
Mongil: Star Dive's Developer Lounge Talk livestream is on October 14 at 10:00 (UTC), with a first look at Chloe, the October 21 update and a Half Anniversary celebration.