

































Why Iroi Matters
 Iroi
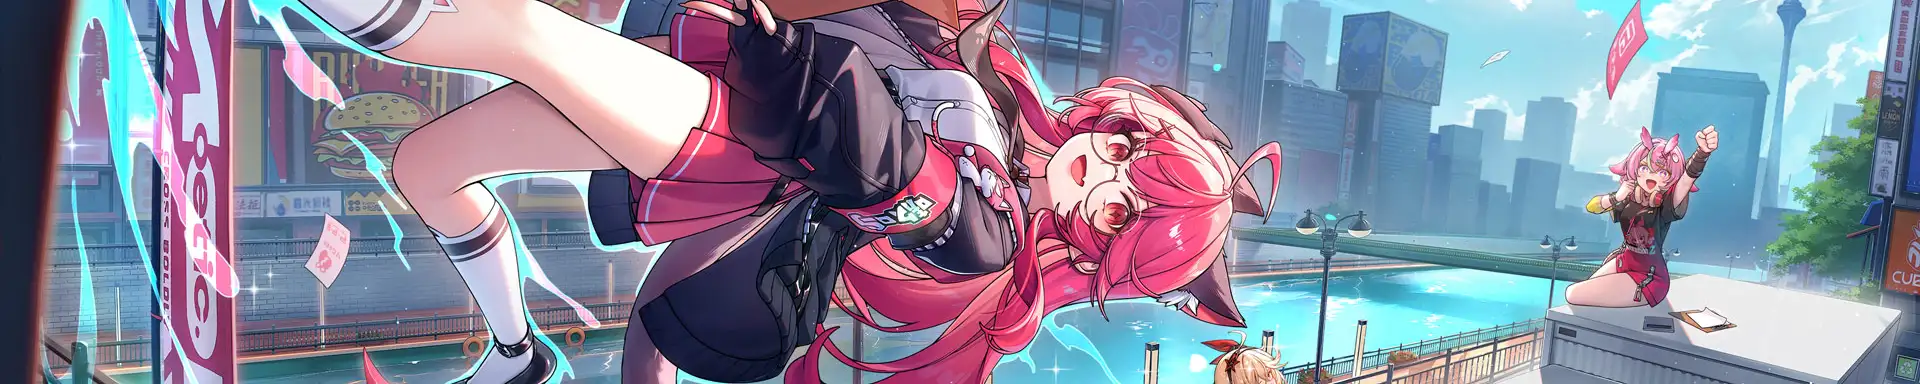
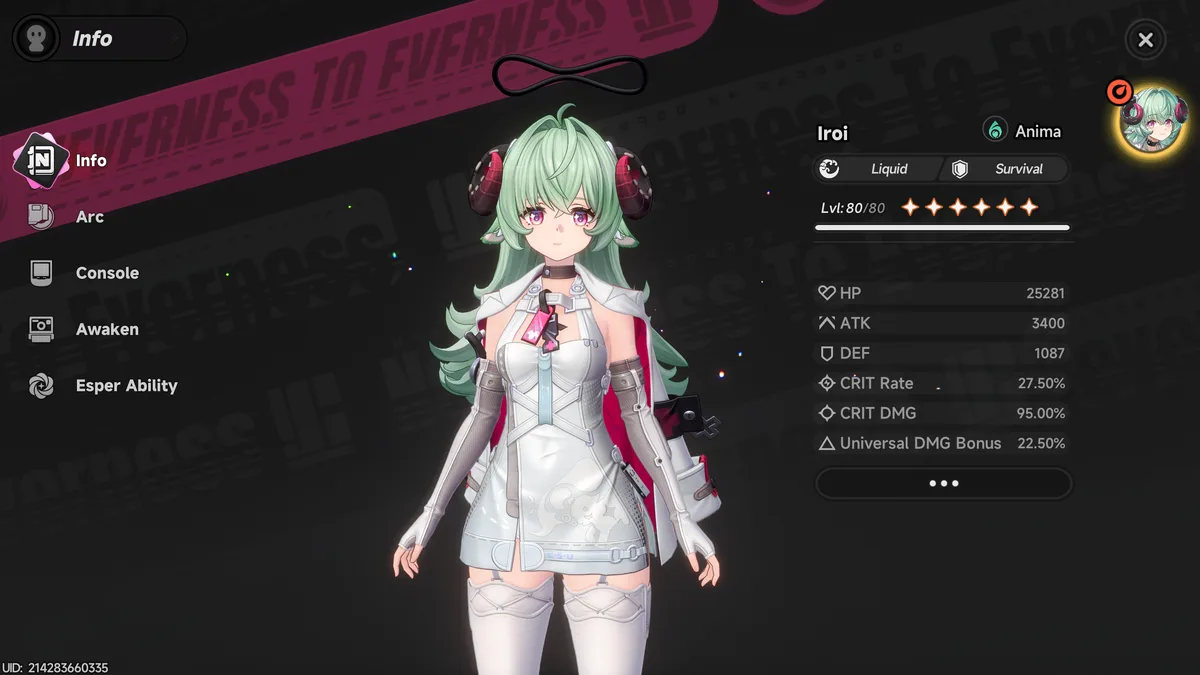
is a 5-star Anima character on the Liquid Arc board, and she’s the first limited character in Neverness to Everness built entirely around healing. Every sustain option before her came from the standard pool, so she’s the first time a premium banner slot is a dedicated healer rather than a DPS.
Iroi
is a 5-star Anima character on the Liquid Arc board, and she’s the first limited character in Neverness to Everness built entirely around healing. Every sustain option before her came from the standard pool, so she’s the first time a premium banner slot is a dedicated healer rather than a DPS.
The reason she’s worth the pull isn’t just numbers on a screen. While Iroi is on your team, nobody actually dies. Any ally who would be knocked out instead drops into Regression, sitting the fight out safely until Iroi’s Ultimate brings them back. That one mechanic removes survival as a constraint for teams that want to run as much offense as possible, which is why the community consensus lands on a flat T0 in the sustain/buffer role.
Best Teams
Iroi isn’t locked into a single composition. She fills the fourth slot in whatever reaction engine you already have running, trading a plain healer for Regression safety without losing offense.
Crimson Charge
Iroi’s premium shell, and the reason she’s such a strong pull for existing
 Shinku
owners.
Shinku
owners.
 Hathor
extends Remora out to 12 seconds and adds CRIT Rate against marked enemies,
Hathor
extends Remora out to 12 seconds and adds CRIT Rate against marked enemies,
 Zero
keeps the Esper Cycle instantly refilled, and Iroi covers Shinku’s survival through Regression instead of taking up the slot with a plain healer. The full Cosmos + Anima + Lakshana spread fires the entire reaction chain every rotation:
Zero
keeps the Esper Cycle instantly refilled, and Iroi covers Shinku’s survival through Regression instead of taking up the slot with a plain healer. The full Cosmos + Anima + Lakshana spread fires the entire reaction chain every rotation:







 Cosmos
 Anima
Anima
Generates 1 Vita Bud near the target after triggering Esper Cycle, which blossoms 5 Vita Pistils.
Vita Pistils then fly toward targets within range, exploding every 2s and dealing DMG to an area.
Up to 3 Vita Buds can exist on the field at once.
Resonance
More Than Passionate
Blossom Enhancement: Fires 10 Vita Pistils with Vita Bud, reducing the interval between each shot to 1s.


Ghost Orchid Crest
Blossom Enhancement: Prevents Vita Bud attacks from pausing during Time Stop.
Seize the Moment
Blossom Enhancement: Spawns 1 additional Vita Bud and increases Vita Bud limit on field to 6.
Mirror Image
Blossom Enhancement: Generates a Vita Bud Copy when the current Vita Bud has existed for 3s. This copy cannot duplicate and does not count toward the Vita Bud limit. The copy produces 20 Copied Vita Pistils. Every 0.5s, one Copied Vita Pistil flies toward a target within range and explodes, dealing 37.5% of the original Vita Pistil's DMG.


 Lakshana
Cosmos
Lakshana
Cosmos
The target enters Remora for 5s after triggering Esper Cycle, slowing their movement and attack speed. The effect decays over time, and will have a shorter duration if repeatedly applied.
Resonance

Suppression
Remora Enhancement: Inflicts an additional Remora on a target when Fang Thrust locks onto them in Remora state.
Delay Warning
Remora Enhancement: Extends the target's Remora duration to 12s and increases Crit Rate by 10% when allies attacking a target affected by Remora.

Justice in Time
Remora Enhancement: Deals Lakshana DMG equal to 800% of ATK to the target when Remora ends, based on Remora's duration. Each second beyond the base 5s duration increases total DMG by 45%, up to 300%. Resets Remora's duration when reapplied.
Cosmos
Anima
Lakshana
Grants the active character 10 additional Ultimate Energy when Vita Pistils hit targets affected by Remora.
Resonance
Appraiser
Creation Enhancement: Each "Creation Flower" will split into 2 flowers that fly together towards the target within range and explode.


Gentle Edge
Charge Enhancement: Grants 120 Ultimate Energy instantly when a character triggers Charge using a Support Skill. Disables Ultimate Energy gain from Vita Pistils when hitting Slowed targets afterward. Cooldown: 30s.
Lone Stride
Charge Enhancement: Grants off-field characters the same amount of Charge when the active character gains Ultimate Energy. While Shinku is active and in Charge state, each trigger deals AoE DMG equal to 400% of ATK (scales with Basic Attack level, reaching 863.6% at level 11), and increases her ATK by 5% for 30s, up to 10 stacks. Cooldown: 1s.
Blossom Core
Built for accounts that invested in
 Nanally
instead of pulling Shinku. Nanally increases Blossom attack frequency,
Nanally
instead of pulling Shinku. Nanally increases Blossom attack frequency,
 Jiuyuan
spawns additional Vita Buds, and
Zero
keeps the cycle gauge topped up while Iroi adds Anima presence on top of her usual sustain. Hotori can also slot into this shell if you own her. Without a Lakshana anchor, this team only fires the Cosmos + Anima duo:
Jiuyuan
spawns additional Vita Buds, and
Zero
keeps the cycle gauge topped up while Iroi adds Anima presence on top of her usual sustain. Hotori can also slot into this shell if you own her. Without a Lakshana anchor, this team only fires the Cosmos + Anima duo:
Cosmos
Anima
Generates 1 Vita Bud near the target after triggering Esper Cycle, which blossoms 5 Vita Pistils.
Vita Pistils then fly toward targets within range, exploding every 2s and dealing DMG to an area.
Up to 3 Vita Buds can exist on the field at once.
Resonance
More Than Passionate
Blossom Enhancement: Fires 10 Vita Pistils with Vita Bud, reducing the interval between each shot to 1s.
Ghost Orchid Crest
Blossom Enhancement: Prevents Vita Bud attacks from pausing during Time Stop.
Seize the Moment
Blossom Enhancement: Spawns 1 additional Vita Bud and increases Vita Bud limit on field to 6.
Mirror Image
Blossom Enhancement: Generates a Vita Bud Copy when the current Vita Bud has existed for 3s. This copy cannot duplicate and does not count toward the Vita Bud limit. The copy produces 20 Copied Vita Pistils. Every 0.5s, one Copied Vita Pistil flies toward a target within range and explodes, dealing 37.5% of the original Vita Pistil's DMG.
In both comps, the same principle holds: one carry, one reaction enabler, one amplifier, and Iroi. Don’t stack extra damage dealers around her — her value comes from freeing up the fourth slot, not competing for it.
How She Plays
Iroi’s entire kit runs on Imagination, a resource generated by normal attacks, her Skill, her Chain Skill, and even her plunge attack. Everything she does either builds Imagination or spends it, and her Ultimate is the payoff.
Her lambs (Collaboration) strike up to five times on a normal attack, dealing Anima DMG and building Imagination on hit. Holding the attack charges into Daydream, which spends Imagination for a stronger hit, and holding again summons Morpheus for a sustained Lucid Dream volley.
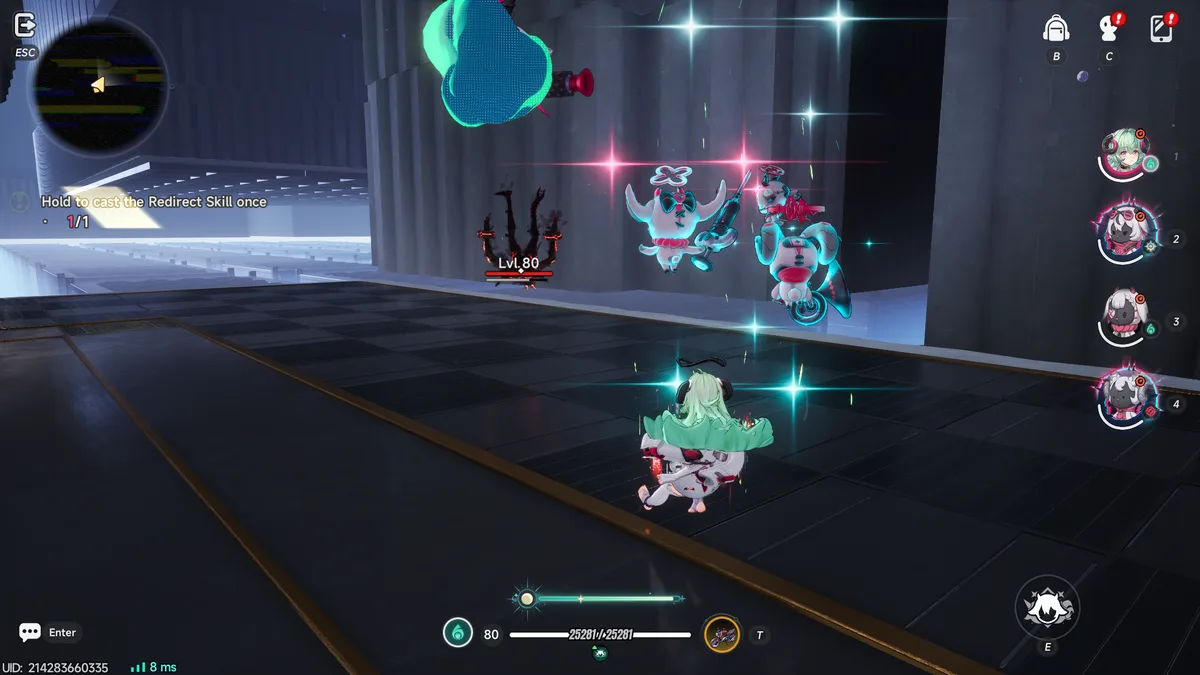
Her Skill, Future Self Continuity, branches on press or hold: pressed, it heals the team, grants an ATK buff, deals Anima DMG, pulls enemies in, and builds Imagination; held, it drops up to three allies into Regression, swapping them out for Morpheus, Icelos, and Phantasos, who keep fighting in their place. Her Chain Skill, Bang!, is a quick top-off — Anima DMG, team heal, more Imagination.
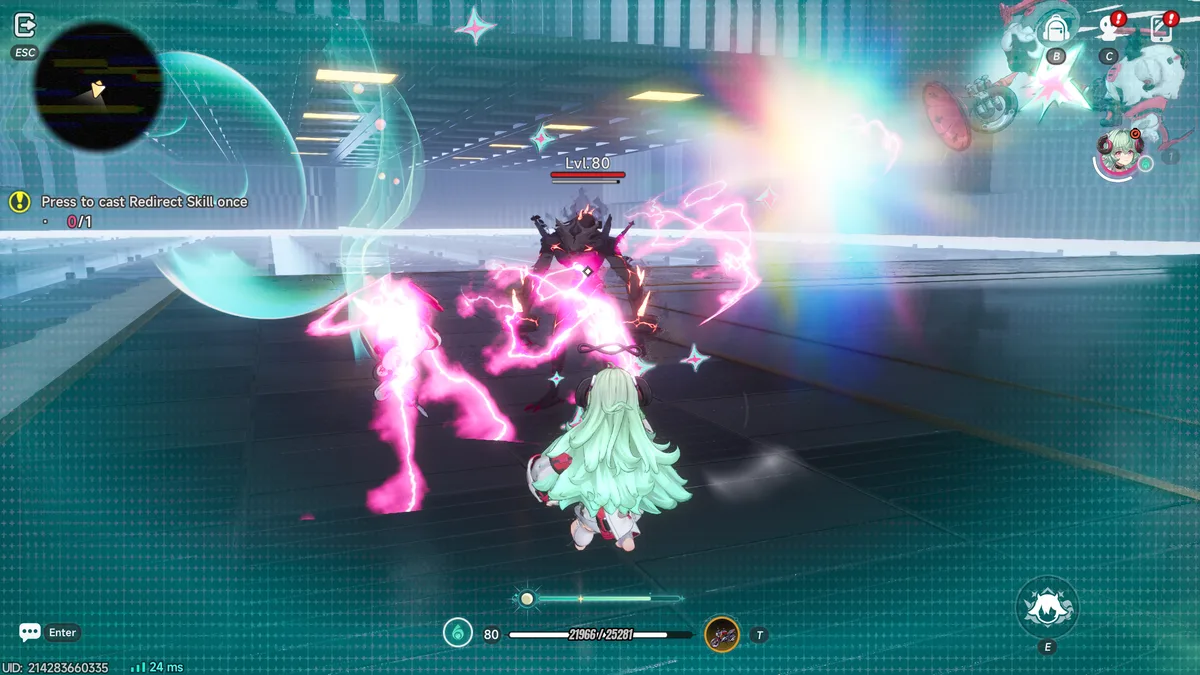
Her Ultimate, 3.8-Billion-Year Mirage, is where all of that Imagination pays off. Below the threshold, it opens the Dream of the Horned Gate, continuously healing the whole team. At or above it, it opens the Dream of the Ivory Gate instead, healing allies and dealing Anima DMG at the same time — during this window, holding down a Regression-state ally’s portrait revives them and restores part of their HP, once per cast. Two passives tie the kit together: Mirror Image generates a Vita Bud Copy once the active bud has been out for 3 seconds, keeping Blossom alive while she’s off-field, and Sympathetic Nerves grants the whole team +5% DEF Ignore for 20 seconds every time she heals — turning her sustain directly into team damage.

In practice, that means opening on Iroi to build Imagination, holding Skill to drop Regression on your main carry, then swapping to that carry for their full damage window while Regression covers them. Come back for a pressed Skill to top off HP, and fire the Ultimate either reactively (someone needs the revive) or proactively (Imagination is high and you want the damage/DEF Ignore window). The habit worth building early is keeping Regression on your main DPS as consistently as possible — it’s both her survival tool and the setup for her next revive.
Build
| Category | Best | Alternative |
|---|---|---|
| Arc |
 The Wrong Gate
— +16% ATK; on heal, +30% own Anima DMG and +15% team DMG for 20s
The Wrong Gate
— +16% ATK; on heal, +30% own Anima DMG and +15% team DMG for 20s |
 Youthful Fantasy
— S-class pick if you lack her signature
Youthful Fantasy
— S-class pick if you lack her signature |
| Cartridge |
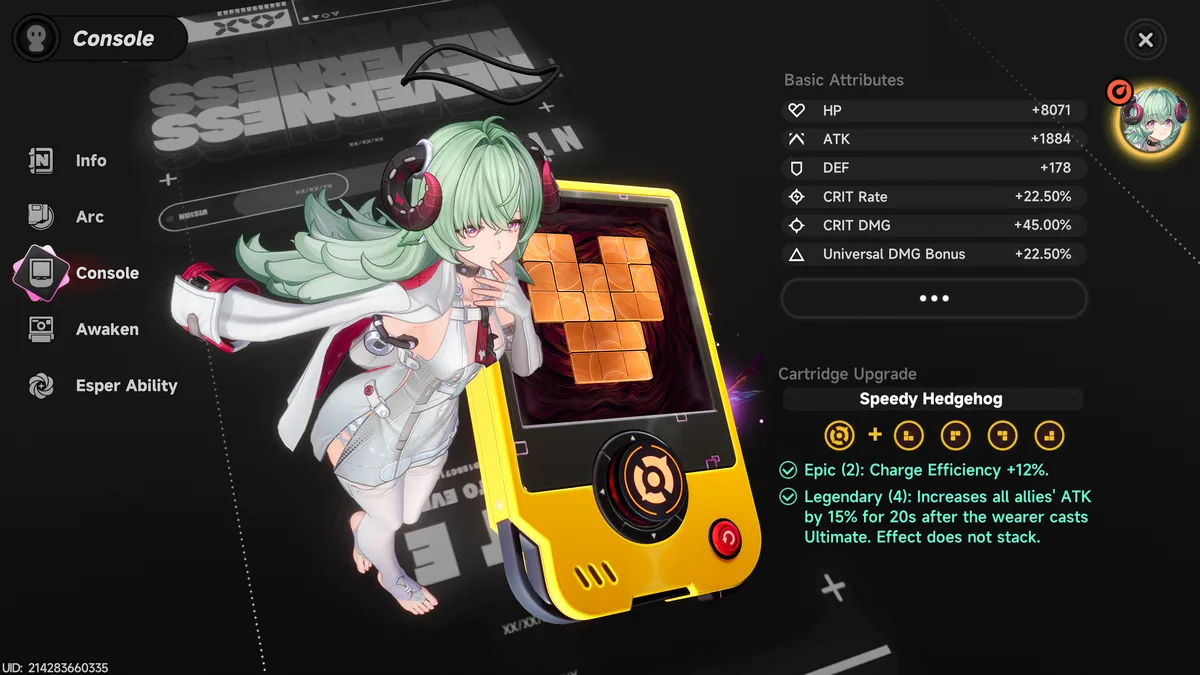
 Speedy Hedgehog
(full 4pc) — 12% Charge Efficiency, +15% team ATK for 20s after Ultimate (doesn’t stack)
Speedy Hedgehog
(full 4pc) — 12% Charge Efficiency, +15% team ATK for 20s after Ultimate (doesn’t stack) |
 Fireflies and the Forest
— if her Anima DMG% main stat is needed elsewhere
Fireflies and the Forest
— if her Anima DMG% main stat is needed elsewhere |
| Stat priority | ATK% > flat ATK > Anima DMG% / Energy Regen > Healing Bonus > HP / DEF | — |
| Skill priority | Ultimate > Skill > Basic Attack | — |
Iroi scales on ATK across the board — her team ATK buff, her lambs’ attack ratio, and her console’s ATK bonus per Type III module all key off it, which is why ATK% and flat ATK outrank Healing Bonus. Energy Regen matters because it keeps her Ultimate cycling for both the revive and the damage window. Healing Bonus is only worth building if the team genuinely needs more sustain than her base kit already provides, and HP/DEF are comfort stats rather than priorities since Regression already covers survival. The Wrong Gate has no real competition as her signature — it converts the healing she’s already doing constantly into a full team damage buff.
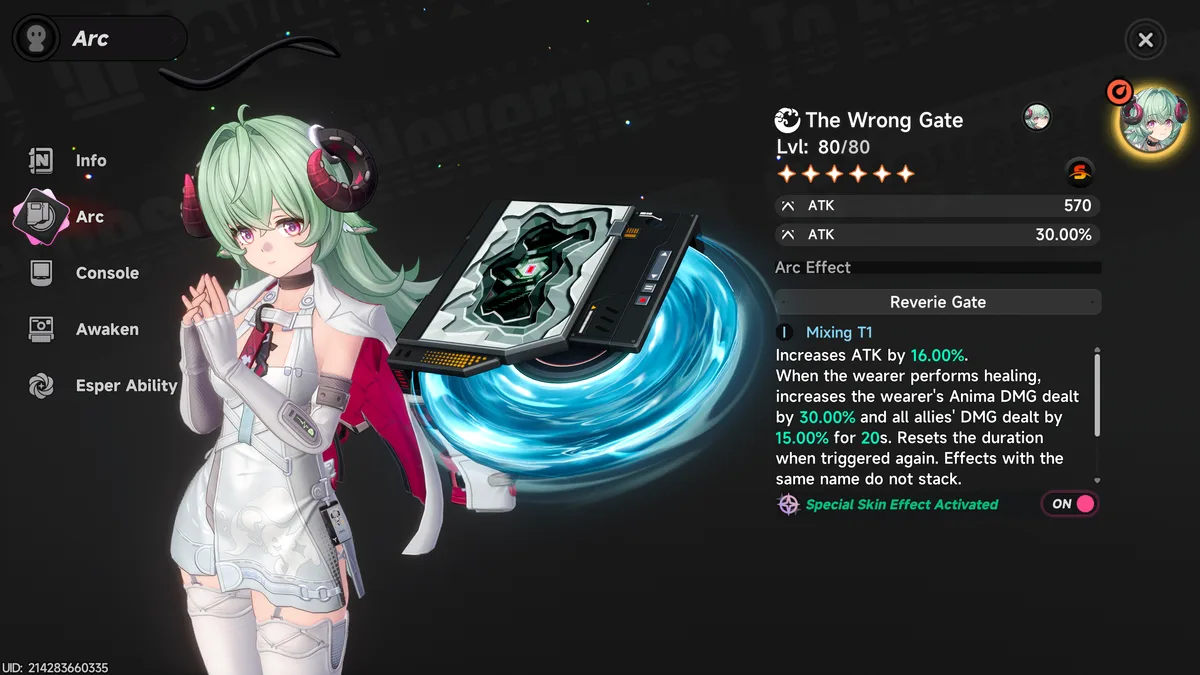
Iroi is fully playable at zero copies. Her early Awakenings smooth out Imagination economy and Regression value rather than unlocking new tools, and A2 is the biggest single jump — it makes any ally’s skill cast trigger an assist attack from Morpheus, Icelos, or Phantasos plus a team heal, on a 5-second cooldown. If you’re weighing copies against her signature Arc, secure The Wrong Gate first.
Related Neverness to Everness Resources

Guide
Linko: Rotation & Team Composition Guide
Linko's Modulation meter, Synced Strikes and the Resonance Field, her best Arc and cartridge, and the Zankou and Nanally rotations she slots into.

Guide
Runaway Echoes: Skill Tree & Sixfold Synergy
How Simulation Drill's six stages, the Skill Tree's Sixfold Synergy nodes, and an open-ended Saga of Infinity run fit together in NTE's Runaway Echoes event.

Guide
Is Linko Worth Pulling?
Linko's pull value swings on what your account already has: scenarios for Zankou, Nanally, Shinku and Iroi owners, and when to hold for 1.4.

News
NTE Version 1.4 Preview Special Program Recap
NTE's Version 1.4 "For Whom the Verses Mourn" preview show aired, with a follow-and-quote giveaway for Fabricated Dice running through September 18.
News
NTE Asia & SEA Maintenance: DDoS Fix and 500 Annulith
NTE takes the Asia and SEA servers offline on September 16 to upgrade DDoS protection after an attack, and pays every eligible Appraiser Annulith ×500.