

































Reading These Tables
Phantom Duels are fixed lineups, which makes them the one place where you can build a party with complete information before the fight starts. Every table below lists what each opponent resists and what they are weak to, so you can pick attackers who hit the weakness and defenders who resist what is coming back.
Two numbers apply everywhere: a resisted hit lands at 25% reduced damage, and a weakness hit lands for 50% more while pushing the target toward a break. Full details on breaking and turn order live in the combat and team building guide.
Clearing a Phantom Duel on Platinum difficulty with a specific character in your party is one of the six bond missions on the 108 Stars Tablet, so these fights are worth revisiting with different companions rather than clearing once and moving on.
Each duel runs across five difficulties, and three of them bring in extra opponents or swap their line-up entirely as you climb — those changes are called out below. The Phantom Duels section has each rung in full: the enemy team in position, the Fighting Force it asks for, the rewards, and what the Memoria it drops rolls at every grade.
Why You Are Fighting These
Phantom Duels open as soon as you finish the tutorial and get access to pulls, and the reason to keep coming back is the Memoria each one drops. Memoria are party equipment, so the effect applies across the formation rather than to a single character: attack and magic attack percentages, extra damage against specific elements, and defensive lines that make the next difficulty possible.
Two things decide how good a Memoria is. The difficulty you clear sets its rarity and the size of its stats, so climbing pays twice — once in clear rewards, once in every Memoria you farm afterwards. And each Memoria names the class it buffs, tank or attacker or otherwise, so read that line before you equip it and make sure the bonus lands on characters you actually field.
You can only hold one Memoria per duel. Farming produces plenty of copies, and keeping one means picking the roll you want and letting the rest go.
The farming itself runs on its own. Once a difficulty is beaten, the third button in the battle screen sets the duel to run passively: the game works out your win rate with the current party and how many runs it can fit into eight hours, up to fifty, and pays out accordingly. There is little reason to ever leave that slot empty.
One last habit worth building: equip the Memoria that helps you win the fight you are about to start. The bonus against a given element is at its most useful in the duel whose line-up leans that way.
Kraze, Kanaan, and Grady
| Opponent | Resists | Weak to |
|---|---|---|
| Kraze | Lightning, Wisdom | Wind, Combat |
| Kanaan | Lightning, Wisdom | Wind, Combat |
| Grady | Wind, Combat | Sword, Water |
| Imperial Soldier (Sword) | Wisdom | Combat |
| Imperial Vet Captain | Wisdom | Combat |
Kraze and Kanaan are the same profile, and Grady inverts it exactly, so a party that leans entirely one way will bounce off half the field. Wind and Combat clear the two leaders and the soldier adds, and you want a Sword or Water attacker held back for Grady.
The three leaders are there at every difficulty and only the escort grows: two soldiers to start, a third from the middle rung, and from the fourth a veteran captain in their place. He shares the soldiers’ profile exactly, so the Combat attacker that was already clearing the adds keeps doing it.

Alen and Glenshiel
| Opponent | Resists | Weak to |
|---|---|---|
| Alen | Wind, Wisdom | Water, Combat |
| Glenshiel | Water, Wisdom | Earth, Combat |
Kill Glenshiel first. If Alen goes down first, Glenshiel buffs himself by 100% across every stat and the fight is effectively over. Combat damage works on both, and Earth is what gets Glenshiel down quickly enough to matter.

Anji, Kanak, and Leonardo
| Opponent | Resists | Weak to |
|---|---|---|
| Anji | Fire, Sword | Lightning, Wisdom |
| Kanak | Fire, Wisdom | Lightning, Combat |
| Leonardo | Fire, Sword | Lightning, Wisdom |
This is the most cooperative lineup on the list, because all three are weak to Lightning. Build the whole party around it and the fight collapses. Kanak is the one exception on the weapon side, resisting Wisdom where the other two fall to it, so keep a Combat option available for him.
The lineup hits mostly physical, which makes a physical tank the right call and a magical tank close to dead weight here.
Varkas and Sydonia
| Opponent | Resists | Weak to |
|---|---|---|
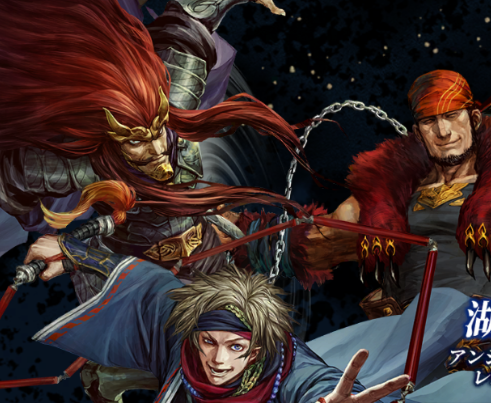
| Varkas | Earth, Sword | Fire, Wisdom |
| Sydonia | Earth, Sword | Fire, Wisdom |
| Bandit (Axe) | Sword, Lightning | Wisdom, Wind |
Two identical profiles at the bottom two difficulties, and nothing else on the field. Bring Fire and Wisdom, leave your Sword attackers at home, and this is one of the quickest clears available.
From the third rung a pair of axe bandits joins them, and the top two difficulties field four. They resist Sword like the leaders and fall to the same Wisdom, so the party you already brought handles them — there is simply more of the fight to get through.
Aegir, Ragnar, and Tsuranami
| Opponent | Resists | Weak to |
|---|---|---|
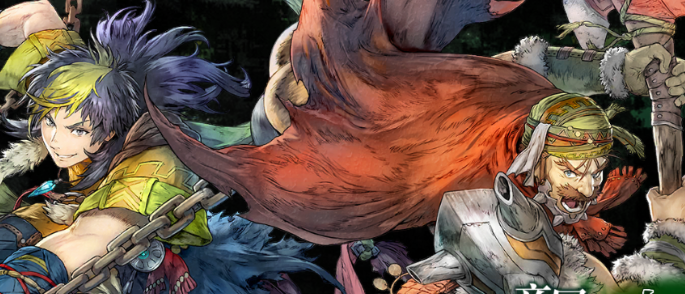
| Aegir | Water, Wisdom | Earth, Combat |
| Ragnar | Water, Wisdom | Earth, Combat |
| Tsuranami | Combat, Lightning | Sword, Wind |
Aegir and Ragnar share a profile that Tsuranami reverses on both axes: she resists the Combat that kills them and falls to the Sword they resist. Split your damage deliberately here, with Earth and Combat aimed at the pair and a Sword or Wind attacker reserved for Tsuranami.

Viktor, Flik, Humphrey, and Odessa
| Opponent | Resists | Weak to |
|---|---|---|
| Viktor | Wind, Wisdom | Water, Combat |
| Flik | Water, Wisdom | Earth, Combat |
| Humphrey | Lightning, Wisdom | Wind, Combat |
| Odessa | Earth, Sword | Fire, Wisdom |
Three of the four fall to Combat, which makes a Combat attacker the backbone of this fight. Odessa is the odd one out on every axis, resisting Sword and falling to the Wisdom that the other three shrug off, so she is the reason to keep a Wisdom character in the party.
The elements pull in four different directions, so lean on the weapon triangle here and treat elemental coverage as a bonus.

Gon, Kuromimi, and Fu Su Lu
| Opponent | Resists | Weak to |
|---|---|---|
| Gon | Wind, Wisdom | Water, Combat |
| Kuromimi | Wind, Wisdom | Water, Combat |
| Fu Su Lu | Wind, Sword | Water, Wisdom |
Water hits all three, which makes this another fight you can plan around a single element. Gon and Kuromimi fall to Combat, Fu Su Lu falls to Wisdom, and every one of them resists Wind — leave those attackers on the bench.

Maas, Meese, Moose, Mace, and Mose
| Opponent | Resists | Weak to |
|---|---|---|
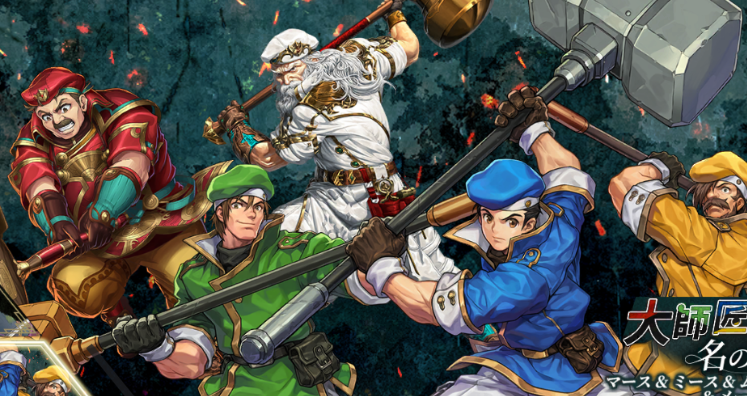
| Maas | Fire, Sword | Lightning, Wisdom |
| Meese | Earth, Sword | Fire, Wisdom |
| Moose | Water, Sword | Earth, Wisdom |
| Mace | Lightning, Sword | Wind, Wisdom |
| Mose | Wind, Sword | Water, Wisdom |
Five opponents, five different elements, and one enormous shared gap: every single one of them resists Sword and is weak to Wisdom. A Wisdom-heavy party answers the entire fight regardless of what elements you bring, and a Sword attacker contributes almost nothing.
If you want to break specific targets faster, each one falls to the element that beats their own: Lightning for Maas, Fire for Meese, Earth for Moose, Wind for Mace, and Water for Mose.
None of the five hits especially hard, which makes this a good fight to leave on auto once your party is strong enough. Around 60,000 Fighting Force is enough to auto Platinum with two physical tanks and a solid damage dealer, give or take a few adjustments.
Chapter 2 Boss
This section covers the boss fight at the end of chapter 2, so skip it if you have yet to reach that point. The same line-up comes back as a Phantom Duel, which is why it is worth learning properly.
| Opponent | Resists | Weak to |
|---|---|---|
| Sheridan | Combat, Lightning | Sword, Wind |
| Skeleton (Cane) | Combat, Lightning | Sword, Wind |
| Skeleton (Sword) | Wisdom, Lightning | Combat, Wind |
| Skeleton (Spear) | Sword, Lightning | Wisdom, Wind |
The skeletons are listed right to left as they appear on the field. Wind hits everything, and every target resists Lightning, so the elemental half of this fight has exactly one correct answer. The weapon side is deliberately scattered across the three skeletons, which is what stops a single attacker from clearing the adds. A party carrying one of each weapon type plus a Wind focus handles it cleanly.
The same fight at the top two difficulties
Take this one on as a Phantom Duel and the table above holds for the first three rungs. On the fourth and fifth, Sheridan keeps his escort’s positions but the skeletons themselves are swapped for tougher undead, and every profile changes with them.
| Opponent | Resists | Weak to |
|---|---|---|
| Sheridan | Combat, Lightning | Sword, Wind |
| Bone Soldier (Cane) | Combat, Earth | Sword, Fire |
| Skull Army (Sword) | Wisdom, Water | Combat, Earth |
| Dead Warrior (Spear) | Sword, Wind | Wisdom, Water |
The Wind plan stops working here. Sheridan is the only target still weak to it, the Spear now resists it outright, and nobody resists Lightning any more. The three escorts fall to Fire, Earth and Water respectively, so elemental coverage has to spread out where it used to converge. The weapon side survives the swap: Sword, Combat and Wisdom still take one escort each, so a party with one of each weapon type keeps working, and the Sword attacker you brought for Sheridan doubles up on the Cane.
This matters more than the difficulty step suggests, because the fourth rung is where the bond mission medals sit.
Related Suikoden STAR LEAP Resources

Guide
Gear, Accessories and Runes: What to Farm
Equipment ranks and slots, elemental gear sets from EX bounties, why disguises cost more than they give, which accessory each role wants, and the runes worth 99,999 Potch in Suikoden STAR LEAP.
Guide
Buffs, Debuffs, and Positioning: The Hidden Half of Combat
Stat stages and their speed multipliers, how percentage buffs differ from stacking ones, row-based support passives, and how to aim a unite attack in Suikoden STAR LEAP.
Guide
Character Growth: Cooking, Training and Stars
How bond levels, the Talent Tree, offline EXP, shard training, and the Tablet of Promise combine to raise characters in Suikoden STAR LEAP.
News
Suikoden STAR LEAP: New Event RPG and a Free SSR Nanami
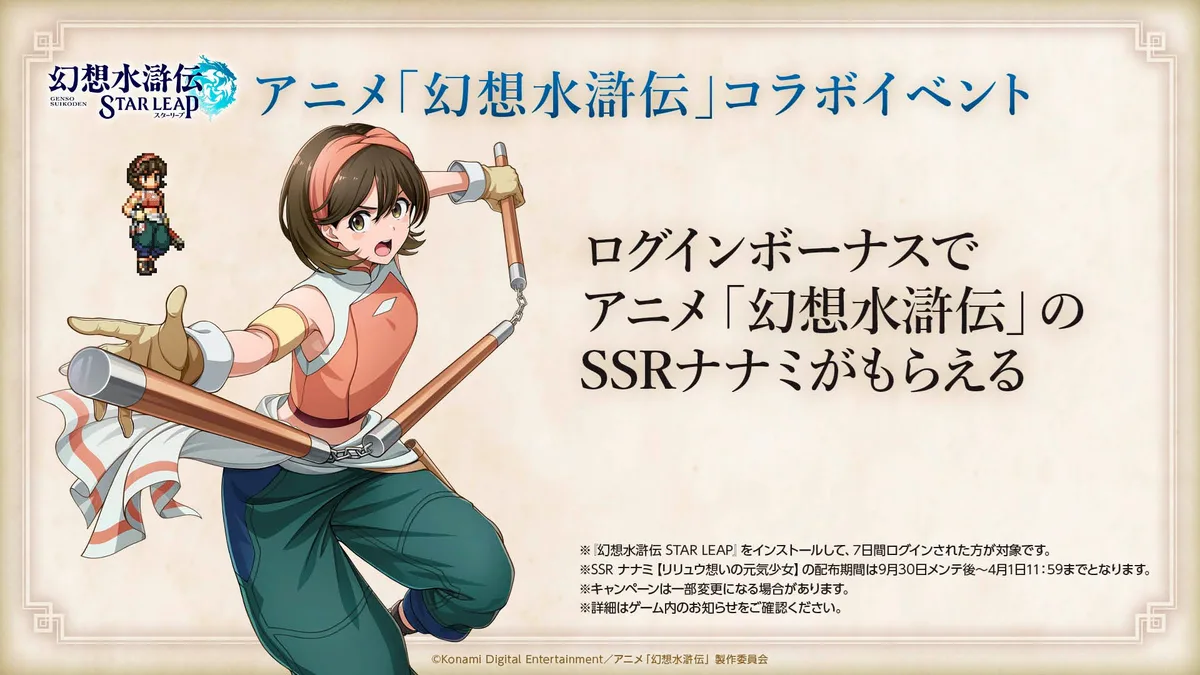
A four-episode Event RPG opens September 30 with up to 24,000 Fantasy Stones and two new SSRs, alongside a login bonus for Suikoden: The Anime's Nanami.

News
Suikoden STAR LEAP: Chapter 3 Story and a QoL Overhaul
New Chapter 3 story, the Emotions & Secrets banner with Rachana, Gremio and Hou, badges, and a September 21 update with bulk trading and eight party slots.