





























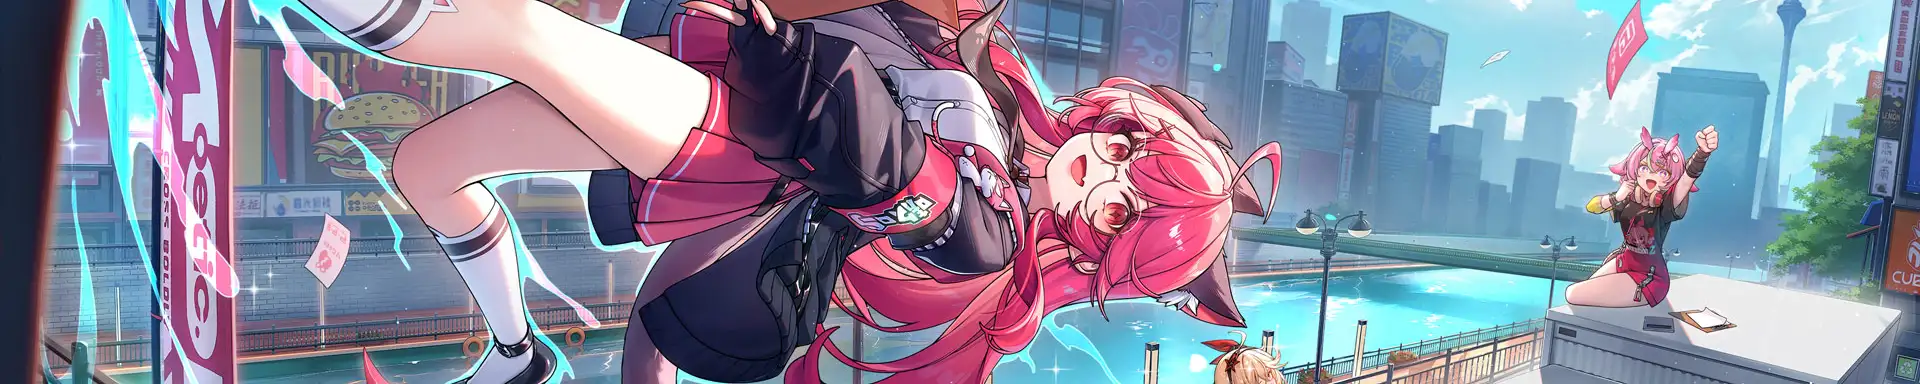



 Linko
does almost all of her damage through other people. Her Redirect Skill fires an ally’s attack, her Ultimate turns the whole team’s Support Skills into that same attack, and every hit that comes out of it is Follow-up Attack damage scaling off her own stats and her own skill levels. That last part decides how much she is worth investing in, and it is the thing to keep in mind through everything below.
Linko
does almost all of her damage through other people. Her Redirect Skill fires an ally’s attack, her Ultimate turns the whole team’s Support Skills into that same attack, and every hit that comes out of it is Follow-up Attack damage scaling off her own stats and her own skill levels. That last part decides how much she is worth investing in, and it is the thing to keep in mind through everything below.
The Modulation Meter
Modulation is her energy bar, and it does one job: the fuller it is, the harder Full-Frequency Pulse hits. It builds from her Basic Attack string, her Support Skill and the Ghosthand Counter riposte, and Full-Frequency Pulse spends all of it at once.
You do not need a full bar to press the Skill, and waiting for one is usually the wrong call. The damage gain is real but the field time costs more than it returns, so use the Skill whenever it comes up.
Full-Frequency Pulse and the Synced Strike
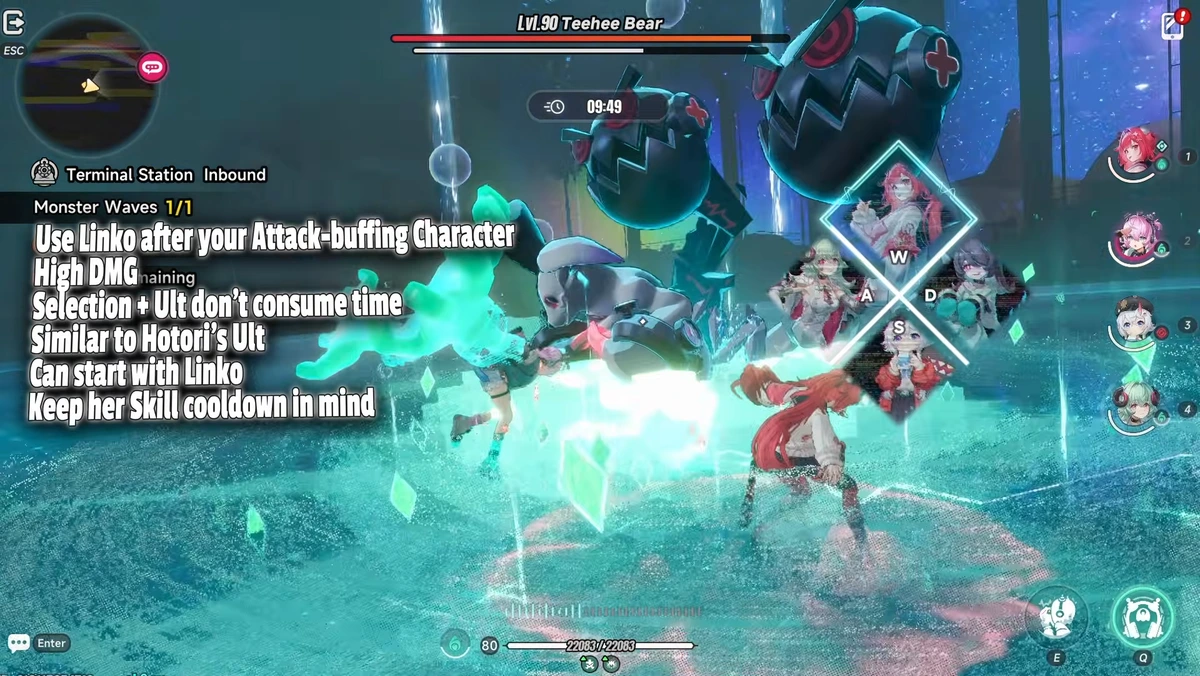
Pressing the Redirect Skill deals up to four hits of Anima DMG and then opens a wheel of her companion Xiaozhen and every teammate. Pick one, and that character fires a Synced Strike: damage in their element, with the stored Modulation spent to amplify it. Time pauses briefly while the wheel is open, so the selection costs nothing from the rotation.
If a teammate cannot act, or the slot is empty, Xiaozhen takes their place in the wheel, and every extra Xiaozhen adds another damage bonus to a Xiaozhen-triggered strike.
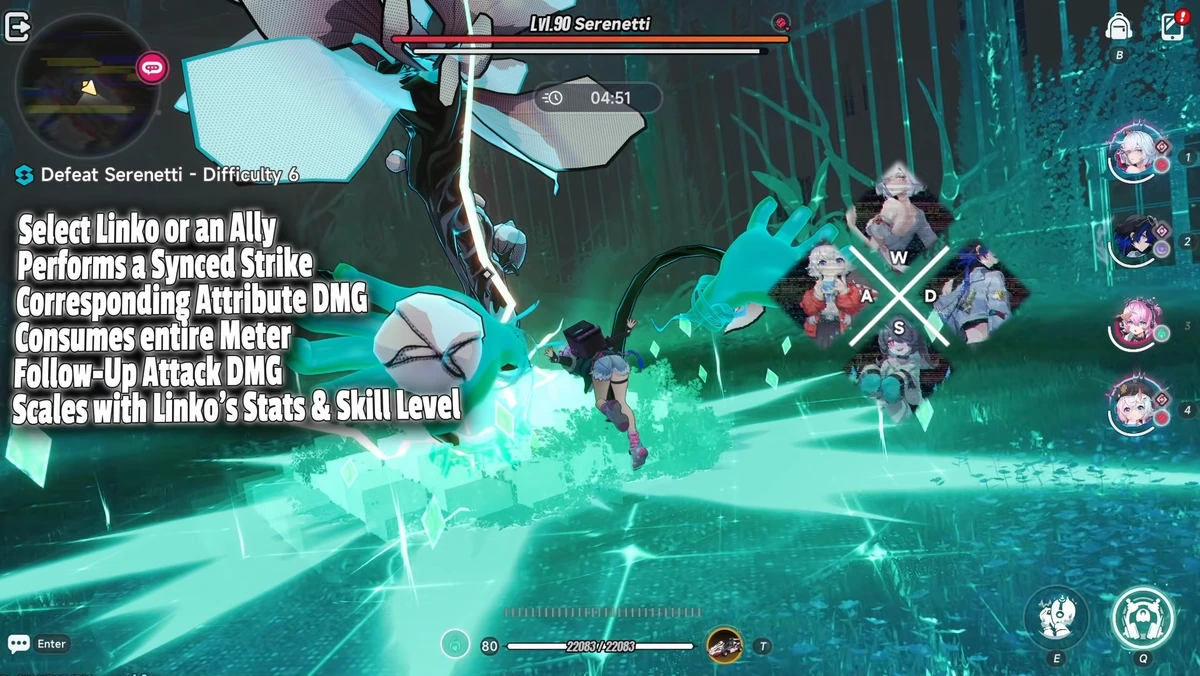
Three facts about the Synced Strike carry the rest of the guide:
- It counts as Follow-up Attack damage, whoever fires it.
- It deals the element of the character who fires it, not Anima.
- Its damage ratio scales off Spectral Cross’s skill level — Linko’s, not the ally’s — and off her stats.
While she is off-field, Spectral Rush sends Xiaozhen in on her own every 8 seconds, dealing a hit and leaving a Hit ’Em Here! mark on the target. Breaking that mark is the third way to call a Synced Strike, alongside the Skill and the Ultimate.
Oversync and the Resonance Field
Her Ultimate opens the Resonance Field and syncs her with up to three teammates. While the overload runs, tapping the Redirect Skill button calls one teammate’s Synced Strike at a time, up to three of them, and none of the three triggers an Esper Cycle. Every Synced Strike performed inside the Field also adds one instance of Anima Area DMG on its own. Pressing Oversync again — or letting the overload expire — discharges the whole thing: repeated Anima Area DMG plus one Anima Burst hit that grows with the number of different debuffs on the target.
The Field outlasts the overload, and that is the part worth planning around. For as long as it stands, every Support Skill the team casts counts as a Synced Strike — Follow-up Attack damage, in that character’s element, carrying Precision Tuning and whichever of her Awakenings you own.
Neither the selection wheel nor the Ultimate consumes time, the same way
 Hotori
’s Ultimate does not, so both are free to fit anywhere in a rotation.
Hotori
’s Ultimate does not, so both are free to fit anywhere in a rotation.
Weakness Radar and Precision Tuning
Both passives point outward at the team rather than at her.
Weakness Radar raises the additional Follow-up Attack damage from Hexed to 30% while Linko is on the team, and targets under Hexed take 10% more Follow-up Attack damage from everyone. She is the only character on the roster who touches that cycle.







 Anima
Anima
 Incantation
Deals an additional instance of follow-up attack DMG to the target equal to 20% of Anima or Incantation DMG taken within 12s after triggering Esper Cycle.
Resonance
Weakness Radar
Hexed Enhancement: Increases the base DMG of additional Follow-up Attacks from Hexed to 30% while Linko is on the team. Targets affected by Hexed take 10% more Follow-up Attack DMG.
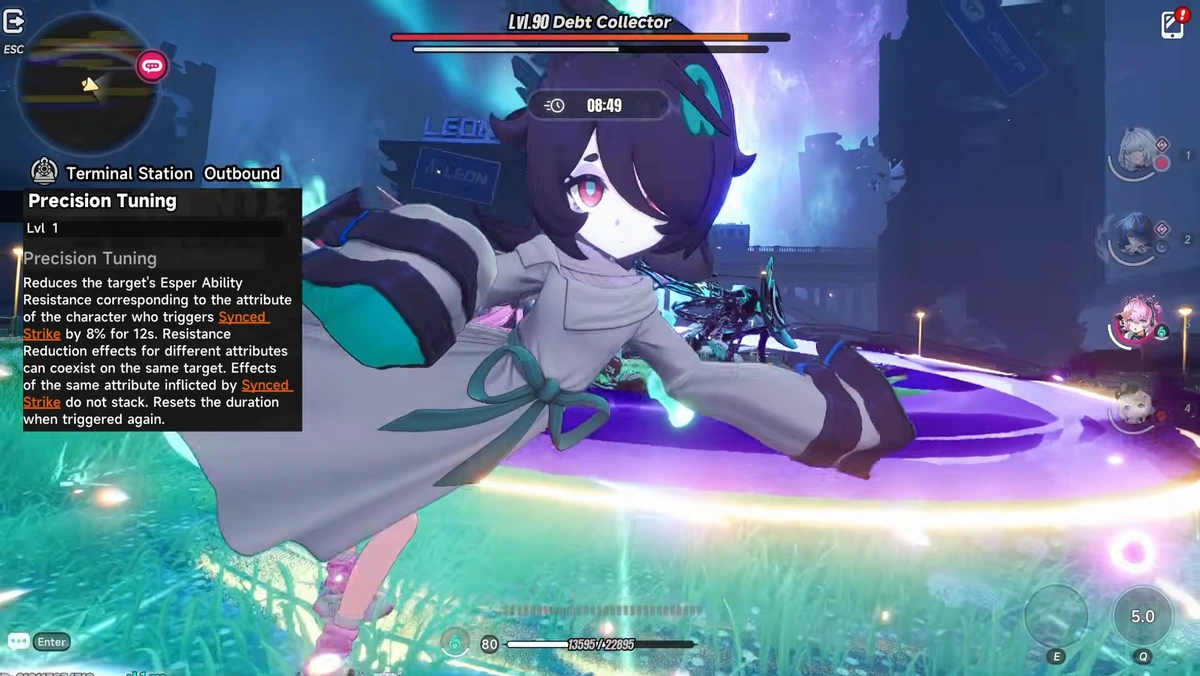
Precision Tuning drops the target’s Esper Ability RES by 8% for 12 seconds, in the element of whoever fired the Synced Strike. Different elements sit on the target side by side; the same element does not stack, and a repeat trigger refreshes the timer instead.
Rotations
Linko goes in after your attack buffer —
 Haniel
or
Haniel
or
 Sakiri
— because everything she fires scales off her own stats and wants those buffs already on the board. On a team with no attack buffer she can open instead, and from there her Skill cooldown is what sets the pace.
Sakiri
— because everything she fires scales off her own stats and wants those buffs already on the board. On a team with no attack buffer she can open instead, and from there her Skill cooldown is what sets the pace.
Zankou, Lacrimosa and Sakiri
-
 Zankou
— hold Skill for her stacks
Zankou
— hold Skill for her stacks -
 Lacrimosa
— build Nightmare stacks, switch to Ranged Stance
Lacrimosa
— build Nightmare stacks, switch to Ranged Stance -
Sakiri
— her full kit
- Linko — her full kit
- Lacrimosa again — ten Nightmare stacks, then Ultimate
- Zankou — everything
Opening on Zankou lands Scorch first, so the damage over time is already ticking while the rest of the setup happens.
With A1, and Daffodill instead
Two orders work here, and they differ in when Hexed lands. The first puts Linko in early:
- Sakiri — Ultimate, then Skill
- Linko — Skill and Ultimate
- Swap to Zankou, which triggers Hexed
-
 Daffodill
— Ultimate, then Skill
Daffodill
— Ultimate, then Skill - Swap to Zankou and run her out
The second holds her back, so Hexed arrives later and more of it is spent with Zankou on the field:
- Sakiri Ultimate → Skill
- Swap to Zankou, then instantly swap to Daffodill for Scorch
- Daffodill’s full kit
- Swap to Linko, pick Zankou in the wheel, then Ultimate
- Swap to Zankou for the rest
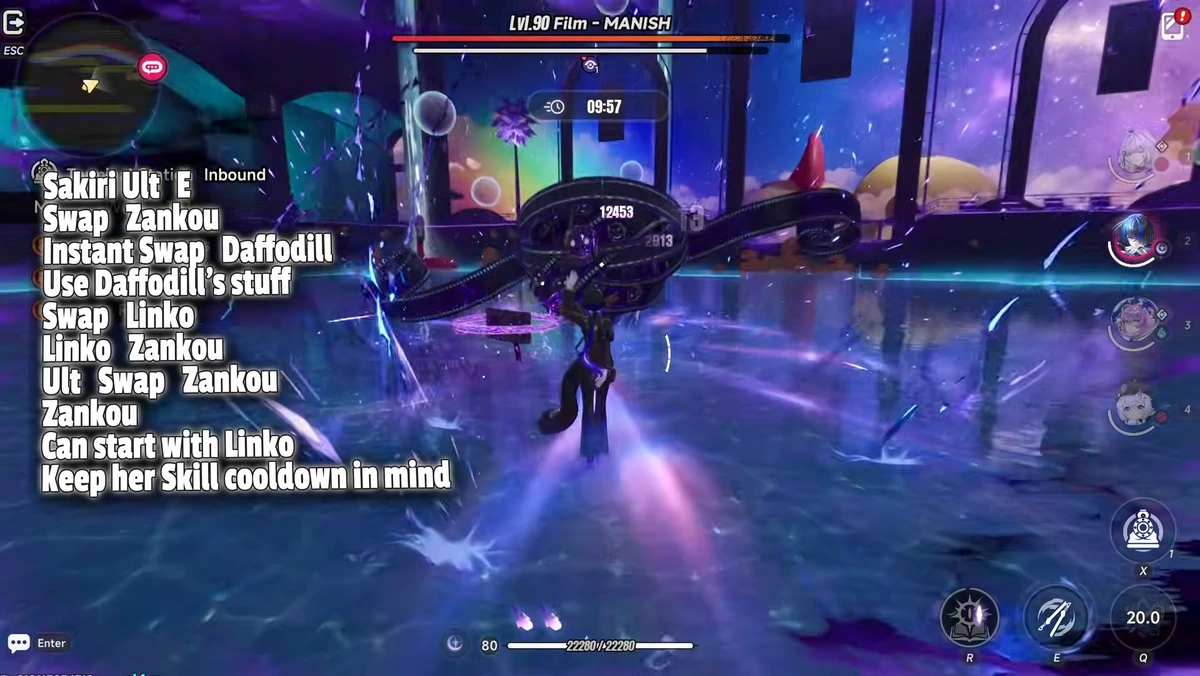
While you are on Zankou there is room for Daffodill’s hold tech and another Linko Skill before the window closes, which puts more damage inside the second Ultimate. At A1 the two reactions stay up for the whole fight either way.
Build
Cartridge
Fireflies and the Forest, the Anima set. Main attribute is Anima DMG; Crit DMG covers it if you do not have one, and if the Arc is not supplying Crit Rate then a Crit Rate main is the other way to reach the threshold.
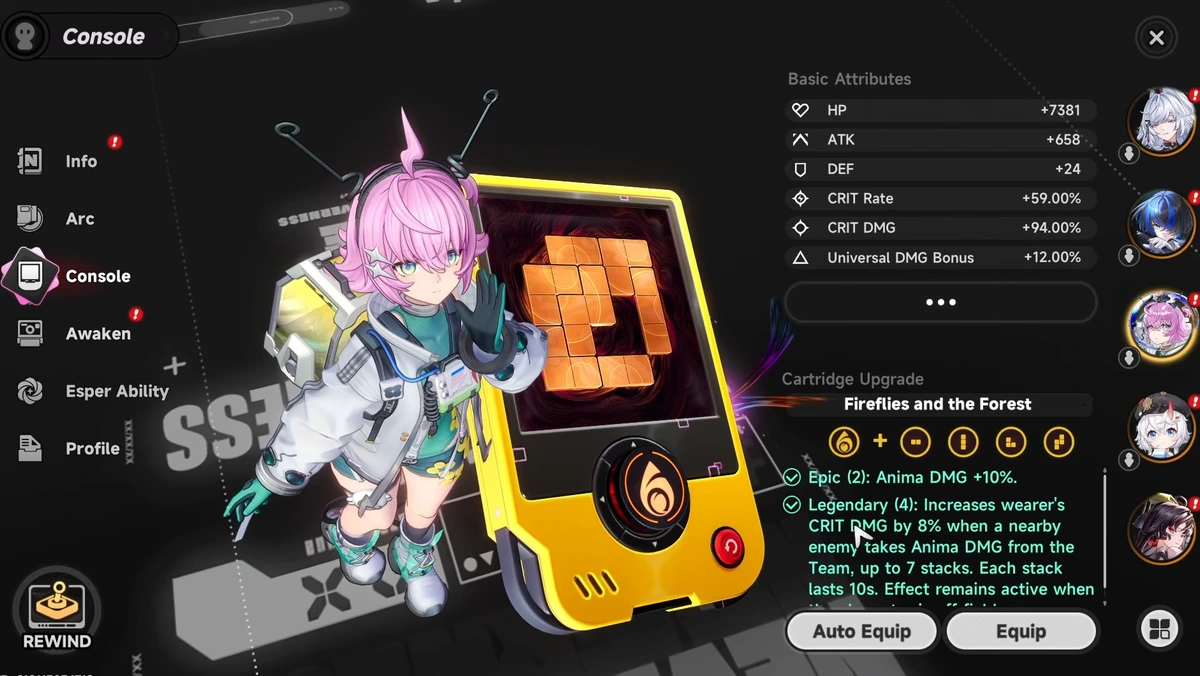
Her console is Type III, and every Type III module equipped adds 8% Crit Rate.
Modules
The usual damage substats — Crit Rate, Crit DMG, ATK%, DMG% — and unlike most units she has real use for Cycle Intensity and Break Intensity, so neither is a wasted roll.
Arcs
| Priority | Arc | Statline (max) | Why |
|---|---|---|---|
| 1 |
 Voice of the Voyager
|
570 ATK / 24% Crit Rate | Golden Record: 24% ATK, 66% Support Skill Crit DMG, and up to three stacks of 22% Ultimate Crit DMG from dealing Support Skill damage |
| 2 |
 Ready-Ready
|
570 ATK / 24% Crit Rate | 15% ATK and the same Crit Rate main stat, without any of the Support Skill scaling |
| 3 |
 Fluff of Fortitude
|
512 ATK / 27.5% ATK | Jawbreaker’s Candy is a flat 22% damage, 28% against enemies below half health — the battle pass option |
Her signature is a long way clear of the other two, and outside those three there is nothing for her. If you have neither Ready-Ready nor the battle pass, the Arc banner is effectively the only route.
Skill Priority
Both passives first, without hesitating: Weakness Radar and Precision Tuning are what the rest of the team is here for. Full-Frequency Pulse, Oversync and Spectral Cross come after them — and Spectral Cross is worth more than its own single hit suggests, because every Synced Strike takes its damage ratio from that level. Her Basic Attack goes last; you will not be on the field long enough for it to matter.
Teams
Her best home is the Zankou line-up, with Lacrimosa on Chaos and Sakiri holding the buffer slot.

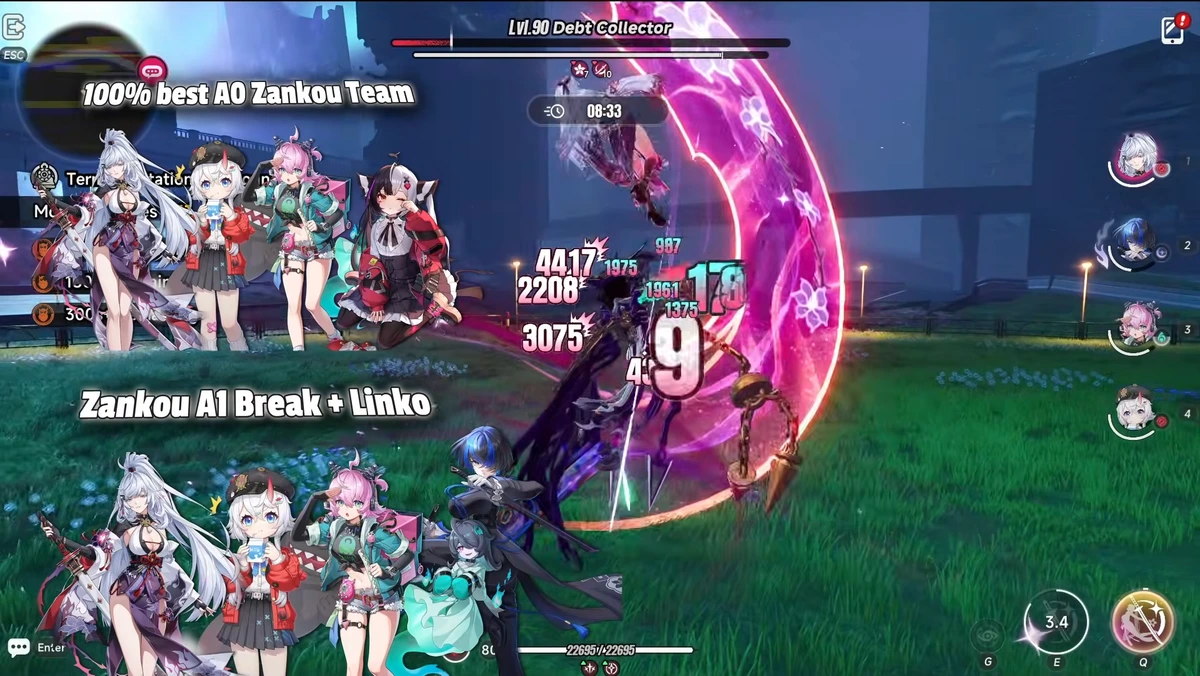
She goes into the Break version of the Zankou team as an
 Adler
replacement, though the upgrade there is smaller than in the Lacrimosa build. The other line-up worth building is around
Adler
replacement, though the upgrade there is smaller than in the Lacrimosa build. The other line-up worth building is around
 Nanally
, whose damage runs through Underboss follow-ups — exactly the damage Weakness Radar lifts.
Nanally
, whose damage runs through Underboss follow-ups — exactly the damage Weakness Radar lifts.
 Iroi
is one way to fill that fourth slot rather than the only one; it stays flexible.
Iroi
is one way to fill that fourth slot rather than the only one; it stays flexible.
She is an upgrade on every team she joins, though the size of it varies a lot from one to the next.
Awakenings
The first copy is the one that changes how she plays, and Love, Loud and Clear is the node to spend it on: the Synced Strike from Full-Frequency Pulse starts triggering Cycle effects, and when the ally you picked cannot cycle with Linko that strike gains 50% damage instead. On a Zankou team it is what keeps Scorch and Hexed up permanently, and it is also what makes her a serious option for a
 Shinku
team rather than a passable one.
Shinku
team rather than a passable one.
Two more nodes carry mechanics rather than numbers. Starlit Whispers lets the extra area hit that each Synced Strike makes inside the Resonance Field consume a Hit ‘Em Here! mark and trigger another Synced Strike. The World Answers adds 25% Crit Rate to allies’ Synced Strikes and gives them the Charge effect. The rest is arithmetic: 30% on the Oversync burst, a Full-Frequency Pulse cooldown reset every time Oversync goes off, and five extra seconds of Resonance Field with 30% Anima and Incantation DMG for everyone standing in it.
Whether she is worth the pulls at all depends on what your account already holds; the pull-value breakdown works through the roster shapes case by case.
Video Guide
Related Neverness to Everness Resources

Guide
Runaway Echoes: Skill Tree & Sixfold Synergy
How Simulation Drill's six stages, the Skill Tree's Sixfold Synergy nodes, and an open-ended Saga of Infinity run fit together in NTE's Runaway Echoes event.

Guide
Is Linko Worth Pulling?
Linko's pull value swings on what your account already has: scenarios for Zankou, Nanally, Shinku and Iroi owners, and when to hold for 1.4.

Guide
999 Nights: Gauntlet of Valor Tower Guide
How the Gauntlet of Valor tower works in NTE's 999 Nights, what its 99 floors and Infinite mode actually pay out, and how that payout compares to the standard Crimson Castle farm.
News
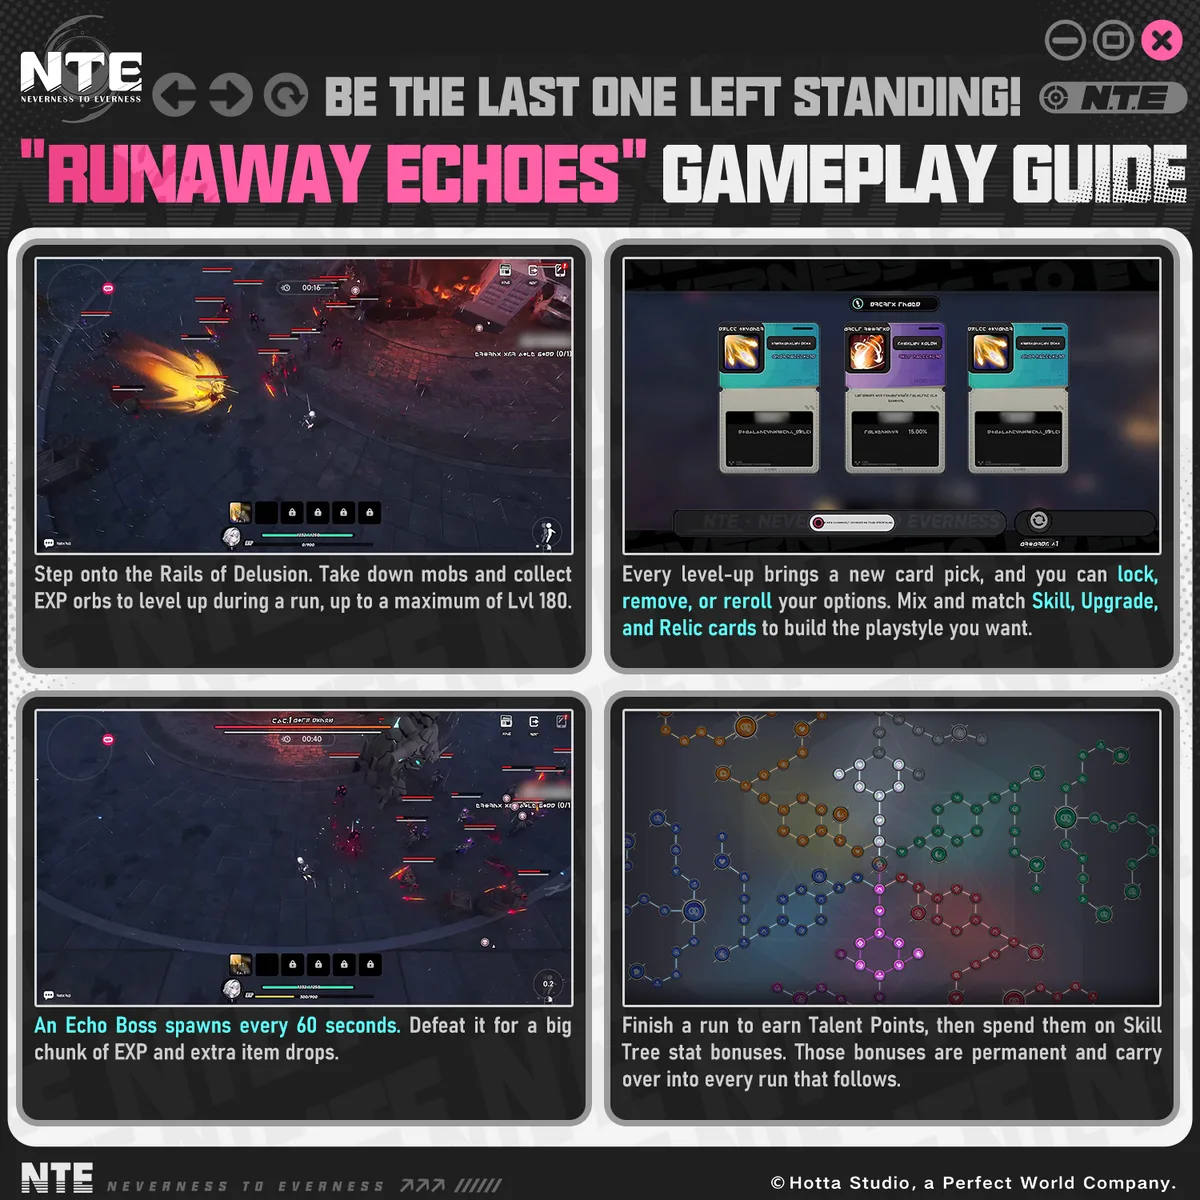
NTE Runaway Echoes: Card Picks and a Skill Tree
Runaway Echoes runs September 9 to 30, 2026: level to 180 inside a run, pick Skill, Upgrade and Relic cards, and bank Talent Points that never reset.
News
NTE Sept 9 Update: Linko Debuts, Hotori Returns
NTE's September 9 maintenance opens Linko's Surfing All Channels board, a Hotori rerun, two S-Class Arcs and four events, and pays Annulith x300.